If you have ever pulled a disappointing harvest from what looked like a perfectly healthy kit, you already know that factors affecting mushroom yield are more complex than simply adding water and waiting. Spawn quality, substrate composition, temperature, humidity, light, carbon dioxide levels, and harvest timing all interact in ways that determine whether you get a spectacular flush or a handful of stunted caps. Understanding these factors is not just academic. It directly changes what ends up in your bowl.
Table of Contents
- Key takeaways
- 1. Spawn type and inoculation rate
- 2. Substrate selection and supplementation
- 3. Temperature management
- 4. Humidity and moisture control
- 5. Light quality and duration
- 6. Fresh air exchange and CO₂ levels
- 7. Harvest timing and technique
- 8. Contamination management and substrate ammonia
- 9. Strain selection
- My honest take on getting yields right at home
- Start your best grow with Sporebuddies
- FAQ
Key takeaways
| Point | Details |
|---|---|
| Spawn quality matters most | High-quality, fresh spawn at a 2–5% inoculation rate sets the foundation for strong colonisation and higher yields. |
| Substrate choice drives yield range | Cotton stalk substrates can yield over three times more than groundnut creeper alternatives per kilogram of dry material. |
| Environment needs precise control | Temperature, humidity, CO₂, and light must all sit within species-specific ranges for consistent fruiting. |
| Harvest timing is non-negotiable | Harvesting at the correct stage, before caps fully flatten, maximises weight per flush across multiple cycles. |
| Contamination is a yield killer | Over-supplementation and poor ammonia management are the most common hidden causes of failed or reduced flushes. |
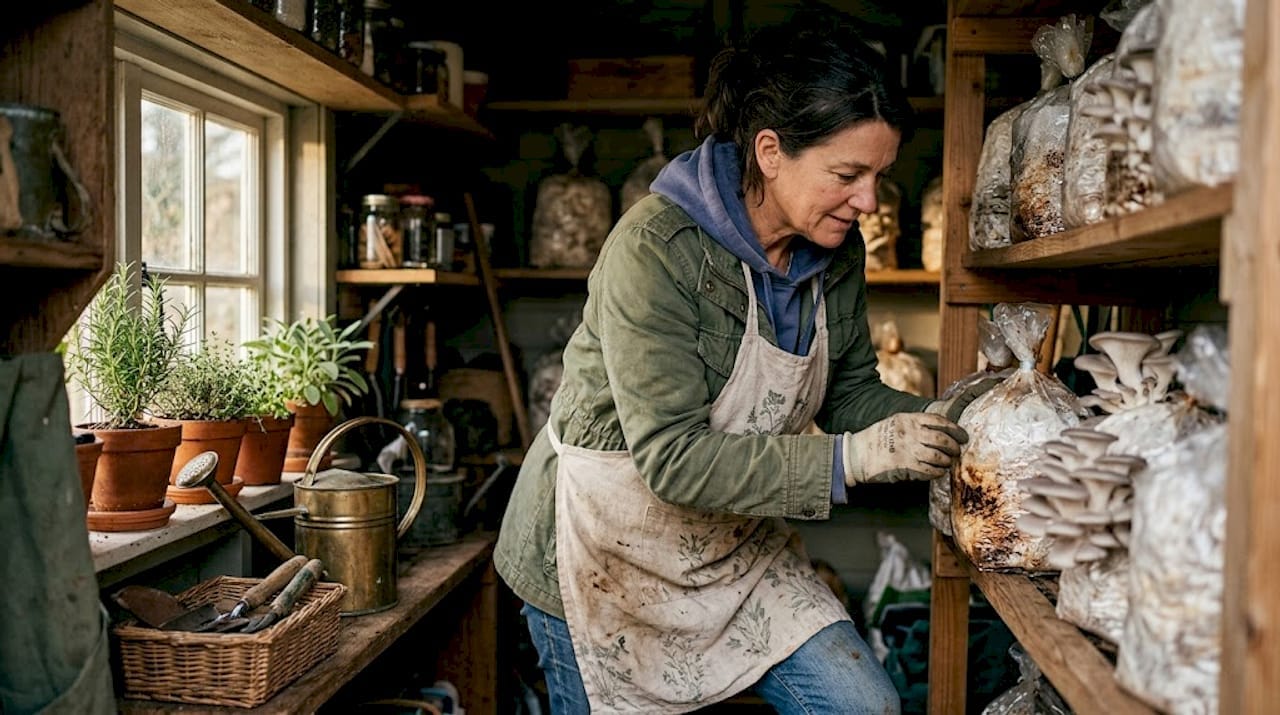
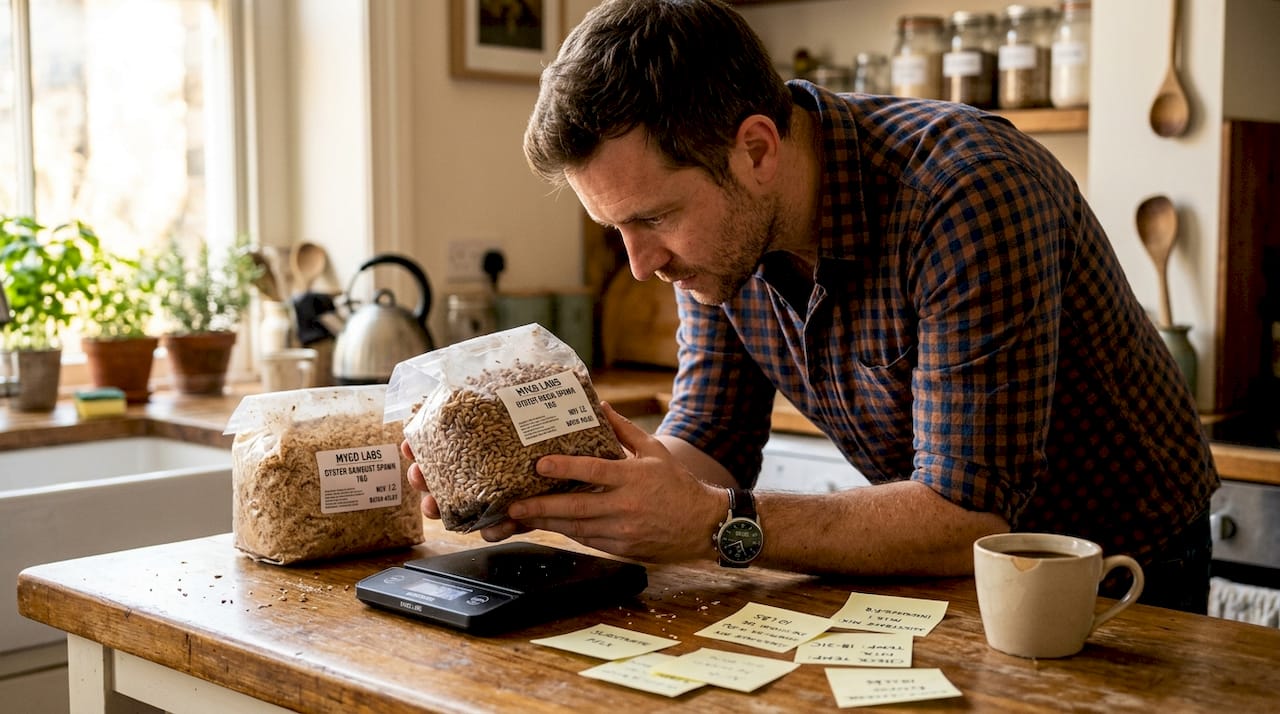
1. Spawn type and inoculation rate
Spawn is the starting point for every grow, and it has more influence on your final yield than most beginners expect. There are four main types: grain spawn, sawdust spawn, liquid spawn, and wooden dowel sticks. Each has practical trade-offs.
Grain spawn colonises quickly because the individual grains distribute mycelium evenly throughout the substrate. Sawdust spawn suits wood-loving species like shiitake and lion’s mane particularly well. Liquid spawn outperforms solid forms in colonisation speed for many species, though it requires sterile inoculation technique to avoid contamination. Wooden dowel sticks are simple and popular for log cultivation but are the slowest option.
Spawn quality is equally important. Old, contaminated, or poorly stored spawn leads to patchy colonisation and opens the door to competing fungi and bacteria. Always check spawn for off-colours, sour smells, or wet patches before use.
The inoculation rate, meaning the percentage of spawn relative to substrate weight, has a measurable impact on outcomes. Biological efficiency ranged from 5.18% to 173.38% depending on spawn rate and type, with rates between 2% and 5% consistently recommended. Going above 5% does not improve yield proportionally and increases your contamination risk significantly.
Pro Tip: Store grain spawn in the refrigerator at 2–4°C and use it within four weeks of production for the best colonisation results.
2. Substrate selection and supplementation
Your substrate is the food source your mycelium lives on, and not all substrates perform equally. The difference in yield potential between substrate types is stark. Cotton stalk substrate yields up to 914 g per kg of dry straw for oyster mushrooms, while groundnut creepers produce only around 258 g per kg under equivalent conditions. That is more than a threefold difference from a single material choice.
Here is a quick comparison of common home-grower substrates:
| Substrate | Suited species | Relative yield potential |
|---|---|---|
| Cotton stalks | Oyster, shiitake | Very high |
| Wheat straw | Oyster | High |
| Hardwood sawdust | Shiitake, lion’s mane | High |
| Coffee grounds | Oyster | Medium |
| Groundnut creepers | Oyster | Low |
| Cardboard | Oyster | Low |
Supplementation with nitrogen sources like wheat bran or rice bran can push yields higher by increasing available nutrients. However, this comes with a real trade-off. Contamination risk increases sharply with over-supplementation, as excess nutrients create an ideal environment for competing organisms. The practical approach is to start with 5–10% bran supplementation and adjust incrementally across grow cycles rather than jumping straight to high addition rates.
Substrate moisture content also plays a significant role. Aim for a field capacity of around 60–65%, where the substrate feels damp but does not release water when squeezed firmly. Particle size matters too. Finer particles increase surface area for mycelium but can compact and restrict airflow if processed too finely.
Explore substrate recipes for yield to find tested combinations that work well for UK home growers.
Pro Tip: Mix a small test batch when trying a new substrate formulation before committing your full grow to it. A failed test is far cheaper than a failed batch.
3. Temperature management
Temperature is one of the most controllable mushroom yield factors, yet it is one of the most commonly mismanaged. Most popular species fruit best between 18°C and 24°C, though the exact optimum varies. Oyster mushrooms prefer the cooler end of that range, around 18–22°C, while lion’s mane prefers 18–24°C and shiitake tolerates 10–18°C during fruiting.
The critical mistake most home growers make is confusing colonisation temperature with fruiting temperature. Mycelium colonises fastest at slightly warmer temperatures, typically 24–27°C for many species. Fruiting, however, often requires a temperature drop of 5–10°C as a trigger. Without that cue, some species simply will not produce fruit bodies.
Sudden temperature spikes above 30°C can halt growth entirely or stress mycelium to the point of reduced fruiting in subsequent flushes. Cold draughts have the opposite problem. They desiccate forming pins and cause uneven development across the block.
Climate control is a pillar of shifting from inconsistent hobbyist results to reliable high yields. A simple digital waterproof heater can maintain stable fruiting temperatures even through cold UK winters, which is particularly relevant for growers without a dedicated grow room.
4. Humidity and moisture control
Humidity directly affects how pins form and how caps develop. Most species want 85–95% relative humidity during fruiting. Below 80%, forming pins dry out and abort. Above 95% for extended periods, you risk pooling surface water, which invites bacterial contamination and causes caps to become soft and discoloured.
Effective humidity management involves:
- Misting the walls of your grow space rather than the block itself, to raise ambient humidity without waterlogging the surface
- Using a hygrometer to monitor actual levels rather than guessing
- Timing misting sessions to coincide with light periods when evaporation from the surface is higher
- Maintaining air circulation to prevent stagnant moisture from sitting on developing fruit bodies
The balance between humidity and airflow is where most home growers struggle. Treating them as separate variables is the mistake. They work together. High humidity with poor airflow creates condensation and contamination. Good airflow without adequate humidity dries pins. You need both in proportion.
5. Light quality and duration
Mushrooms do not photosynthesize, so they do not need bright light the way plants do. What they do use light for is directional and developmental cues. Even low light levels influence how fruit bodies orient themselves and how caps develop.
Blue light wavelengths improve cap size and total yield in oyster mushrooms, while red light increases vitamin D2 biosynthesis without the same direct effect on physical yield. This means adjusting light quality gives you control not just over yield quantity but also over the nutritional profile of what you grow.
For most home grows, a 12-hour light and 12-hour dark cycle works well. You do not need intense light. A modest LED panel positioned above the fruiting block is sufficient, and purpose-built LED grow lights designed for mushroom cultivation will cover the relevant spectra without wasting energy on wavelengths that have no effect.
6. Fresh air exchange and CO₂ levels
Carbon dioxide is a by-product of mycelial respiration. It accumulates in enclosed grow spaces and, at elevated concentrations, causes abnormal fruiting. High CO₂ leads to long, thin stems and small, underdeveloped caps in species like oyster mushrooms. This is the classic sign that your growing environment needs more fresh air exchange.
Most fruiting species thrive at CO₂ levels below 1,000 parts per million. Achieving this at home does not require sophisticated equipment. Regular manual fan-ventilation several times daily, or a small automated fan on a timer, is generally sufficient for a small-scale grow.
The common mistake is over-ventilating to compensate for high CO₂. Excessive airflow rapidly drops humidity and stresses developing fruit bodies. Aim for gentle, consistent air movement rather than blasting your blocks with a powerful fan.
7. Harvest timing and technique
Harvest timing affects yield more than most growers realise. It is as important as strain selection and supplementation for maximising biological efficiency across multiple flushes.
For oyster mushrooms specifically, the optimal harvest window is when the cap edges begin to flatten and curl slightly upward, just before they fully open and start releasing spores. Harvesting too early reduces the potential fresh weight. Harvesting too late reduces quality, triggers spore release that can cause respiratory irritation, and sends energy into spore production rather than subsequent fruiting.
Practical signs of optimal harvest readiness include:
- Caps have reached full size but the edges are still slightly in-rolled
- Colour is vibrant and consistent across the cluster
- No visible spore dust on surfaces below the block
- Stems are firm rather than soft or hollow at the base
Twist the entire cluster off cleanly at the base rather than cutting. This removes the stump tissue, which can become a contamination point if left behind. After harvesting, allow the block to rest and recover before the next flush. Check the UK grow cycle guide for timing advice specific to multi-flush management.
Pro Tip: Weigh each flush and record it. Tracking flush weights across your grow cycles gives you real data to identify which variables are actually improving your yield.
8. Contamination management and substrate ammonia
These are the two most underappreciated factors affecting mushroom yield, particularly for growers who have already got the basics right and are wondering why results are still inconsistent.
Contamination does not always announce itself dramatically. Green trichoderma mould is obvious, but bacterial contamination often looks like wet, sour-smelling patches that slow colonisation without any visible discolouration. Contamination risk increases exponentially with supplementation, which is why incremental testing beats chasing maximum nutrient levels.
Ammonia is a separate issue that specifically affects heavily supplemented substrates. Substrate ammonia above 0.2% is directly harmful to mycelium and reduces yield. You can detect dangerous ammonia levels by smell during substrate preparation. A sharp, acrid ammonia odour from your substrate before inoculation is a warning sign. Delay inoculation and allow the substrate to off-gas further before proceeding.
9. Strain selection
Not all varieties of the same species are created equal. Strains show significant variation in colonisation speed, environmental tolerance, and yield potential. A fast-colonising strain that suits warm temperatures may underperform in a cool UK grow room compared to a strain bred for temperate conditions.
Reliable strain sourcing matters as much as the genetics themselves. Strains that have been maintained carefully and preserved correctly will perform predictably. Strains that have been repeatedly subcultured without proper technique drift genetically over time and produce erratic results. When trying a new strain, run it alongside a known performer to give yourself a meaningful comparison before committing to it fully.
Experienced growers tend to favour reliable moderate growth over aggressive theoretical yields, precisely because fewer contamination losses result in better cumulative harvests across an entire season.
My honest take on getting yields right at home
I have spent a lot of time working through the variables that growers obsess over, and here is what I genuinely believe: spawn quality and substrate choice consistently outweigh everything else. You can have perfect temperature and humidity, but if your spawn is weak or your substrate is nutritionally poor, you will not get the yields you are expecting.
The temptation with supplementation is to keep adding more in search of bigger harvests. What I have seen, again and again, is that the gains plateau quickly and the contamination losses mount. Modest, well-tested supplementation with quality starting materials beats aggressive supplementation from mediocre spawn every time.
Harvest timing is the variable most growers undervalue. There is a narrow window where you get maximum fresh weight and maximum quality simultaneously. Miss it by even a day and you lose both. Training yourself to spot that window, and actually acting on it rather than waiting another day to see if the caps get bigger, is one of the highest-return habits you can build.
The environmental tweaks, light spectrum adjustments, CO₂ fine-tuning, and humidity calibration genuinely do move the needle. But they work best when the biological foundation is already solid. Get your spawn and substrate right first. Then refine the environment. Track your data across every flush. Small, steady improvements compound into significant yield gains over a growing season.
— Fabio
Start your best grow with Sporebuddies
Everything covered in this guide comes down to one thing: starting with the right materials. At Sporebuddies, we stock high-quality mushroom spore syringes and spawn products sourced to give your mycelium the strongest possible start. Our mushroom growing kits come with pre-prepared substrates designed for reliable results, taking the guesswork out of substrate formulation for beginners. If you are ready to take your environment further, browse our full range of mycology equipment and supplies, including grow lights and climate tools. Our blog is packed with species-specific growing guides to help you apply these yield principles to your exact setup.
FAQ
What is the single biggest factor affecting mushroom yield?
Spawn quality and substrate composition have the greatest combined influence on yield. Without healthy spawn and a nutritious, well-prepared substrate, no amount of environmental fine-tuning will compensate.
What temperature is best for fruiting most mushrooms?
Most popular species fruit reliably between 18°C and 24°C, though shiitake prefers cooler conditions around 10–18°C. A temperature drop from colonisation conditions is often needed to trigger pinning.
How does CO₂ affect mushroom development?
Elevated CO₂ above 1,000 parts per million causes long, thin stems and underdeveloped caps. Regular fresh air exchange keeps CO₂ within the range needed for healthy fruit body formation.
When should I harvest oyster mushrooms for the best yield?
Harvest oyster mushrooms when cap edges begin to flatten and curl slightly upward, before spore release begins. Waiting too long reduces quality and draws energy away from subsequent flushes.
Does light really matter for mushroom cultivation?
Yes. Blue light wavelengths improve cap size and total yield in species like oyster mushrooms. A 12-hour light and dark cycle using a modest LED panel provides sufficient light cues for most home grows.