
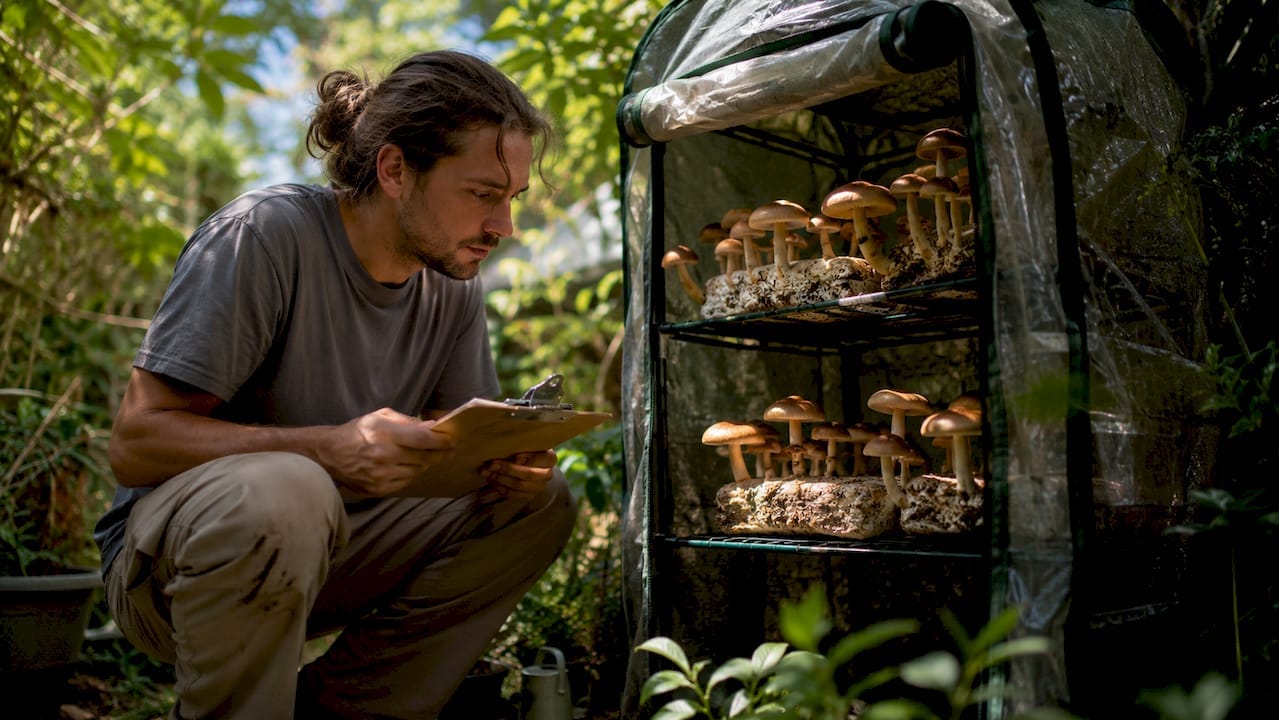
Spore yield is defined as the total quantity of viable spores produced per unit of substrate or fruiting body during a cultivation cycle. For home mushroom cultivators, knowing how to improve spore yield is the difference between a sparse collection and a genuinely productive harvest. The key factors are environmental control, substrate nutrition, spawn quality, and harvest timing. Get these right and you can increase spore production substantially without specialist laboratory equipment. This guide covers each factor in practical detail, drawing on current research to give you techniques that actually work.
What cultivation conditions most affect spore yield?
Sporulation is a stage-dependent physiological process. You first need to build robust mycelial biomass, then shift environmental conditions to trigger the transition from vegetative growth to reproductive spore production. Treating these as two separate phases is the single most important conceptual shift you can make.
The environmental parameters that matter most are:
- Humidity: Maintain 85–95% relative humidity during the vegetative phase, then reduce slightly to 80–90% during sporulation to avoid waterlogging the fruiting bodies.
- Temperature: Most edible species sporulate best between 18°C and 24°C. Research on microbial cultures shows that optimised temperature conditions can increase spore yield more than fivefold compared to uncontrolled environments.
- Air exchange: Fresh air exchange of two to four times per hour reduces carbon dioxide build-up, which suppresses sporulation. Poor aeration is one of the most common reasons growers see thin spore prints.
- Lighting: Indirect light for 12 hours per day signals the fruiting body to mature. Sporebuddies stocks LED grow lights designed specifically for the light intensities mushrooms respond to.
- Nutrition: Carbon and phosphorus are the two nutrients most likely to limit spore output. Industrial cultivation research found that optimising these nutrients increased spore production by 16.8%, producing 2,213 spores per gram versus 1,895 under standard lab conditions. That gap is meaningful at home scale too.
Pro Tip: Check your humidity and temperature twice daily during the sporulation phase. Small drifts of even 3°C or 5% humidity can delay spore release by several days.
How do substrate choice and spawn quality influence spore production?
Substrate is the nutritional foundation of your entire grow. The composition you choose directly determines how much energy the mycelium has available when it transitions to spore production.
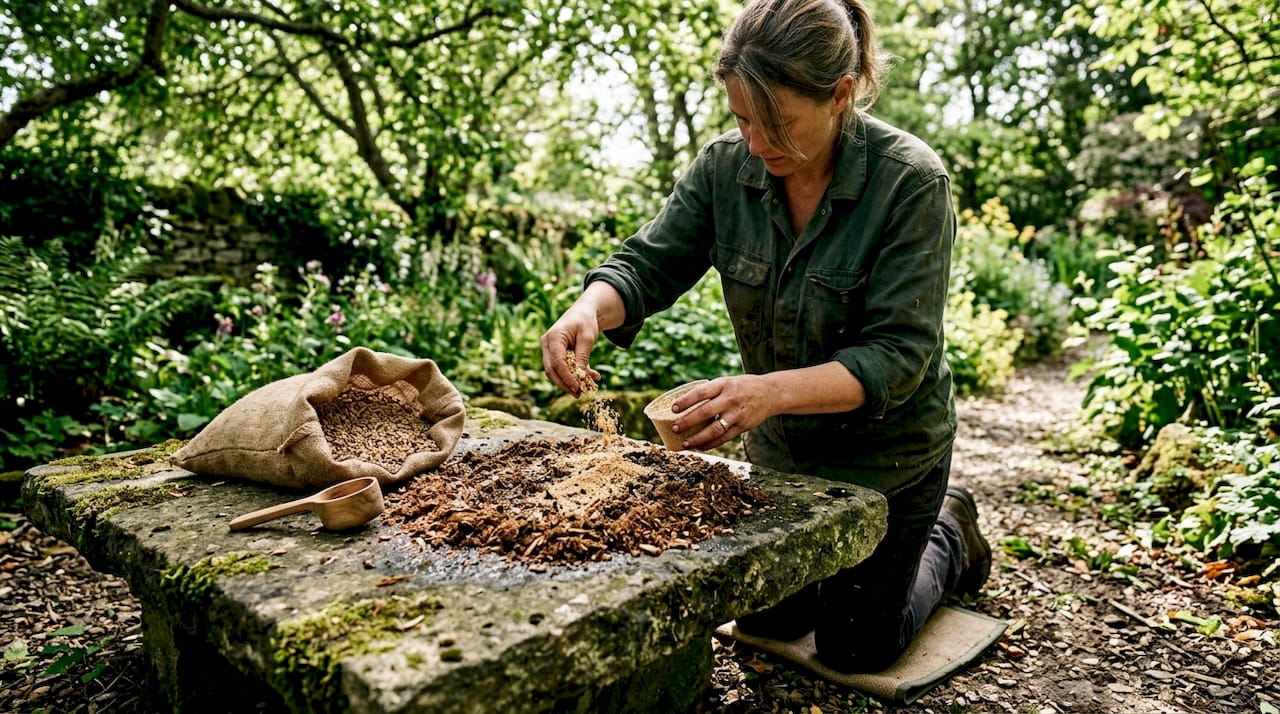
Wheat bran is one of the most reliable supplements for increasing substrate nutrition. Adding it at 10–20% by dry weight to a base of hardwood sawdust or straw raises the carbon-to-nitrogen ratio in a way that supports both vigorous colonisation and later sporulation. You can source wheat bran supplement formulated specifically for mushroom cultivation from Sporebuddies.
Spawn type matters just as much as substrate. The table below compares the three main options:
| Spawn type | Colonisation speed | Spore yield potential | Best for |
|---|---|---|---|
| Liquid spawn | Fast (reduces running time by ~5%) | High | Experienced growers, shiitake, oyster |
| Grain spawn | Moderate | High | Most edible species, beginners |
| Sawdust spawn | Slow | Moderate | Wood-loving species, low-cost grows |
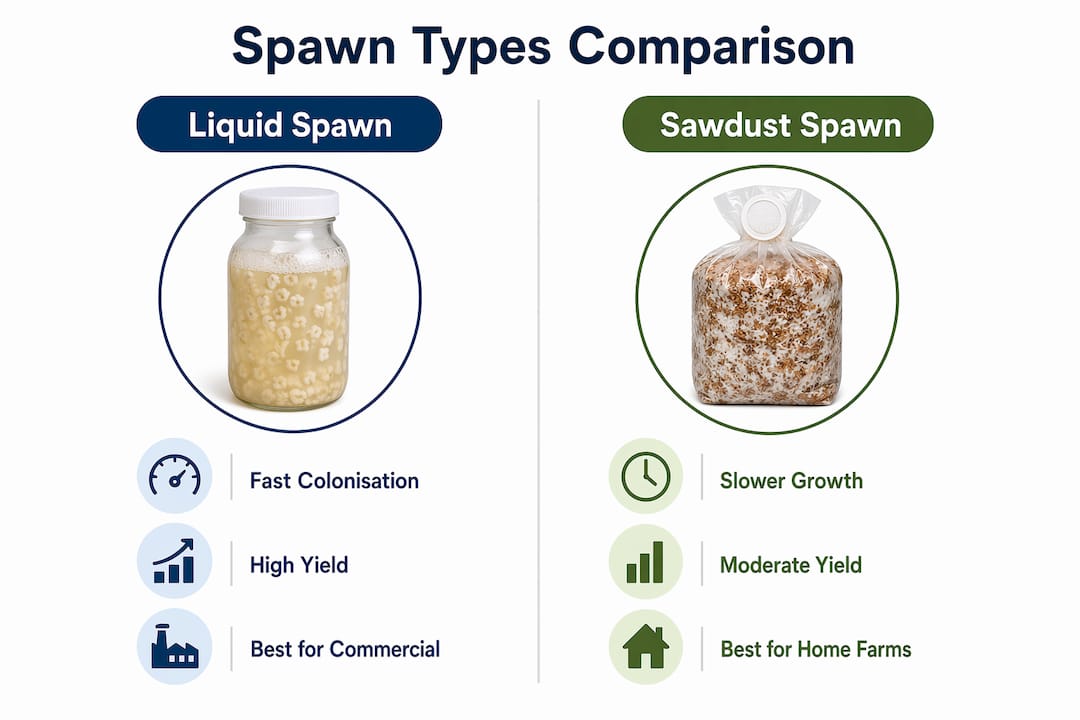
Liquid spawn outperforms sawdust spawn in both colonisation speed and overall mushroom production, which translates directly to higher spore output. Grain spawn sits in the middle and is the most forgiving option for home cultivators.
Inoculation rate is the other variable to control carefully. Rates of 2–5% of total substrate weight correlate with the highest biological efficiency and spore yield. Going above 5% offers diminishing returns and can actually increase contamination risk by introducing competing microorganisms. Higher spawn rates do reduce contamination risk up to a point, but beyond the optimum level the benefit reverses.
Pro Tip: Always source spawn from a supplier with documented strain genetics. Unknown or degraded genetics produce inconsistent sporulation regardless of how well you control the environment.
Step-by-step guide to increasing spore yield at home
Before you start, gather the following materials:
| Item | Purpose |
|---|---|
| Sterilised substrate | Nutritional base for mycelial growth |
| Quality spawn (liquid or grain) | Inoculation source |
| Pressure cooker or autoclave | Substrate sterilisation |
| Hygrometer and thermometer | Environmental monitoring |
| Still air box or flow hood | Contamination prevention |
| Spore collection paper or foil | Harvest and storage |
Follow these steps in order:
- Prepare and sterilise your substrate. Mix your base substrate (hardwood sawdust, straw, or coco coir) with wheat bran at 10–15% by dry weight. Sterilise at 121°C for 90 minutes in a pressure cooker. Allow to cool fully before inoculation.
- Inoculate at the correct rate. In a still air box, add liquid or grain spawn at 2–5% of total substrate weight. Mix thoroughly to distribute spawn evenly throughout the substrate.
- Colonise under vegetative conditions. Maintain 22–25°C and 85–95% humidity. Keep the container in darkness or low indirect light. Colonisation typically takes 10–21 days depending on species and spawn type.
- Trigger the sporulation phase. Once colonisation is complete, drop temperature to 18–22°C, introduce 12 hours of indirect light per day, and increase fresh air exchange. This environmental shift signals the mycelium to produce fruiting bodies and, subsequently, spores.
- Monitor fruiting body development. Watch for the veil beneath the cap to begin thinning. This is the clearest visual indicator that spore release is imminent.
- Harvest at peak discharge. Postharvest energy metabolism declines rapidly after the veil breaks. Collect spore prints within 12–24 hours of veil opening by placing the cap gill-side down on clean foil or paper under a glass bowl.
- Store correctly. Seal completed spore prints in airtight bags with a silica gel desiccant packet. Store at 2–8°C for short-term use or freeze for long-term preservation.
Common mistakes to avoid:
- Harvesting too early before the veil has fully opened, which gives sparse prints
- Harvesting too late after the cap has fully opened and begun to curl, by which point many spores have already discharged into the air
- Skipping sterilisation steps and introducing contamination that competes with or kills the mycelium
Pro Tip: Place a clean sheet of foil under your fruiting bodies during the final 24 hours before harvest. You will see spore dust beginning to settle, which tells you exactly when discharge is at its peak.
How to measure and assess spore yield effectively
Measuring your output gives you the data to improve the next cycle. You do not need laboratory equipment to do this meaningfully at home.
Practical assessment methods include:
- Visual density scoring: Rate your spore prints on a scale of 1 to 5 based on coverage and colour intensity. A dense, evenly coloured print indicates strong sporulation. A patchy or pale print signals a problem with timing, nutrition, or environmental conditions.
- Weight comparison: Weigh spore prints before and after drying. The dry weight of spores collected per fruiting body gives you a consistent metric to compare across cycles.
- Germination testing: Place a small sample of spores on an agar plate and observe germination rate under a microscope. High germination rates confirm that spores are viable, not just visually present.
- Discharge timing log: Record the exact time from veil break to peak spore release for each grow. Spore discharge intensity correlates with the physiological quality of the fruiting body, so tracking this helps you identify whether your environmental conditions are supporting or limiting peak output.
Use these measurements to adjust your next cycle. If prints are consistently thin, revisit your substrate nutrition and air exchange. If germination rates are low, check your harvest and storage temperatures.
Common challenges in maximising spore yield and how to overcome them
Most yield problems trace back to a small number of recurring issues. Recognising them early saves an entire grow cycle.
- Contamination: Green, black, or pink patches on substrate indicate mould contamination. Work in a still air box, sterilise all tools, and use 70% isopropyl alcohol on surfaces before every session.
- Overfeeding nutrients: Excess nutrients interfere with the sporulation phase by keeping the mycelium in a vegetative state. Stick to recommended supplement ratios rather than assuming more is better.
- Insufficient aeration: Elevated CO₂ suppresses fruiting and spore release. If your fruiting bodies are developing long, thin stems and small caps, increase fresh air exchange immediately.
- Timing errors: Harvesting too early or too late is the most common cause of poor spore prints. The window for peak discharge is narrow, often less than 24 hours.
Pro Tip: Keep your fruiting bodies in peak physiological condition right up to harvest. Avoid temperature shocks, physical disturbance, or humidity drops in the 48 hours before you collect. A stressed fruiting body produces far fewer viable spores.
Key takeaways
Improving spore yield requires two distinct phases: building strong mycelial biomass first, then shifting environmental and nutritional conditions precisely to trigger peak sporulation and timely harvest.
| Point | Details |
|---|---|
| Phase separation is critical | Build biomass first, then change conditions to trigger sporulation. |
| Substrate nutrition drives output | Add wheat bran at 10–15% dry weight to raise carbon-to-nitrogen ratio. |
| Spawn type and rate matter | Use liquid or grain spawn at 2–5% inoculation rate for best results. |
| Harvest timing is narrow | Collect spore prints within 12–24 hours of veil opening for peak viable yield. |
| Measure every cycle | Weight, germination rate, and timing logs help you improve each successive grow. |
Get the right supplies for better spore harvests
Sporebuddies supplies everything you need to put these techniques into practice. Browse the full range of mushroom spore syringes including Golden Teacher, B+, and Penis Envy strains, all produced under controlled conditions for consistent genetics. The shop also stocks sterilised mushroom substrates and wheat bran supplement, so you can build a nutritionally complete growing environment from the start. For growers who want a complete setup, the mushroom growing kits include pre-colonised blocks ready to fruit, taking the guesswork out of the early stages. If you have questions about contamination or kit setup, the grow kits FAQ covers the most common issues in plain language.
FAQ
What is spore yield in mushroom cultivation?
Spore yield is the quantity of viable spores produced by a fruiting body during a single cultivation cycle. It is influenced by substrate nutrition, environmental conditions, spawn quality, and harvest timing.
How do I get a denser spore print?
Harvest your fruiting body within 12–24 hours of the veil opening and place it gill-side down on clean foil under a glass bowl. Ensure the fruiting body was grown under correct humidity, temperature, and air exchange conditions throughout its development.
Does spawn type affect spore output?
Yes. Liquid spawn reduces colonisation time by approximately 5% compared to sawdust spawn and generally produces higher mushroom yields, which correlates with greater spore output. Grain spawn is a reliable alternative for most home growers.
Can overfeeding substrate supplements reduce spore yield?
Yes. Excess nutrients keep the mycelium in a vegetative growth state and can interfere with the sporulation phase. Wheat bran and other supplements should be added at recommended ratios, typically 10–20% by dry weight.
How should I store spore prints to keep them viable?
Seal completed, dry spore prints in airtight bags with a silica gel desiccant packet. Store at 2–8°C for short-term use or in a freezer for long-term preservation to maintain germination viability.