A fungal spore microscopy workflow is defined as the end-to-end process of collecting spore samples, preparing slides, imaging under magnification, and systematically analysing the resulting data to achieve reliable morphological identification. Mastering this process separates guesswork from genuine scientific rigour. Whether you are studying Tectona grandis rust pathogens or examining Psilocybe cubensis spores for research purposes, the same core principles apply: controlled preparation, standardised imaging, and documented analysis. This guide walks you through every stage, from the tools you need to the computational methods that are reshaping how mycologists quantify and classify spores.
What tools and materials are essential for fungal spore microscopy?
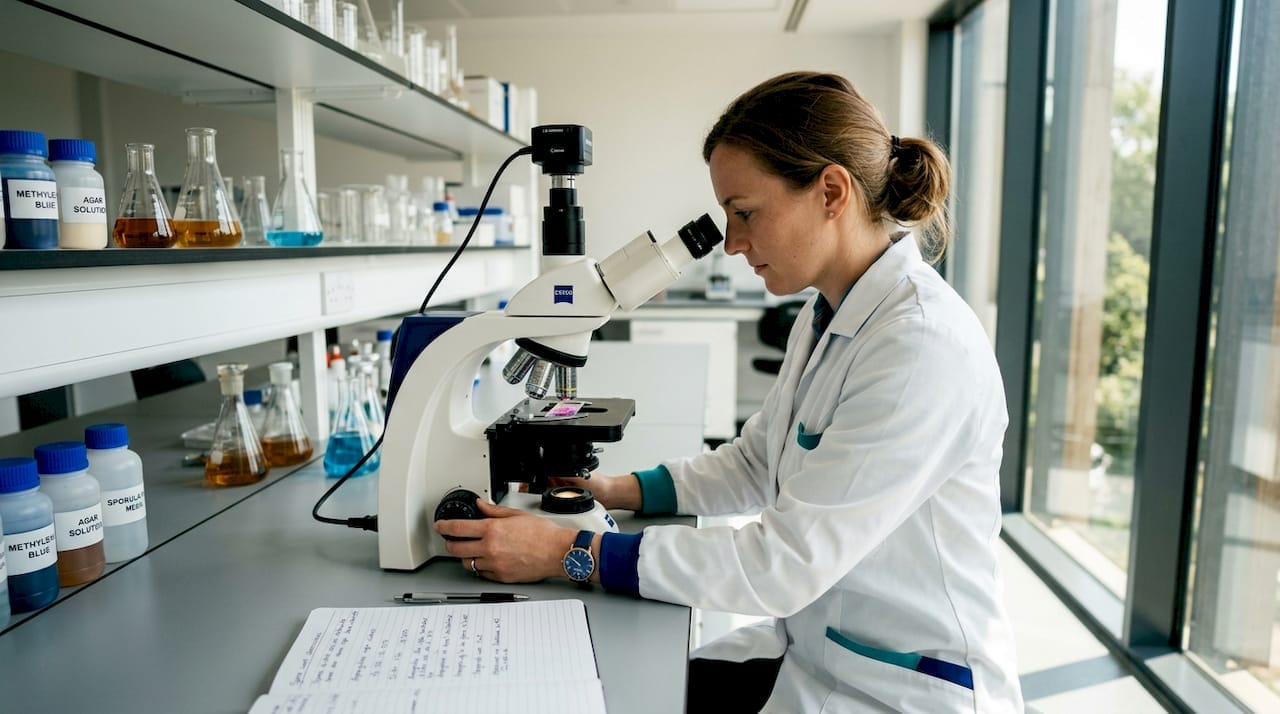
The right equipment determines the quality of every result you produce. A compound microscope with at least 10× and 40× objectives is the minimum requirement for meaningful spore work. The Zeiss Primostar 3 is a widely used model in research settings, pairing well with digital camera attachments that feed images directly into analysis software. Without a digital imaging link, you lose the ability to document findings reproducibly.
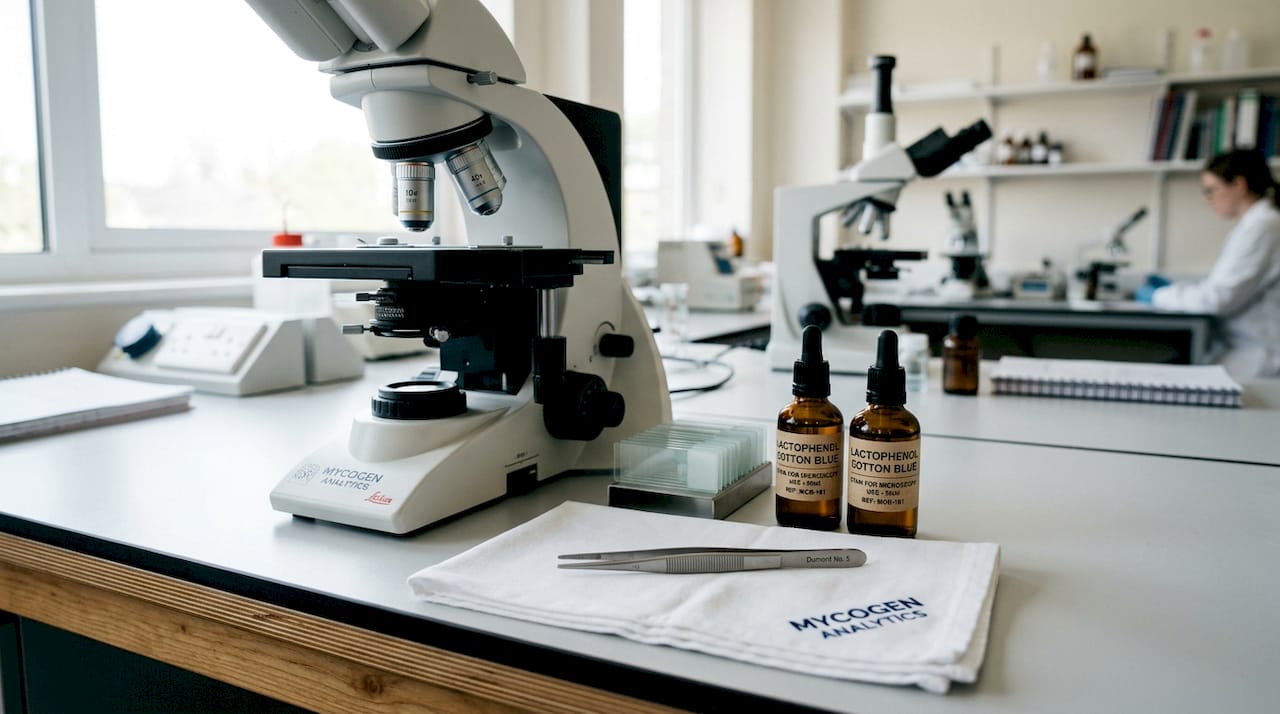
Staining reagents are equally critical. Lactophenol Cotton Blue (LPCB) is the standard choice for fungal preparations because it stains chitin-rich structures such as spore walls, hyphae, and germ pores with high contrast. Methylene blue serves as a simpler, lower-cost alternative for quick screening, though it lacks the chemical preservation properties of LPCB. For unstained preparations where you want to preserve near-natural morphology, sterile distilled water is the mounting medium of choice.
Core equipment checklist
- Compound microscope with 10× and 40× objectives (100× oil immersion for advanced work)
- Digital camera or microscope-linked imaging system
- Sterile inoculation loops or dissecting needles
- Glass microscope slides and 22×22 mm coverslips
- Lactophenol Cotton Blue stain and sterile distilled water
- Forceps, scalpel, and a laminar flow cabinet or still-air box
- Image analysis software (ImageJ, HyphaTracker-App, or similar)
Equipment comparison at a glance
| Item | Purpose | Notes |
|---|---|---|
| Zeiss Primostar 3 | High-resolution spore imaging | Pairs with digital camera for reproducible capture |
| Lactophenol Cotton Blue | Staining chitin-rich fungal structures | Irreversible; chemically preserves slide |
| Sterile distilled water | Wet mount medium | Preserves natural morphology without staining |
| Inoculation loop | Aseptic spore collection | Single-use plastic loops reduce contamination risk |
| HyphaTracker-App | Automated spore detection | Outputs CSV data on spore counts and dimensions |
Pro Tip: Buy pre-cleaned, pre-packaged slides rather than cleaning your own. Residual detergent or oils on glass surfaces create artefacts that mimic spore surface ornamentation under 40× magnification, leading to misidentification.
How to prepare fungal spore slides for microscopy
Slide preparation is where most errors occur, and most errors are preventable. The goal is a thin, evenly distributed layer of spores on the slide, free from air bubbles, debris, and contamination. Wet mount preparation using sterile distilled water gives you the clearest view of natural spore morphology, while LPCB staining adds contrast for detailed structural analysis.
Follow these steps for a stained preparation using LPCB:
- Collect your sample. Using a sterile inoculation loop or dissecting needle, scrape a small amount of fungal material from the culture plate, infected leaf, or spore print. Collect less than you think you need. Over-sampling creates thick, unresolvable preparations.
- Place the mounting medium. Add 2 to 3 drops of LPCB stain directly to the centre of a clean glass slide. For unstained preparations, substitute sterile distilled water.
- Transfer the sample. Tease the fungal material gently into the liquid using two needles or forceps. The aim is to separate hyphal clumps into a thin, dispersed layer. Thick clumps block light transmission and obscure spore detail.
- Apply the coverslip. Hold the coverslip at a 45-degree angle to the slide surface and lower it slowly onto the liquid. This technique displaces air progressively and minimises bubble formation. Press gently with a pencil eraser to flatten the preparation.
- Remove excess stain. Blot the edges of the coverslip with absorbent paper to draw out surplus liquid. Do not press directly on the coverslip.
- Allow brief penetration time. LPCB staining reveals surface features including germ pores and verrucose (warty) ornamentation within one to two minutes at room temperature.
- Label and document. Write the species name, date, and preparation type on the frosted end of the slide before placing it on the stage.
The difference between a stained and an unstained preparation is significant. LPCB highlights structural detail that is invisible in water mounts, particularly surface texture and wall thickness. However, staining is irreversible, so if you need to archive a specimen in its natural state, prepare a water mount first and photograph it before applying any stain.
Pro Tip: Prepare slides inside a still-air box or laminar flow cabinet. Airborne contaminants, including environmental fungal spores, settle onto open slides within minutes in a standard room. A contaminated slide produces false positives that are extremely difficult to distinguish from the target species at 40× magnification.

What microscopy techniques optimise spore imaging and documentation?
Systematic examination follows a hierarchical approach that every experienced microscopist uses. You begin at low power and progress to higher magnification only once you have located the area of interest. Skipping straight to 40× is the single most common mistake made by beginners, and it wastes time.
Scanning at 10× magnification first gives you a broad view of the preparation, allowing you to identify regions with good spore density and minimal debris. Once you locate a productive area, switch to 40× to examine spore morphology in detail. At this magnification you can assess shape (ellipsoid, subglobose, fusiform), surface texture (smooth, verrucose, echinulate), and the presence of structural features such as germ pores or septa.
Key imaging parameters for reproducible results
- Set camera resolution to 640×640 pixels as a minimum for downstream image analysis compatibility
- Use consistent illumination: Köhler illumination aligned before each session
- Capture at least 10 representative fields per slide to account for preparation variability
- Save images in TIFF format rather than JPEG to avoid compression artefacts
- Record metadata: magnification, stain used, species, date, and microscope model
Documentation standards for research-grade datasets
| Parameter | Recommended setting | Reason |
|---|---|---|
| Image resolution | 640×640 px minimum | Supports AI model training and analysis |
| File format | TIFF | Lossless; preserves fine surface detail |
| Magnification documented | 10× survey + 40× detail | Enables hierarchical review |
| Fields captured per slide | 10 minimum | Reduces sampling bias |
| Expert annotation | Manual labelling of spore boundaries | Facilitates machine learning workflows |
Expert annotation of captured images, where a trained microscopist manually labels spore boundaries and identifies morphological features, is the foundation of any dataset intended for AI-assisted classification. Without annotated reference images, automated tools have no reliable baseline to work from. For Sporebuddies readers building personal reference libraries, even informal annotation (species name, key features noted in a spreadsheet) dramatically improves the usefulness of your image archive over time. You can find practical guidance on microscopy tips and techniques to complement your imaging setup.
How can automated image analysis support spore identification?
Automated image analysis transforms microscopy from a purely observational practice into a quantitative one. Tools like HyphaTracker-App process time-lapse TIFF image sequences to detect spores based on size, shape, and proximity to hyphae, then output structured data in CSV format containing spore counts and dimensional measurements. This removes the subjectivity inherent in manual counting and makes large-scale studies practical.
The processing pipeline in most automated tools follows a consistent sequence:
- Noise filtering: Removes background artefacts and uneven illumination from raw images
- Thresholding: Converts greyscale images to binary (black and white) to isolate spore objects from background
- Region of interest (ROI) selection: Focuses analysis on defined areas to exclude slide edges and debris
- Object detection: Identifies individual spores based on size and shape criteria you define
- Data export: Outputs measurements including spore count, mean diameter, and aspect ratio to a CSV file for statistical analysis
Automated spore counting reduces manual effort significantly and supports early disease outbreak detection through concentration monitoring. For airborne spore surveillance, this capability is directly relevant to plant pathology and agricultural research. For hobbyist mycologists, even basic automated counting in ImageJ (a free, open-source platform from the National Institutes of Health) can tell you whether a spore syringe contains the density you expect before you commit it to a substrate.
Pro Tip: When setting thresholding parameters in ImageJ or HyphaTracker-App, always calibrate against a known reference image from the same batch. Lighting variations between microscopy sessions shift the optimal threshold value, and a setting that works perfectly on Monday’s images may miss 20% of spores on Wednesday’s.
Adapting automated workflows to new species requires re-calibrating size and shape filters. Spores of Ganoderma lucidum (reishi) are double-walled and truncate at one end, while Pleurotus ostreatus (oyster mushroom) spores are smooth and cylindrical. A filter set for one will misclassify the other. Build species-specific parameter profiles and save them as named presets to avoid recalibrating from scratch each session.
Key takeaways
A reliable fungal spore microscopy workflow depends on standardised preparation, consistent imaging parameters, and systematic documentation from the first slide to the final dataset.
| Point | Details |
|---|---|
| Standardise from the start | Fix imaging resolution, illumination, and magnification before collecting any data. |
| Choose stain deliberately | LPCB reveals structural detail but is irreversible; use water mounts when preserving natural morphology matters. |
| Follow the 10× to 40× sequence | Survey at low power first to locate productive areas before switching to detail magnification. |
| Document with metadata | Record species, stain, magnification, and date for every image to support future analysis. |
| Automate counting where possible | Tools like HyphaTracker-App and ImageJ convert subjective counts into reproducible quantitative data. |
Why I think most microscopy workflows fail before the slide is even made
After working through dozens of spore preparations, the pattern I keep seeing is the same: researchers invest in good microscopes and then undermine the results with inconsistent slide preparation. The microscope is the last place the problem shows up, but the preparation bench is where it starts.
The trade-off between staining and preserving natural morphology is one that most guides treat as a minor footnote. It is not. Staining is not merely cosmetic but a fundamental decision that changes what you can and cannot see. If you stain every preparation by default, you will miss subtle colour variations in spore walls that are diagnostically significant in some genera. If you never stain, you will struggle to resolve surface ornamentation at 40×.
My recommendation is to prepare two slides for every new species or strain: one water mount and one LPCB preparation. Photograph both before the water mount dries. This takes an extra five minutes and gives you a complete morphological record that a single preparation never can.
The other thing I would push back on is the assumption that automation is only for large research institutions. Free tools like ImageJ are accessible to anyone with a laptop and a USB microscope camera. Building the habit of quantifying your observations, even informally, changes how you think about what you are seeing. It moves you from “that looks like a lot of spores” to “this preparation contains approximately 340 spores per field at 40×.” That shift in precision is worth more than any equipment upgrade. For a solid starting point on the tools that make this possible, the spore microscopy tools guide at Sporebuddies covers the essentials clearly.
— Fabio
Build your microscopy setup with Sporebuddies
Sporebuddies stocks the equipment you need to run a proper fungal spore microscopy workflow from day one. The mycology equipment range includes compound microscopes suitable for 10× to 40× spore work, prepared staining reagents including LPCB, glass slides, coverslips, and sterile inoculation tools. If you are setting up a home lab or upgrading an existing one, the range covers both entry-level and research-grade options. Sporebuddies also supplies spore syringes and spore prints from well-documented strains, giving you consistent, high-quality material to practise your slide preparation workflow with. Everything ships within the UK, with clear guidance on legal use for microscopy and research.
FAQ
What is a fungal spore microscopy workflow?
A fungal spore microscopy workflow is the structured sequence of sample collection, slide preparation, microscope imaging, and image analysis used to identify and characterise fungal spores. Each stage must be standardised to produce reproducible results.
Which stain is best for fungal spore identification?
Lactophenol Cotton Blue is the standard stain for fungal spore identification because it highlights chitin-rich structures including spore walls, germ pores, and surface ornamentation. It also chemically preserves the preparation, making it suitable for archiving.
What magnification should I use to analyse fungal spores?
Start with 10× to survey the slide and locate areas with good spore density, then switch to 40× for detailed morphological observation. Oil immersion at 100× is used for very fine structural features such as wall layering.
Can I automate fungal spore counting?
Yes. Tools like HyphaTracker-App and ImageJ process microscopy images to detect and count spores automatically, outputting data on spore numbers and dimensions in CSV format. Calibrating thresholding parameters to each species and imaging session is necessary for accurate results.
How do I get consistent images for spore analysis?
Set a fixed camera resolution (640×640 pixels minimum), use Köhler illumination aligned at the start of each session, and capture at least ten representative fields per slide. Saving images as TIFF files rather than JPEG preserves fine detail for downstream analysis.
Recommended
- Spore Print to Slide Workflow: Preparing Mushroom Spores for Microscopy Spore Buddies
- Tools for Studying Mushroom Spores | Agar & Microscopy Essentials – Spore Buddies
- How to Study Mushroom Spores Under a Microscope – Spore Buddies
- Beginner Guide to Mycology Microscopy (UK): Tools, Magnification & Spore Study Spore Buddies