
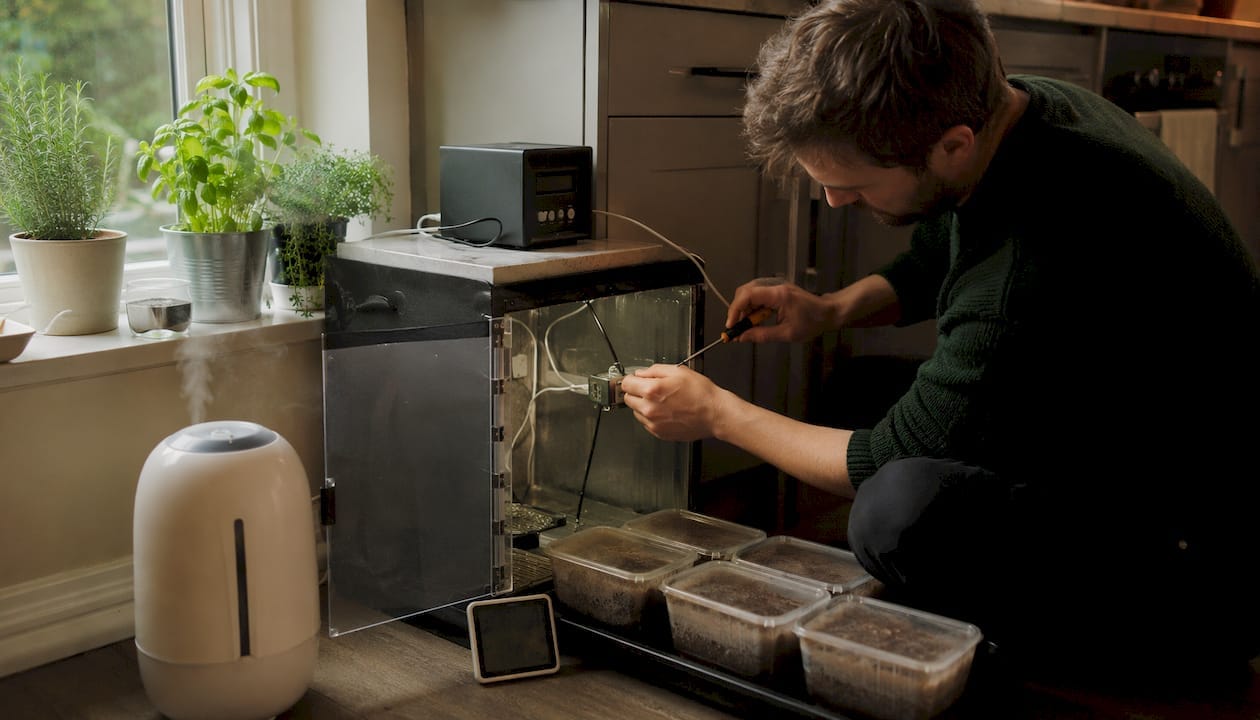
For home growers in the UK, the most practical types of mushroom cultivation automation are environmental sensing, climate control (humidity and temperature), ventilation timing, sterilisation support, incubation and fruiting chamber controllers, and simple camera-based monitoring. Together, these tools deliver three core benefits:
- Consistency – stable conditions across every flush, regardless of season
- Contamination reduction – fewer manual interventions mean fewer contamination entry points
- Time savings – automated alerts and controllers free you from constant manual checks
A quick legal note: under the Misuse of Drugs Act 1971, cultivating certain fungal species is controlled in the UK. Sporebuddies supplies legal spores for microscopy, research, and educational use only. Later sections cover three practical builds (budget, mid-range, and advanced) so you can choose a realistic starting point.
Table of Contents
- How does hobbyist automation differ from industrial mushroom farming?
- 1. Environmental sensing: the foundation of reliable growing
- 2. Climate control: humidifiers, humidistats, and foggers
- 3. Ventilation and air exchange: fans, timers, and CO2 management
- 4. Substrate preparation and sterilisation: what you can systematise at home
- 5. Incubation and fruiting chamber automation: controllers and builds
- 6. Cameras, monitoring, and future hobbyist tools
- 7. Three UK-ready example builds: budget, mid-range, and advanced
- 8. Safety, contamination control, and UK legal considerations
- 9. Where to source parts and supplies in the UK
- Key takeaways
- Sporebuddies: legal spores and cultivation supplies for UK home growers
- Useful sources and further reading
- FAQ
How does hobbyist automation differ from industrial mushroom farming?
Industrial mushroom farming uses automated bagging lines, robotic harvesters, and continuous sterilisers – systems that range from IoT sensors to full mechanisation. None of that is relevant or safe at home. Home automation focuses on stabilising conditions, not replacing labour with robots.
| Dimension | Industrial | Hobbyist |
|---|---|---|
| Cost/complexity | – | £20–£300, standard UK mains |
| Contamination risk | Managed by laminar flow rooms | Managed by SAB, clean technique |
| Scalability | Thousands of bags per day | Tens of bags per cycle |
Pro Tip: The two investments that give the biggest return at home are a humidity controller and a basic temperature/humidity sensor. Everything else builds on that foundation.
Passive systems such as monotubs with polyfill gas exchange can be highly effective for many species without any electronics at all. Automation at home means adding targeted control where manual methods are inconsistent – not replicating a factory.
1. Environmental sensing: the foundation of reliable growing
Accurate sensing is the single most cost-effective automation step for consistent results. IoT-based monitoring improves yield and quality by enabling real-time control of temperature and humidity — and the components are inexpensive.
Sensors to use:
- DHT22 / AM2302 – temperature and relative humidity; accurate to ±0.5°C and ±2–5% RH
- BME280 – temperature, humidity, and barometric pressure; useful for tighter calibration
- Inexpensive CO2 modules (MH-Z19B) – optional but valuable for fruiting chamber management
- Substrate moisture probes – useful for bulk substrate grows
- Light sensors (BH1750) – for automated lighting schedules
Place sensors near the substrate surface, away from direct fogger output. Calibrate against a reference thermometer before relying on readings. Set simple alert rules (push notification via a free app such as Home Assistant or a basic IFTTT webhook) so you know immediately if conditions drift.
For data logging, a Raspberry Pi or ESP32 controller paired with InfluxDB and Grafana gives you a local dashboard with no ongoing cloud cost. Cloud IoT dashboards (Adafruit IO, ThingSpeak) are simpler to set up but depend on internet connectivity.
2. Climate control: humidifiers, humidistats, and foggers
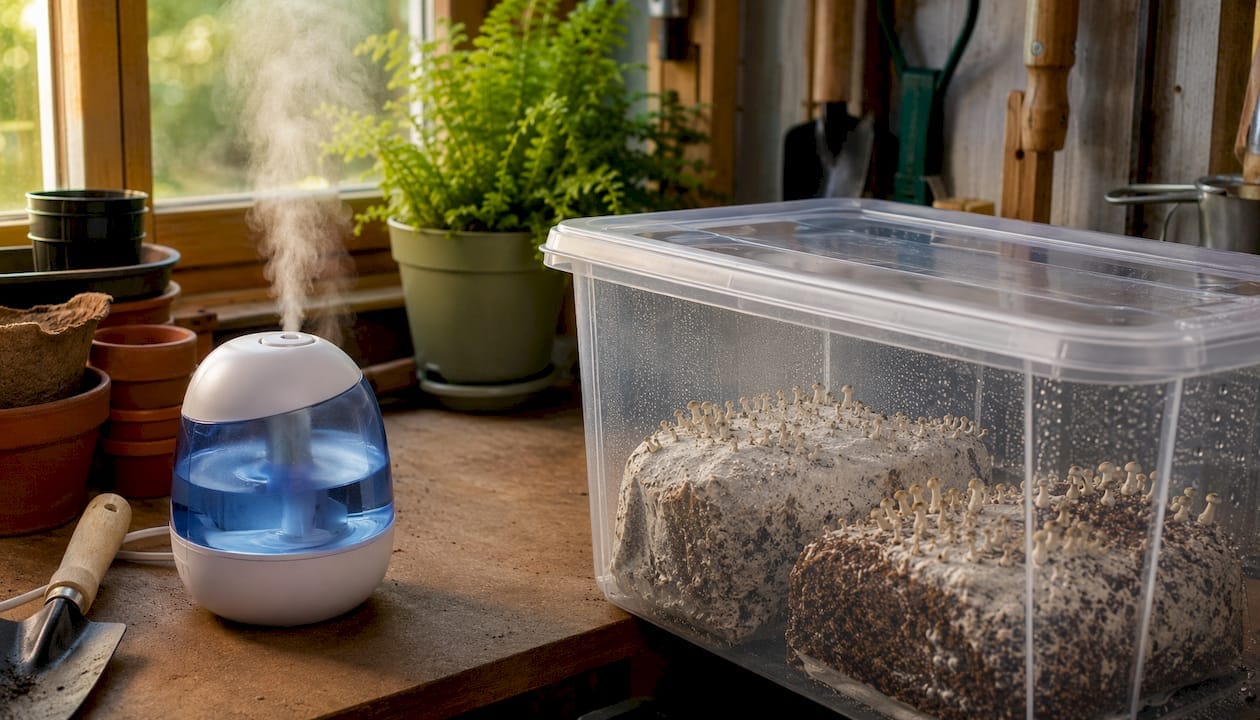
A humidifier paired with a humidistat is the most important climate-control automation for fruiting. Without it, you are manually misting several times a day.
| Device | Cost (approx.) | Pros | Cons |
|---|---|---|---|
| Ultrasonic humidifier | £15–£40 | Quiet, widely available | Reservoir needs weekly cleaning |
| Cool-mist fogger | £10 | Very fine mist, low heat | Can aerosolise contaminants if dirty |
| Ultrasonic mister disc | £5–£15 | Compact, easy to retrofit | Requires separate reservoir and wiring |
Controller approaches range from a simple plug-in humidistat, to smart plugs tied to sensor rules in Home Assistant, to microcontroller relay boards for finer regulation. For mushroom heating and temperature control, a basic PID thermostat paired with a heat mat covers most incubation needs.
3. Ventilation and air exchange: fans, timers, and CO2 management
Controlled, low-velocity air exchange is preferable to aggressive mechanical ventilation in small enclosures. Too much airflow dries pins and stalls growth; too little allows CO2 to accumulate and produces leggy, poor-quality fruiting bodies.
Practical ventilation options:
- Small axial fans (40–80 mm PC fans) on a 15-minute-on / 45-minute-off timer cycle
- Trickle-vent designs using polyfill-stuffed ports for passive CO2 exchange
- Carbon-filtered intake to reduce airborne contamination risk
- Exhaust fans with simple mechanical or digital timers (£5–£15)
Position fans to create indirect airflow — use a small baffle or direct air at the chamber wall rather than straight at developing pins. Avoid continuous high-flow exchange; you will lose humidity faster than your humidifier can replace it.
Pro Tip: Schedule ventilation cycles to run just after your humidifier cycle ends. The chamber gets fresh air while humidity is at its peak, so the net humidity drop is minimal.
4. Substrate preparation and sterilisation: what you can systematise at home
Reliable sterilisation reduces contamination, but full industrial autoclaving is unnecessary for most hobbyists. A pressure cooker and clean technique cover the vast majority of home grows.
Home sterilisation workflow:
- Mix your substrate to field capacity (roughly 60–65% moisture content).
- Pack into autoclavable bags or mason jars, leaving headspace.
- Pressure-cook at 121°C / 15 PSI for 90–120 minutes depending on volume.
- Allow to cool fully in a clean area before opening.
- Inoculate inside a still-air box (SAB) or under a laminar flow hood.
Pro Tip: If you do not yet have a pressure cooker, Sporebuddies stocks pre-sterilised substrates that remove this step entirely and reduce contamination risk for beginners.
5. Incubation and fruiting chamber automation: controllers and builds
An enclosed chamber with a simple controller produces more consistent results than ad hoc arrangements. Here is a sample configuration for common gourmet species:
| Parameter | Incubation setpoint | Fruiting setpoint |
|---|---|---|
| Temperature | – | 18–22°C |
| Relative humidity | – | Not critical |
| Lighting | Off or minimal | 12h on / 12h off |
| Fan cycle | Off | 15 min/hr |
Values are example starting points; adjust for your specific species.
DIY build components:
- Controller: basic PID thermostat or the GrowBuddie40 incubator for an off-the-shelf option
- Heat source: seedling heat mat or small aquarium heater
- Humidifier: ultrasonic unit on a plug-in humidistat
- Fan: 80 mm PC fan on a timer
- Enclosure: modified storage tote, grow tent, or purpose-built cabinet
Route cables neatly to avoid condensate drips on connections. Fit an RCD adaptor on the mains feed and use fused plugs throughout. A grow tent is a clean, ready-made enclosure that simplifies cable management and light control.
6. Cameras, monitoring, and future hobbyist tools
Cameras and simple image monitoring are high-value, low-cost additions for remote checks and early contamination detection. Computer vision is widely researched across the mushroom production chain, with deep learning leading in growth monitoring and grading — but practical hobbyist options are far simpler.
| Tool | Cost (approx.) | Use case |
|---|---|---|
| Raspberry Pi camera module | £10 | Time-lapse, remote viewing |
| Motion-triggered USB webcam | £15–£30 | Snapshots on movement |
| Off-the-shelf cloud camera | £20–£50 | Remote viewing, privacy trade-off |
For now, a Pi camera running a time-lapse script gives you a visual record of each flush and makes early contamination (green or black patches) visible before it spreads.
7. Three UK-ready example builds: budget, mid-range, and advanced
Budget build (sensor + humidifier, approx. £30–£60):
- DHT22 sensor + NodeMCU ESP32 board
- Plug-in ultrasonic humidifier + humidistat controller
- Free Home Assistant instance on an old phone or PC for alerts
- Benefit: Stable humidity without constant manual misting
Mid-range build (compact enclosure + controller, approx. £80–£180):
- Modified storage tote or small grow tent
- PID thermostat + relay board controlling heat mat and humidifier
- 80 mm fan on a mechanical timer
- LED grow light on a 12-hour timer
- Benefit: Reliable temperature and humidity across multiple species
Advanced build (integrated IoT dashboard + camera, approx. £150–£300):
- Raspberry Pi 4 running Home Assistant + InfluxDB + Grafana
- BME280 + CO2 sensor feeding live dashboard
- Pi camera for time-lapse and remote monitoring
- Automated relay control for heater, humidifier, fan, and lights
- Benefit: Full environmental logging, remote alerts, and visual records
Pro Tip: Buy the sensor and humidifier first. Run one flush with that setup before adding a camera or CO2 sensor. Incremental upgrades are cheaper and teach you more than buying everything at once.
| Build | Approx. cost | Key benefit |
|---|---|---|
| Budget | Approximately low cost | Stable humidity, minimal effort |
| Mid-range | Moderate cost range | Multi-parameter control |
| Advanced | Higher cost range | Full logging and remote monitoring |
8. Safety, contamination control, and UK legal considerations
Safety and contamination control are non-negotiable priorities. Automation helps, but it cannot replace sterile technique.
Hygiene checklist:
- Use a still-air box or laminar flow hood for all inoculations
- Wear nitrile gloves and a face covering during inoculation
- Wipe all surfaces with 70% isopropyl alcohol before and after use
- Dispose of spent substrate in sealed bags before composting
For electrical safety, fit an RCD adaptor on any mains circuit that includes water-adjacent devices (humidifiers, heaters, foggers). Use fused plugs rated for the device load, label all cables, and never leave a running humidifier unattended in an unsealed enclosure.
9. Where to source parts and supplies in the UK
Buy controllers and electrical components from recognised UK retailers (Amazon UK, RS Components, Pimoroni), and source spores and specialist mycology kit from Sporebuddies for legal compliance.
Practical buying tips:
- Check that any controller or adaptor is rated for UK mains (230V / 50Hz)
- Choose pre-sterilised substrate if you lack pressure-cooking capability
- Prefer suppliers with clear return policies for electrical items
- Source legal spore syringes and prints from Sporebuddies for verified UK compliance
- Browse mycology equipment and supplies for agar plates, microscopes, and sterilised substrates
- Avoid unknown blog-style shops and never purchase supplies that contravene UK law
Key takeaways
Home mushroom cultivation automation is most effective when you start with environmental sensing and humidity control, build incrementally, and always prioritise sterile technique over electronic complexity.
| Point | Details |
|---|---|
| Sensor first | A DHT22 or BME280 sensor plus a humidistat is the highest-return first investment. |
| Sterilise reliably | Pressure-cook substrate at 121°C / 15 PSI and inoculate in a SAB or laminar flow hood. |
| Start small | The budget build (£30–£60) covers the essentials; add cameras and CO2 sensors later. |
| Legal compliance | Source spores from legal, verified UK suppliers and check the Misuse of Drugs Act 1971. |
| Sporebuddies | Sporebuddies supplies legal spores, pre-sterilised substrates, and electrical cultivation equipment for UK home growers. |
Sporebuddies: legal spores and cultivation supplies for UK home growers
Growing mushrooms at home becomes significantly more reliable when your supplies are sourced from a UK-based specialist that understands both the legal framework and the practical needs of hobbyists. Sporebuddies stocks everything covered in this guide: legal spore syringes and prints (including Golden Teacher, B+, and other popular strains) for microscopy and research use, pre-sterilised substrates that remove the pressure-cooking step, and a full range of mushroom cultivation equipment including controllers, heat mats, grow tents, and LED lights. All products are supplied with UK mains compatibility in mind. Browse the mushroom spores category to find legal options suited to your project, and check the substrate range if you want to skip sterilisation and get straight to inoculation.
Useful sources and further reading
Sporebuddies internal resources:
- Substrate recipes for maximising yields – substrate formulation and performance guidance
- Mushroom heating and temperature control – heater and controller product advice
- GrowBuddie40 digital incubator – off-the-shelf incubation option
- Mycology science and education – background reading on cultivation science
Research sources:
| Source | Why it is useful |
|---|---|
| Towards smart mushroom farming | Covers the full automation spectrum from IoT sensors to robotics |
| IoT-based mushroom cultivation system (MDPI) | Evidence for IoT improving yield and quality at small scale |
| Metamorphosis of mushroom production (Springer) | Microcontroller vs IoT platform comparison for hobbyists |
Always verify that any technical resource you follow is consistent with current UK law and safe electrical practice.
FAQ
What is the cheapest automation upgrade for a home mushroom grow?
A plug-in humidistat (£10–£20) connected to an ultrasonic humidifier is the lowest-cost, highest-impact upgrade, providing stable fruiting humidity without manual misting.
Is it legal to grow mushrooms at home in the UK?
Gourmet species such as oyster, shiitake, and lion’s mane are fully legal to cultivate. Certain other species are controlled under the Misuse of Drugs Act 1971; spores from Sporebuddies are supplied for microscopy and research use only.
Do I need a Raspberry Pi to automate my fruiting chamber?
No. A basic plug-in PID thermostat and a humidistat handle temperature and humidity control without any coding. A Raspberry Pi or ESP32 adds data logging and remote alerts, but they are optional upgrades.
How do I prevent contamination in an automated setup?
Sterilise substrate at 121°C / 15 PSI, inoculate in a still-air box or laminar flow hood, and clean humidifier reservoirs weekly. Automation reduces manual contact but does not substitute for sterile technique.
What types of mushroom cultivation automation suit complete beginners?
Start with a temperature/humidity sensor and a plug-in humidistat. Once you have a stable first flush, add a fan timer for ventilation. Camera monitoring and CO2 sensing are useful next steps once the basics are reliable.