
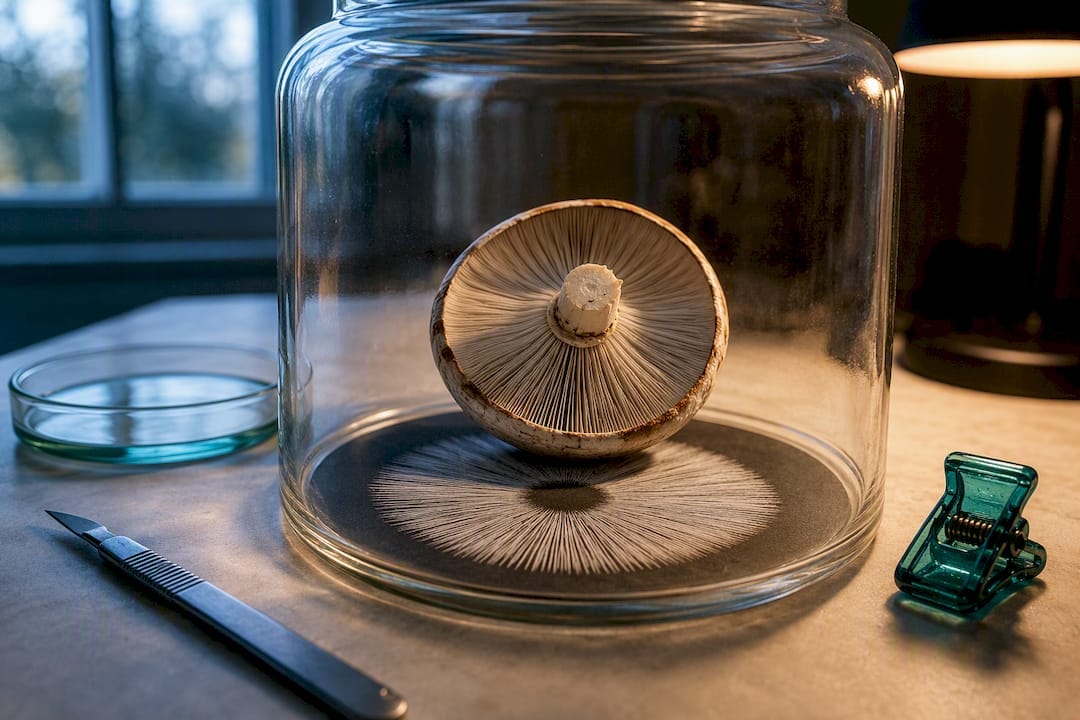
Make a usable spore print by removing the stem, setting the cap gill-side down on paper that contrasts with the expected spore colour, covering it with a jar or bowl, then waiting 4 to 12 hours before lifting it carefully. Most gilled mushrooms deposit visible spores within that window, though faint sporeers may need to wait overnight. Where you’re unsure of the colour, split the paper half white and half black to catch pale and dark spores alike.
TL;DR:
- Most mushroom spores deposit within 4 to 12 hours, but faint spore producers may need up to 24 hours for a clear print.
- Using contrasting paper, such as split white and black, helps distinguish pale and dark spores when colour is uncertain.
- Proper preparation, including cleaning tools with isopropyl alcohol and selecting fresh, mature caps, is essential to avoid smear and contamination.
- Storing dried prints in sealed, labeled containers with silica gel extends their usability for years and supports genetic analysis.
- Spore colour guides can narrow down mushroom genus groups but require additional evidence like gill attachment and habitat for reliable identification.
Table of Contents
- What you need for spore print making
- How do you make a spore print step by step?
- Why is my spore print faint or smeared?
- What does spore colour tell you about the mushroom?
- How do you store and preserve a spore print?
- How spore prints connect to microscopy and cultivation
- Where to find the tools and supplies for spore printing
- Sources
- FAQ
What you need for spore print making
Gather everything before you cut a single stem. Spore print making rewards preparation, and half the failed prints hobbyists send us questions about trace back to a missing background sheet or a surface that soaked up the deposit before it could be read.
- Plain white printer paper or white card, plus black card or dark paper for contrast
- A clear jar, glass, or bowl large enough to fully cover the cap
- A sharp knife or scalpel for a clean stem cut
- Disposable gloves and 70% isopropyl alcohol for wiping tools and surfaces
- Labels, small zip-lock bags, and silica gel sachets for storage once the print is done
- Optional: glass microscope slides, if you plan to examine spores later rather than just read the colour
Foil or a glass slide works as a backup surface when paper feels too absorbent for a delicate species. Wipe your knife and the surface you’re working on with the alcohol before you start; a contaminated blade can smear bacteria or old spores onto a fresh cap and confuse the result.
How do you make a spore print step by step?
Photograph the mushroom before you touch it. Get the cap from above, the gills from below, the point where gills meet the stem, the stem base, and a shot of where it was growing. This isn’t fussy record-keeping for its own sake. A structured workflow that documents the specimen before disturbance and pairs the print with gill attachment and habitat gives a far more reliable identification than a print viewed in isolation.
- Trim the stem. Cut or snap it close to the cap so the gills sit flat against the paper. A stem left too long tips the cap and skews the deposit to one side.
- Choose your background. Lay down your white sheet, or split the paper half white, half black, if you don’t yet know whether the spores will be pale or dark.
- Position the cap. Set it gill-side down, centred on the paper, gills making full contact with the surface.
- Cover it immediately. A jar, glass, or upturned bowl traps humidity around the cap and keeps the spores dropping rather than drying out mid-fall.
- Wait. Most species drop a readable deposit in 4 to 12 hours; slow depositors can take up to 24. Leave it overnight if you’re at all unsure.
- Lift straight up. Don’t slide the cap sideways, or you’ll smear the print and lose the clean outline that shows gill spacing.
- Photograph immediately in natural light, then note whether the deposit looks even across the whole circle or patchy and mixed, which can hint at more than one species contaminating the sample.
Pro Tip: Take three prints from the same cluster if you can spare the caps. Matching colour and texture across all three gives you real confidence; a single print leaves too much room for a fluke result.
Why is my spore print faint or smeared?
Four problems account for almost every disappointing print, and each one has a straightforward fix.
- Cap too young: it hasn’t started releasing spores yet. Pick a slightly more mature specimen with a flatter, more open cap.
- Cap too old: it has already dropped its spores in the wild or the gills have started to degrade and discolour. Look for a fresher cap from the same flush.
- Surface too absorbent: tissue paper or kitchen roll soaks spores straight into the fibres. Swap to plain printer paper, foil, or a glass slide.
- Smearing from early movement: if you lift or nudge the cap before the cover comes off cleanly, the deposit drags. Wait the full 4 to 12 hours and lift only when you’re ready to photograph, not before.
Coloured mould growing on the paper, rather than a clean spore deposit, means contamination has set in. That’s especially likely if you’ve left the print covered for well over 24 hours in a warm room. Discard it and start again with a fresh cap; a mouldy print won’t give you a trustworthy colour reading anyway.
What does spore colour tell you about the mushroom?
Colour alone won’t nail an identification, but it narrows the field fast. Spore-colour categories map onto broad genus groups, and these colour-to-genus links form one of the standard keys used in field identification.
- White or cream: common across many genera, including Amanita and numerous gilled species, so this category needs the most extra evidence
- Pink: points toward Entoloma and related groups
- Ochre to yellow-brown: typical of Cortinarius and its relatives
- Rusty brown: a strong signal for Paxillus and similar
- Purple-brown to blackish-brown: classic for Psilocybe and other dark-spored genera
- Blackish: seen in Coprinus and its relatives, often alongside gills that liquefy with age
- Greenish: rarer, but diagnostic where it appears, such as in certain Chlorophyllum species
Record deposit texture alongside colour: was it a smooth, even circle, or patchy with visible clumps? Gill attachment (free, adnate, decurrent) read against the print gives you a second axis of evidence. Many species share the same broad spore colour, so treat the print as a way to cluster possibilities before you check a proper field key, not as the final word.
How do you store and preserve a spore print?
Let the print dry fully before you seal it away; sealing it damp invites mould within days. Label it straight away with species (or your best guess), date, location, and any notes on habitat or smell, because memory fades faster than you’d expect once you’ve made a dozen prints in a season.
- Short-term (weeks to months): a sealed zip-lock bag with a silica gel sachet, kept somewhere cool and dark
- Medium-term (up to a year or so): the same sealed bag, refrigerated
- Long-term (years): sealed with fresh desiccant and kept in the freezer
Prints stored dry and cool this way can remain usable as a genetic reference for years, and one print can yield multiple spore syringes if you later want to work with them for cultivation rather than identification alone.
Pro Tip: If you want a print for display rather than future use, reach for artist-grade clear varnish or lacquer applied in a very light mist rather than hair spray. Hair spray tends to yellow over time and can smear a delicate deposit; varnish holds its clarity far longer.
Even with careful storage, paper prints can fade. Treat your photograph as the primary long-term record and the physical print as a useful backup, not the other way round.
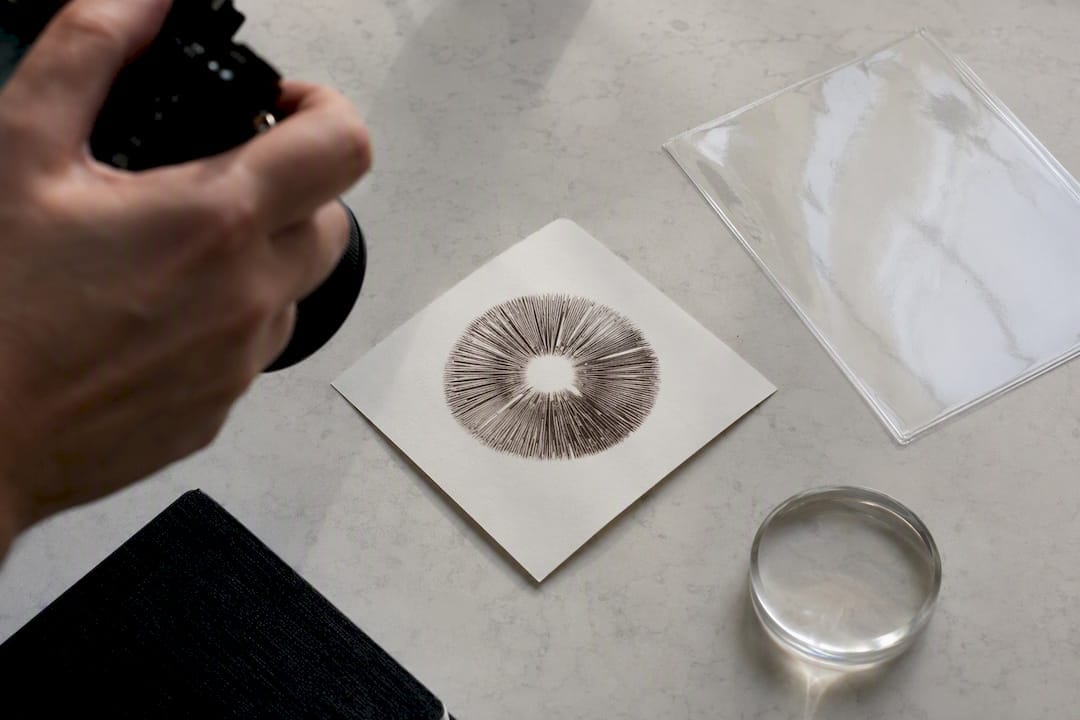
How spore prints connect to microscopy and cultivation
A clean, well-stored print isn’t just an identification tool. It’s the starting point for closer study and, for those interested in cultivation, for genetics you might want to preserve.
- Handled and stored correctly, a print can later be scraped to prepare a spore syringe or mounted on a slide for microscopy
- A guide to taking a mushroom spore print walks through the same method in more depth, with notes for UK foragers
- A microscopy and identification guide covers what to look for once you get spores under a lens
- For anyone building a collection over several seasons, a harvesting guide explains sterile technique for turning archived prints into syringes
If you’re teaching, studying, or simply building a personal reference collection, these resources sit alongside a wider blog for anyone with questions about handling or storage.
Where to find the tools and supplies for spore printing
You don’t need to buy anything to make your first spore print. Plain paper, a jar, and a mushroom from your garden or a local wood will get you a usable result today. Where Sporebuddies fits in is further down the line, once you’ve made a few prints and want to take the hobby further, whether that’s examining spores under a microscope, archiving genetics properly, or trying your hand at growing.
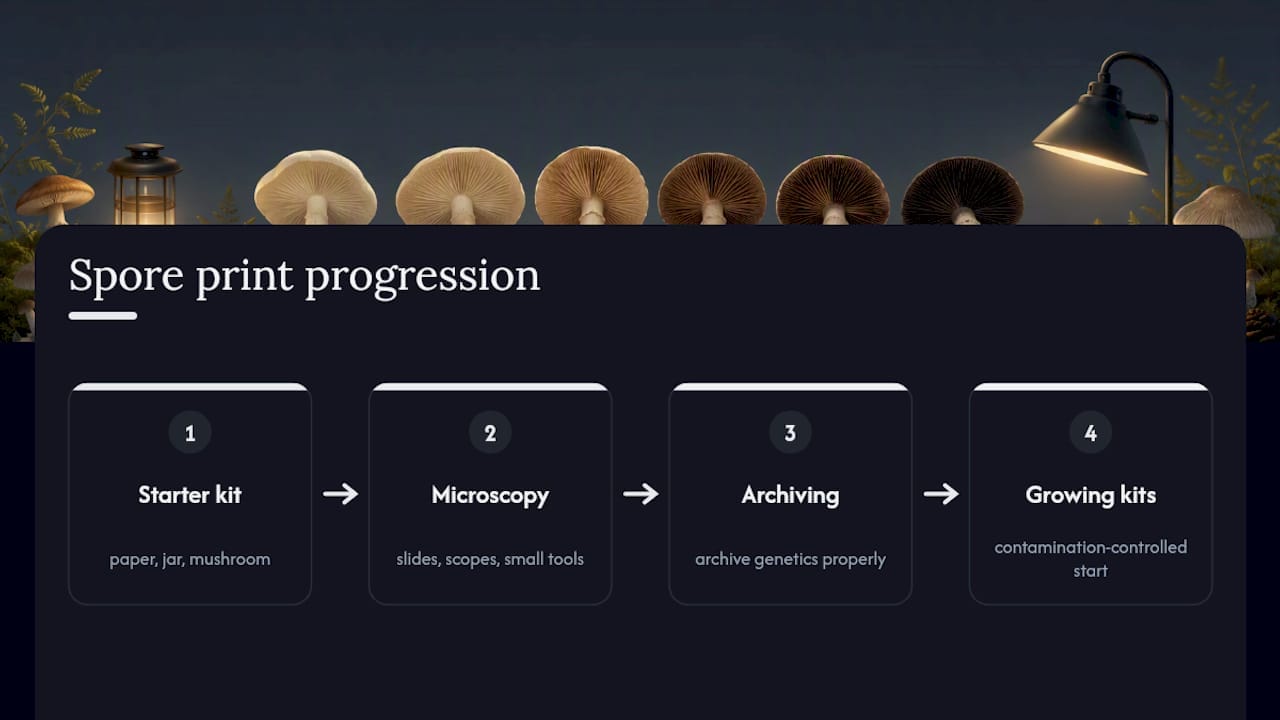
A microscopy and mycology equipment range covers slides, scopes, and the small tools that make close-up spore study easier than working with a kitchen knife and a jam jar. If a print sparks an interest in growing the same species yourself, mushroom growing kits provide a straightforward, contamination-controlled way to start, without needing a lab setup at home. None of this is required to make or use a spore print for identification. It’s simply there if the hobby grows on you the way it has on plenty of our customers.
Sources
- How to make a spore print — Wytham Woods
- Basic keys — EnglishFungi
- Spore prints: how to take one and what it tells you — LearnShrooms (2026)
- Mushroomidentification
FAQ
How do you make a spore print at home?
Remove the stem, place the cap gill-side down on plain white or contrasting paper, cover it with a jar or bowl, and leave it for 4 to 12 hours, lifting straight up when you’re ready to photograph it.
What is the point of a spore print?
A spore print reveals the spore colour, which narrows down the mushroom’s likely genus and, combined with gill attachment and habitat, helps build a reliable identification rather than a guess based on cap shape alone.
How can I make homemade mushroom prints?
Use household items: printer paper or card, a drinking glass or bowl to cover the cap, and a kitchen knife wiped with isopropyl alcohol. No specialist equipment is needed for a first attempt.
What does a good spore print look like?
A good print shows an even, unbroken circle of colour matching the shape of the gills beneath the cap, with a clear edge and no smearing or patchy gaps across the deposit.
How long should I wait before checking my spore print?
Check after 4 hours for a light deposit, but most reliable results come between 4 and 12 hours; leave faint sporeers overnight before deciding the print has failed.