
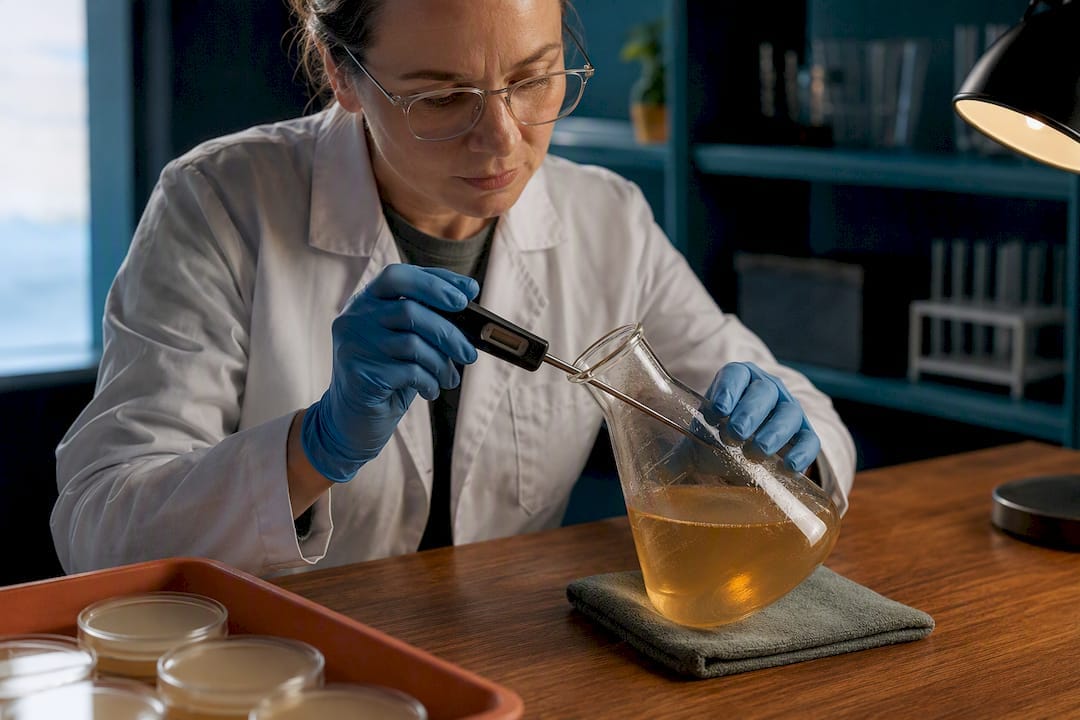
Pour your molten agar at 50 to 60°C, dispense a small volume into a 90 mm plate (a smaller volume for a 60 mm dish), and do it all near a flame or in a laminar flow hood. Anything hotter fogs the lid with condensation; anything cooler sets before it levels out. Every batch also needs proper autoclave sterilisation first. Get those three variables right and you have solved most of what causes ruined plates.
Table of Contents
- What you need before pouring agar plates
- How do you prepare agar medium before pouring?
- What autoclave settings sterilise agar media safely?
- When should you add antibiotics to cooling agar?
- How do you pour agar plates without contaminating them?
- Common problems when pouring and setting agar plates
- How long do poured agar plates last in storage?
- Sporebuddies resources for agar plate supplies
- Get set up for agar work with Sporebuddies
- Sources
- FAQ
What you need before pouring agar plates
Before you touch a flask, gather everything so the molten agar never sits around waiting on you. Common media include Lysogeny Broth (LB) agar for general bacterial work, nutrient agar for teaching demonstrations, and Tryptic Soy Agar (TSA) for a broader range of organisms. Calculate your total volume by multiplying the number of plates by your target fill, then add a small excess to avoid remaking a batch mid session, a habit backed by the Addgene pouring protocol.
Your shopping list should cover:
- Petri dishes in the size you need. Standard 90 mm dishes suit most bacterial and fungal work, while 60 mm dishes suit small teaching sets.
- An autoclavable bottle or flask with headroom for boiling media.
- A digital or lab thermometer to confirm your pouring window.
- A graduated cylinder or repeating pipette dispenser for consistent volumes.
- Gloves, safety glasses, and a heat-resistant surface near your Bunsen burner or flow hood.
How do you prepare agar medium before pouring?
Weigh your agar powder against the manufacturer’s recipe rather than guessing. A typical LB agar premix runs at about 37 g per litre, so scaling to 220 mL means weighing out the proportional amount rather than eyeballing a scoop, following the measurement approach the Addgene protocol walks through.
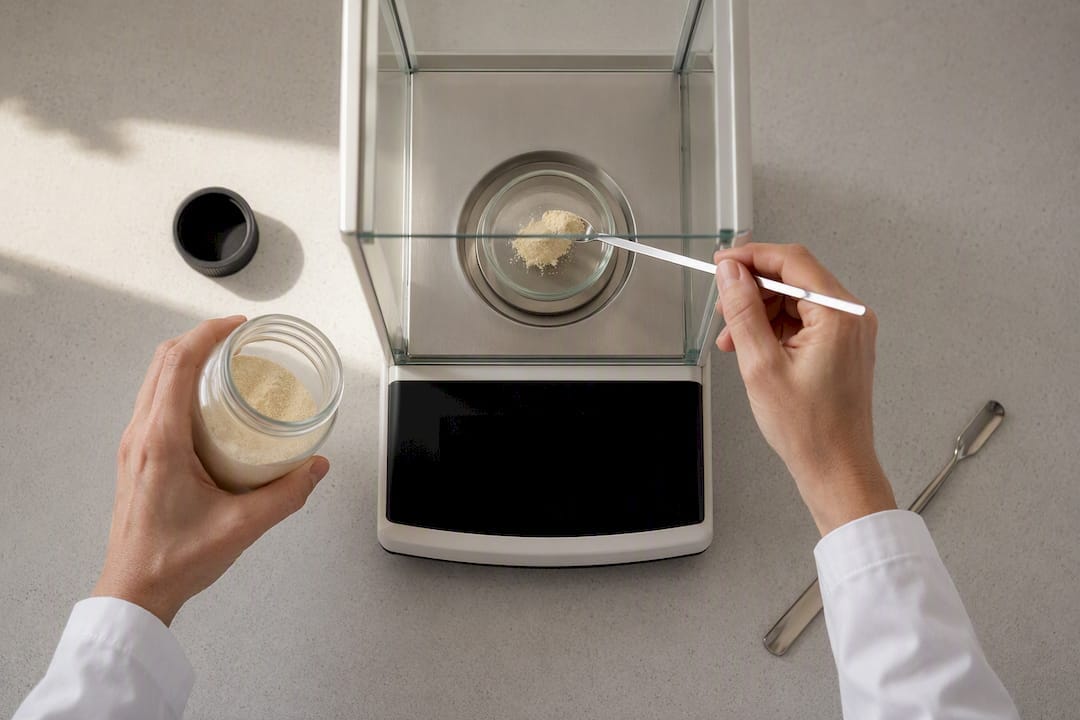
Suspend the powder in about 70% of your final volume first, then top up with water once it is mixed. This stops clumping at the bottom of the flask and gives the agar room to hydrate evenly before you add heat.
Dissolve it using one of these methods:
- A magnetic stirrer with a hot plate, which gives even heating and avoids scorching.
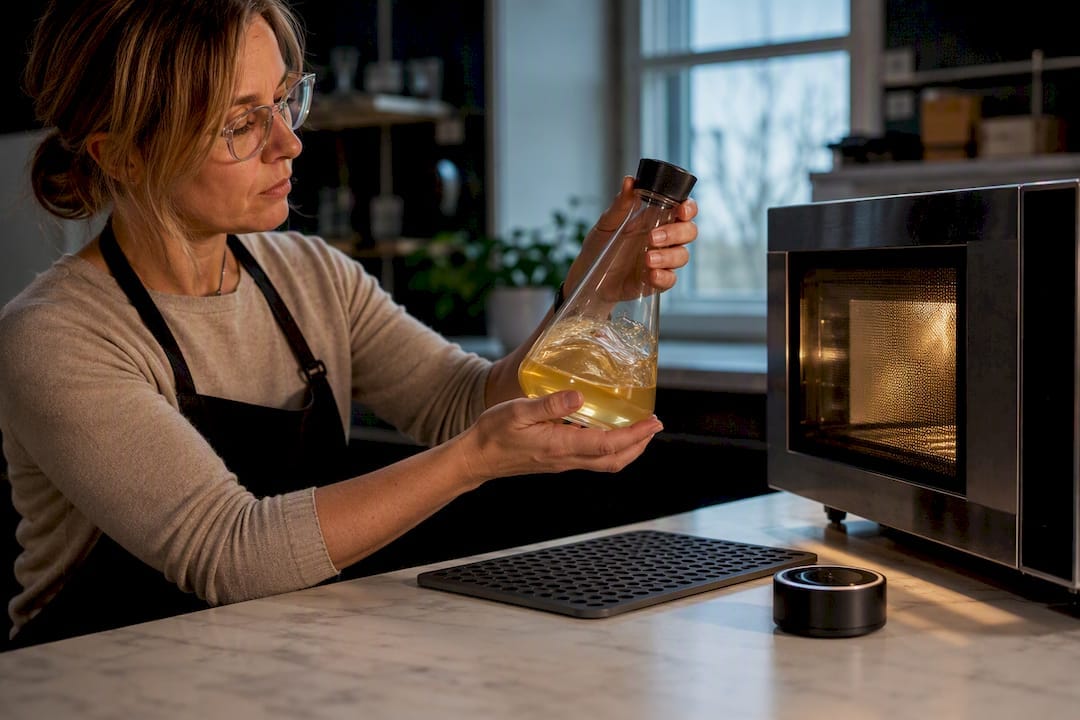
- A microwave in short bursts, swirling between each one to redistribute heat.
- A steam autoclave cycle, which dissolves and sterilises simultaneously.
Fully dissolved agar looks clear, not cloudy or grainy, with no visible flecks floating in suspension. If you see brown streaks or a burnt smell, you have overheated it and the gel strength will suffer.
Pro Tip: Swirl the flask gently every 30 seconds during microwave heating rather than leaving it running continuously. Agar can superheat and erupt out of the container the moment it is disturbed, and a slow, steady approach avoids that entirely.
What autoclave settings sterilise agar media safely?
Sterilise your prepared media at 121°C, typically at 15 psi, for a time depending on the volume in the bottle, a standard confirmed by Biology LibreTexts’s pouring agar plates guide. Larger volumes need longer cycles because heat takes longer to penetrate the centre of the liquid.
Fill bottles to only half or two thirds of their capacity. Media expands and can boil over during the pressure release phase, and a bottle filled to the brim is a mess waiting to happen inside your autoclave chamber.
Before you start the cycle:
- Label bottles with the media type, date, and your initials using autoclave tape that survives the heat.
- Loosen caps slightly so steam can penetrate, then retighten before removal.
- Let the chamber depressurise fully before opening, and handle bottles with heat-resistant gloves.
- Watch for signs of a failed cycle: media that looks unchanged in colour or consistency, or a chamber that never reached pressure, both mean you should re-run the sterilisation rather than trust the batch.
When should you add antibiotics to cooling agar?
Wait until your agar has cooled to a moderately warm temperature before adding any heat-sensitive supplement, a window the CSH Protocols LB agar recipe treats as the safe zone for antibiotic addition. Pour it any hotter and you risk denaturing the antibiotic before it ever does its job.
A water bath set to hold that range keeps your whole batch at a steady, workable temperature while you pour plate after plate, rather than watching it cool and thicken as you go.
Practical steps for handling additives:
- Prepare a concentrated 1000× antibiotic stock in advance and keep it on ice until the moment you mix it in.
- Add the stock directly to the flask, then swirl gently rather than shaking, which introduces bubbles.
- If the agar starts to set before you finish pouring, return it briefly to the water bath rather than remelting it on a hot plate, since repeated heating weakens the gel.
How do you pour agar plates without contaminating them?
Set up your workspace properly before you crack open a single dish. Wipe the bench down with 70% ethanol, and either light a Bunsen burner or confirm your laminar flow hood has been running for at least 15 minutes, a precaution CLEAPSS’s guidance on aseptic pouring recommends letting airflow clear any settled particles. A laminar flow hood gives the lowest contamination risk, but a still air box or a careful flame technique is genuinely adequate for teaching labs and hobbyist setups where a hood is not on hand.
Once you are set up, work through each plate methodically:
- Open the Petri dish like a clamshell, holding the lid at an angle rather than removing it entirely.
- Pour molten agar into the base until the surface just covers the bottom, following the technique described in Biology LibreTexts’s pouring agar plates guide.
- Swirl the dish gently to spread the agar evenly across the surface, then close the lid immediately.
- Flame the neck of your flask or bottle briefly between each plate to kill any organisms that landed on the rim.
- Repeat one plate at a time rather than lining several open dishes up in advance.
For consistent depth, dispense with a graduated cylinder or a repeating pipette rather than pouring freehand. If bubbles appear on the surface, a gentle swirl usually disperses them, or a very brief pass of a flame just above the surface pops the largest ones. Hold that flame well clear of the plastic rim, though. Get too close and you will warp or melt the dish edge.
Pro Tip: Keep a spare, unopened Petri dish nearby as a lid rest. Setting a hot lid directly on the bench, even briefly, invites dust and airborne spores onto the one surface you need to stay clean.
Common problems when pouring and setting agar plates
Agar depth is not a cosmetic detail. It changes how antibiotics diffuse through the gel, and for antibiotic susceptibility testing the accepted standard is 4 ± 0.5 mm, which works out to roughly 25 mL in a 90 mm plate, according to guidance from Microbe Online’s culture media preparation guide.
A quarter millilitre matters more than it sounds. Pour a shallower or deeper layer than that 4 ± 0.5 mm window and your inhibition zones shift, throwing off susceptibility results even when everything else about the test is correct.
Work through this checklist when something goes wrong:
- Bubbles trapped in the gel: usually caused by vigorous stirring during mixing. Pour more slowly and swirl rather than shake next time.
- Heavy condensation on the lid: almost always means the agar went in too hot. Drop your pouring temperature closer to 50°C and let plates dry lid-up, slightly ajar, for 20 to 30 minutes before stacking.
- Agar that never sets: points to an incorrect agar concentration, degraded reagent, or a recipe error during weighing.
- Suspected contamination: incubate a control plate alongside your batch, ideally with a known resistant strain and a known susceptible strain, to confirm your media and any antibiotic are both working as intended, a check outlined in the Addgene protocol.
- Any plate showing unexpected colonies, discolouration, or fuzzy growth before use should be discarded, not salvaged.
How long do poured agar plates last in storage?
Let plates sit undisturbed on the bench until fully set, which usually takes 20 to 30 minutes, then invert them lid down before storing. This stops condensation dripping onto the agar surface, where it can pool and encourage the exact contamination you just worked to prevent.
Once set and dry:
- Stack inverted plates in sleeves of ten to twenty, sealed with parafilm or placed in a plastic bag to slow moisture loss.
- Label every stack with the media type, the date poured, and your initials or those of the preparer.
- Store at 4°C in a refrigerator, where most media stays usable for several weeks, though moisture loss and airborne contamination both shorten that window.
- Avoid remelting agar plates that have already set. Repeated heating and cooling breaks down gel strength and shortens shelf life every time you do it.
Sporebuddies resources for agar plate supplies
If you would rather skip the pouring stage entirely, Sporebuddies’s pre-poured agar plates are ready to inoculate straight out of the pack. For those building their own setup, the agar and growth medium preparation range covers powders and measuring kit, alongside Petri dishes in standard sizes.
- Pre-poured plates for anyone short on sterile workspace or time.
- Agar powders and preparation accessories for readers pouring their own.
- Petri dishes sized for both hobby and teaching use.
Check each product page for specifications and handling notes before you order.
Get set up for agar work with Sporebuddies
Pouring your own plates gives you control over recipe, depth, and cost per batch, but it does demand a sterile workspace and an autoclave cycle you can trust. Sporebuddies stocks the equipment that closes that gap, including a laminar flow hood built for hobbyist and educational benches where a full clean room is not realistic. Pair that with mycology equipment and supplies covering agar, dishes, and measuring kit, and you have everything this guide describes in one order rather than five.
If contamination has been derailing your batches, the contamination in cultivation guide is worth reading alongside your next pour. And once your plates are set and ready for inoculation, browse the mushroom spore syringes to put them to work.
Sources
- Addgene: Pouring LB Agar Plates
- 1.19: Pouring Agar Plates – Biology LibreTexts
- LB 1.5% Agar Plates without and with Antibiotic Supplements — CSH protocols
- Preparation of Culture Media: Step-by-Step Guide, Best Practices, and Troubleshooting — Microbe Online
FAQ
What is the protocol for pouring agar plates?
Prepare and autoclave your media at 121°C, cool it to 50 to 60°C, then pour 20 to 25 mL per 90 mm plate near a flame or in a laminar flow hood, closing each lid immediately after swirling to spread the agar evenly.
What is the best way to pour agar into a plate?
Open the dish like a clamshell rather than removing the lid fully, pour until the surface is just covered, swirl gently to distribute it, then close the lid right away to limit exposure to airborne contaminants.
What are the downsides of using agar plates?
Agar plates require sterile preparation, careful temperature control, and refrigerated storage with a limited shelf life. Poor technique during pouring also risks bubbles, condensation, or contamination that ruins a batch.
How do you pour agar plates without bubbles?
Swirl your flask gently rather than shaking it during mixing and pouring, since vigorous agitation introduces air. If bubbles do appear on the surface, a brief pass of a flame just above the agar usually pops them.