
Quick Answer
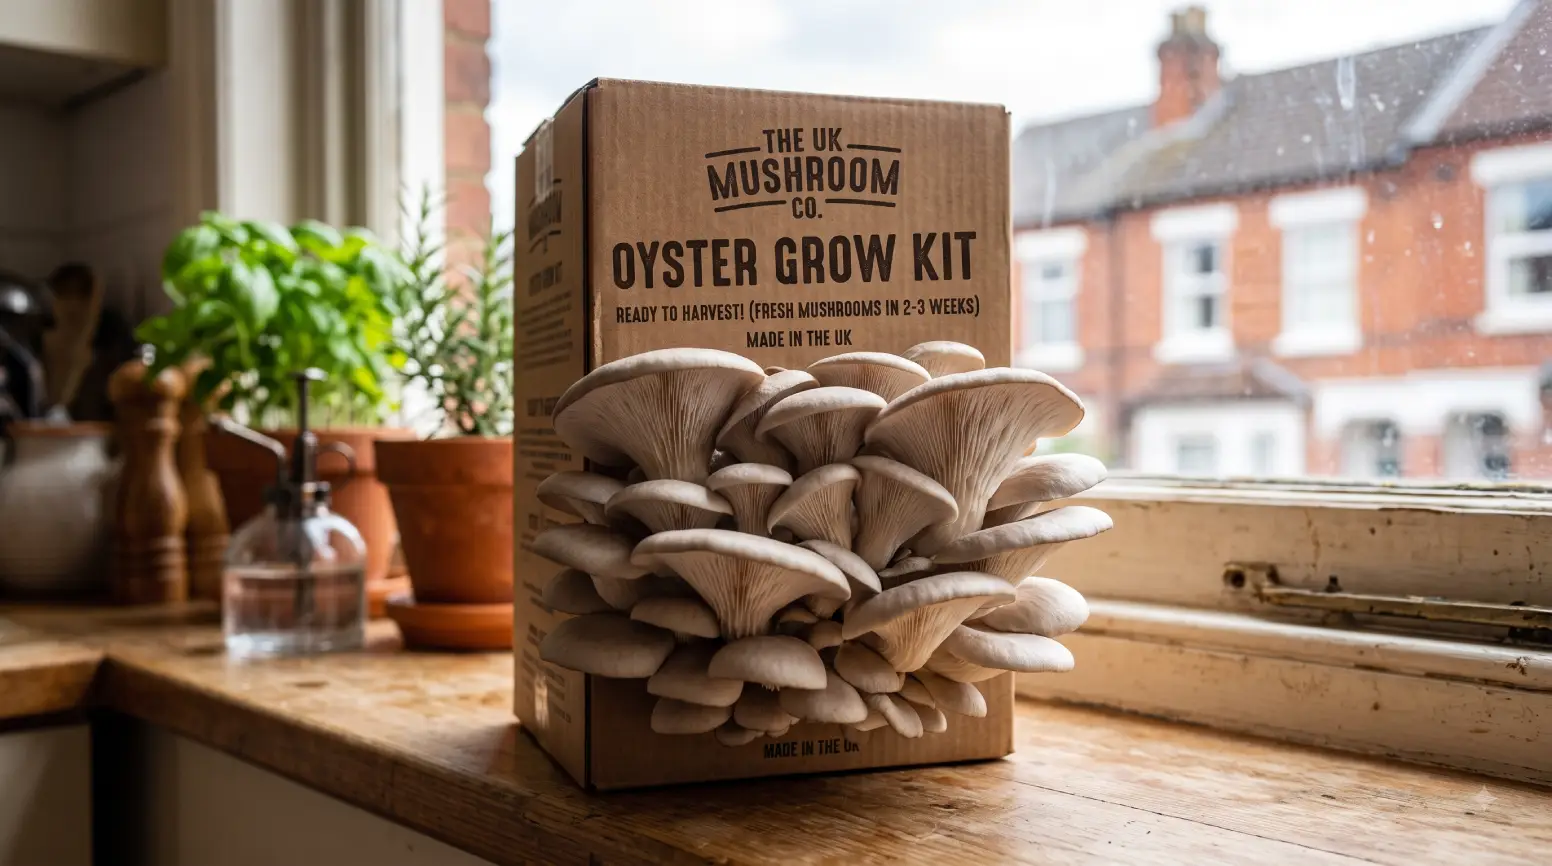
Oyster mushroom (Pleurotus ostreatus) growing kits are widely considered the easiest and most forgiving way to start home mushroom cultivation in the UK. A ready-to-fruit kit typically produces a first harvest within around two weeks, followed by two to three flushes totalling roughly 800g to 1.2kg, and needs little beyond daily misting, indirect light, and fresh air. Straw-based substrate is standard for this species, and choosing a fresh kit from an established UK supplier makes the biggest difference to your results.
Why Oyster Mushrooms Suit Beginners
Oyster mushrooms have earned their reputation as the beginner’s mushroom for good reason. They colonise a wide range of substrates quickly, tolerate a broader temperature range than many other cultivated species, and resist contamination better than more finicky varieties.
That combination of speed and tolerance is why most UK grow kit ranges lead with oyster varieties, and why they’re a sensible starting point even if you’re eventually planning to branch out into other species. Our beginner’s guide to growing mushrooms at home covers how oyster kits fit into the wider picture if you’re completely new to cultivation.
Types of Oyster Mushroom Grow Kits
Ready-to-fruit kits. The most common format sold in the UK. The substrate arrives already fully colonised by mycelium, so all the contamination-prone early work is done for you. You simply open or cut the bag, mist regularly, and wait for mushrooms to form. This is the format worth choosing for a first grow.
DIY spawn-and-substrate kits. These supply live spawn alongside substrate, usually straw pellets, for you to inoculate and colonise yourself. They’re cheaper per grow over time and give you a more hands-on understanding of the process, but they take longer to reach fruiting and carry a higher contamination risk since you’re managing the colonisation stage yourself.
Recycler-style kits. Some kits are designed to grow on household waste such as coffee grounds or cardboard. These are educational and low-cost, but generally less reliable for a guaranteed harvest compared with straw-based kits.
For a first attempt, a ready-to-fruit kit removes the most technical, failure-prone stage of the process and gives you the best odds of a successful, satisfying harvest.
Substrate: Why Straw Is Standard for Oysters
Oyster mushrooms are unusually versatile and will colonise straw, hardwood sawdust, coffee grounds, and cardboard among other materials. Straw remains the preferred substrate for this species specifically, for a few practical reasons.
Its fibrous structure holds moisture while staying open enough for good airflow, its cellulose content suits this particular fungus well, and it only needs pasteurisation rather than full sterilisation, which makes it considerably more accessible for home preparation than denser substrates. Coffee grounds are a popular alternative for their low cost, but pure coffee-ground substrates carry a meaningfully higher contamination risk from competing moulds, and generally give lower yields than straw.
Our substrate recipes guide covers substrate preparation in more depth if you’re moving beyond a pre-made kit toward preparing your own straw batches.
Growing Conditions Oyster Mushrooms Need
Temperature. Most oyster varieties fruit well between roughly 15 and 24°C, which suits typical UK household temperatures without much adjustment. Some specific varieties prefer narrower ranges, so it’s worth checking your specific kit’s guidance.
Humidity. This is the single most important factor. Oyster mushrooms need high humidity, generally in the 85 to 95% range, around the fruiting surface. Pins that form in too dry an environment will stall and dry out rather than developing further.
Fresh air exchange. Oysters are notably sensitive to stale air. Poor ventilation and carbon dioxide build-up produces the classic sign of trouble: long, thin stems with disproportionately small caps.
Light. Unlike some cultivated species that tolerate darkness well, oyster mushrooms need indirect light to develop properly. Insufficient light leads to pale, leggy growth.
Why This Matters: understanding these requirements before you buy, rather than troubleshooting after your first pins stall and dry out, saves a genuinely disappointing outcome from what should be one of the easier grows available to a beginner.
A useful rule of thumb for judging humidity: if damp laundry left in the same spot would dry out quickly, that environment is too dry for a mushroom kit to fruit reliably.
Setting Up Your Kit
- Unbox and inspect on arrival. Check the substrate looks healthy, fully colonised, and free of unusual colours or smells.
- Cut or open as instructed. Most ready-to-fruit kits need a cross or slit cut into the bag to expose the substrate to air.
- Position somewhere with indirect light and stable temperature. Avoid direct sun, radiators, and draughty spots.
- Mist once or twice daily. Aim the mist at the surrounding air and the substrate surface, not directly onto forming pins.
- Watch for pins within about a week. Small mushroom formations should appear at the cut site.
- Harvest before caps fully flatten. This generally gives better flavour and reduces spore release during harvest.
- Continue misting for further flushes. Most kits produce two to three harvests from the same substrate block, with each flush typically smaller than the last.
Pro Tip: mist the air and bag surface rather than pouring water directly onto developing mushrooms. Standing water on pins can cause them to rot or invite bacterial contamination rather than helping them along.
Pro Tip: twist mushrooms off gently at harvest rather than cutting, removing the whole cluster cleanly to reduce the chance of rot setting into leftover stem material.
Choosing a Kit
Buy fresh, from an established supplier. A freshly made kit from a supplier that stands behind its product with some form of grow guarantee gives you the best chance of success, since kit performance can decline the longer it sits in storage before you start it.
Match the variety to your space. Grey and pearl oyster varieties are the most tolerant of typical UK room temperatures and the most forgiving choice for a first grow. Some other oyster varieties prefer cooler or warmer conditions than a standard living space provides.
Consider kit size against realistic expectations. A standard kit producing under a kilogram across its flushes is normal, not a sign of a poor kit, so it’s worth setting expectations accordingly rather than assuming a larger harvest is guaranteed.
Common Mistakes
Letting the substrate dry out. This is the most common cause of failed or stalled grows. Once a pin set dries out and stalls, it generally can’t recover, so consistent misting matters more than almost anything else.
Misting directly onto forming pins. This can drown or rot young mushrooms rather than helping them develop. Mist the surrounding air and surface instead.
Poor ventilation. Stale, still air leads to long, thin stems and underdeveloped caps rather than a healthy harvest.
Starting the kit too late after it arrives. Kits can typically be stored for a period before use, but freshness declines over time, so it’s best to start as soon as reasonably possible.
Harvesting too late. Waiting until caps fully flatten out reduces flavour quality and increases spore release compared with harvesting slightly earlier.
A Note on Safety
Oyster mushrooms should always be cooked thoroughly before eating and never consumed raw, since raw or undercooked oyster mushrooms can cause digestive upset. Cooking until they’ve softened and released their moisture is generally sufficient.
Oyster mushrooms release large quantities of spores, which can be a mild respiratory irritant for sensitive individuals, particularly with heavy or repeated exposure. For a single kitchen kit this is a low-level consideration, but harvesting slightly before caps fully open and keeping the growing area ventilated both help.
It’s also worth noting that some oyster varieties, particularly golden oyster, are considered invasive to native fungal ecosystems if grown outdoors or composted where they can spread. Keeping kits indoors and disposing of spent substrate responsibly, rather than composting non-native varieties outdoors, is the sensible approach.
FAQ
How long does it take to get a harvest from an oyster mushroom kit? Most ready-to-fruit kits produce a first harvest within about two weeks of setup, with pins typically appearing within the first week.
How many mushrooms will I get from one kit? Most kits produce two to three flushes, commonly totalling somewhere between 800g and 1.2kg, though this varies by kit size and growing conditions.
Do I need any special equipment for an oyster mushroom kit? A spray bottle for misting is generally all that’s needed beyond the kit itself, along with a suitable spot with indirect light and stable temperature.
Can I use the same kit for a second harvest? Yes, most kits are designed to produce multiple flushes from the same substrate block, with each successive flush typically smaller than the one before.
What should I do with the substrate once it’s finished producing? Spent substrate from native oyster varieties can generally be composted or used as a soil conditioner. Non-native varieties are best disposed of rather than composted outdoors, given invasive species concerns.
Are oyster mushroom kits legal to buy and grow in the UK? Yes. Oyster mushrooms are a common culinary species with no controlled status, sold and grown without restriction across the UK.
Related Guides
- Growing Mushrooms at Home: A Beginner’s Guide
- Mushroom Grow Bags Explained: Types & Buying Guide
- Substrate Recipes for Maximising Mushroom Yields
- Monotub Grow Kits UK: Buyer’s Guide
- Functional & Gourmet Mushrooms: Cultures, Tinctures & Dried Mushrooms
About This Guide
SporeBuddies has supplied UK home growers with grow kits, substrate, and cultivation guidance for years, drawing on practical experience with oyster and other gourmet species. This guide reflects that background, helping first-time growers choose and set up an oyster mushroom kit with realistic expectations and a clear path to a successful harvest.
In Summary
Oyster mushroom growing kits remain one of the most reliable, beginner-friendly ways to start home mushroom cultivation in the UK. Choosing a fresh, ready-to-fruit kit, keeping humidity and fresh air consistent, and harvesting at the right time all contribute to a smoother grow than many other cultivated species demand. With modest equipment and a little patience, most home growers see their first harvest within about two weeks of getting started.
Browse our full range of oyster mushroom growing kits, or check our beginner’s guide to growing mushrooms at home if you’re just starting out.