
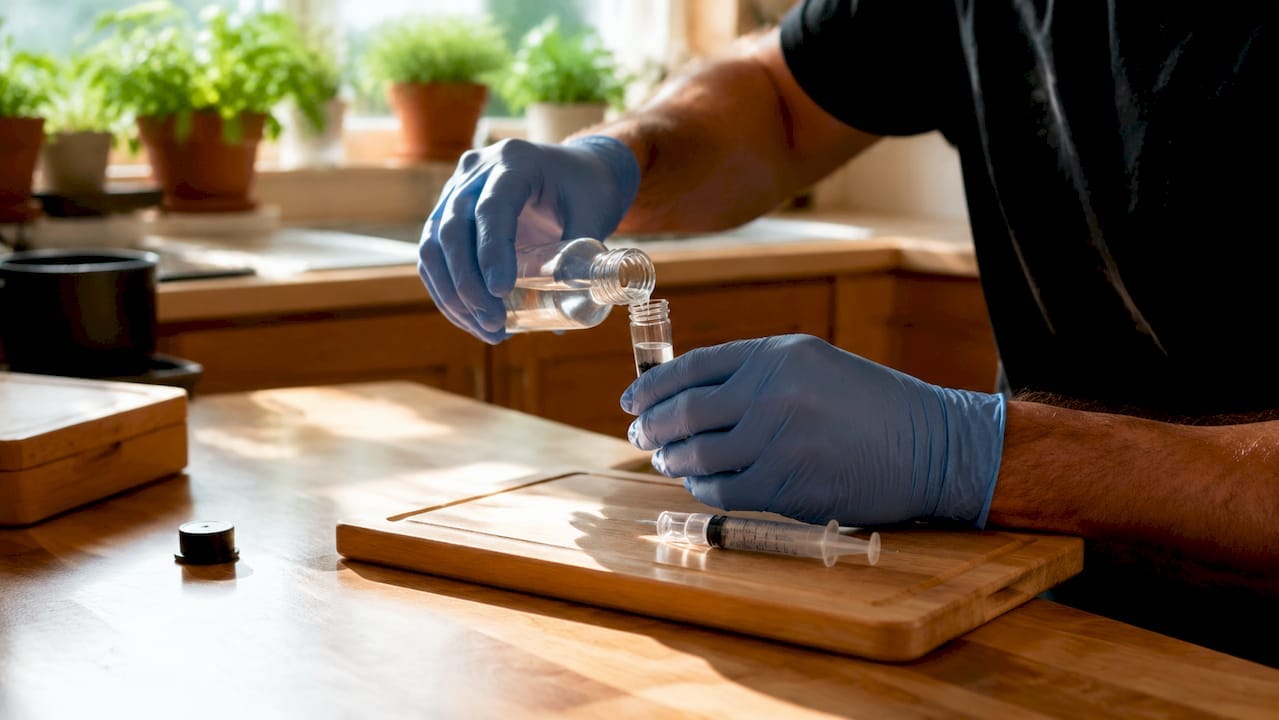
Mushroom spore rehydration is the process of suspending dried spores in sterile water to restore their viability for germination and cultivation. Without this step, spores from a dried print cannot be introduced to a substrate effectively. The process relies on three non-negotiable factors: sterility, precise moisture control, and stable temperature. Get these right, and you give strains like Golden Teacher, B+, or oyster mushrooms the best possible start. This guide walks you through every mushroom spore rehydration step, from gathering your tools to testing viability before you ever touch a substrate.
What are the mushroom spore rehydration steps?
Spore rehydration, known more formally in mycology as spore suspension preparation, involves introducing sterile distilled water to a dried spore print and drawing the resulting mixture into a sterile syringe. The goal is a uniform suspension of viable spores ready for inoculation. Contamination is the top cause of failure in home mushroom cultivation. That single fact explains why every step in this process prioritises sterility above all else.
The process is not complicated, but it is unforgiving. One lapse in technique, whether that is an unsterilised tool or a draught across your work surface, can render an entire batch useless. Understanding what you are doing at each stage, and why, is what separates a successful culture from a contaminated one.
What tools do you need before you start?
Preparation is the foundation of a clean rehydration. Gather everything before you begin, because reaching for a forgotten item mid-process introduces contamination risk.
Essential tools for spore suspension preparation:
- Sterile spore syringe (10–20 mL, with a needle gauge of 18–22)
- Distilled water (not tap water, which contains chlorine and minerals)
- Alcohol lamp or butane lighter for flame sterilisation
- Scalpel or sterile scissors to handle the spore print
- Sterile gloves and face mask
- Isopropyl alcohol (70%) for surface and tool sterilisation
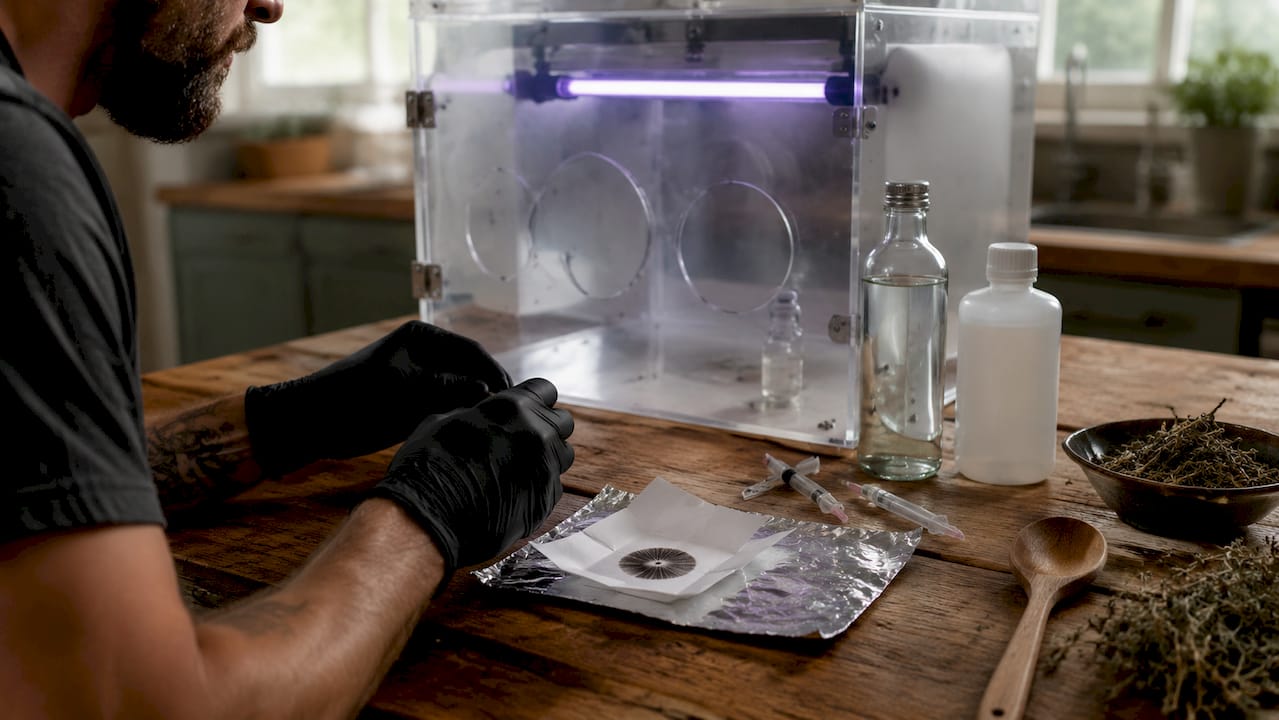
- Still Air Box (SAB) or a laminar flow hood
- Agar plates (optional but strongly recommended for viability testing)
A Still Air Box reduces airborne contamination risk more effectively than working in open air, even in a clean room. The SAB works by allowing air to settle before you begin, creating a low-turbulence zone that keeps contaminants away from your materials. You can build one from a clear plastic storage box with arm holes cut into the side.
Temperature and lighting matter too. Work in a room between 18–22°C and avoid direct sunlight on your materials. UV light can degrade spores, and excessive warmth encourages bacterial growth before you are ready to inoculate.
Pro Tip: Wipe down the inside of your Still Air Box with 70% isopropyl alcohol at least 15 minutes before you begin. This gives the alcohol time to evaporate and the air inside time to settle.
How to rehydrate mushroom spores step by step
This is the core of the spore hydration process. Follow each step in sequence and do not rush.
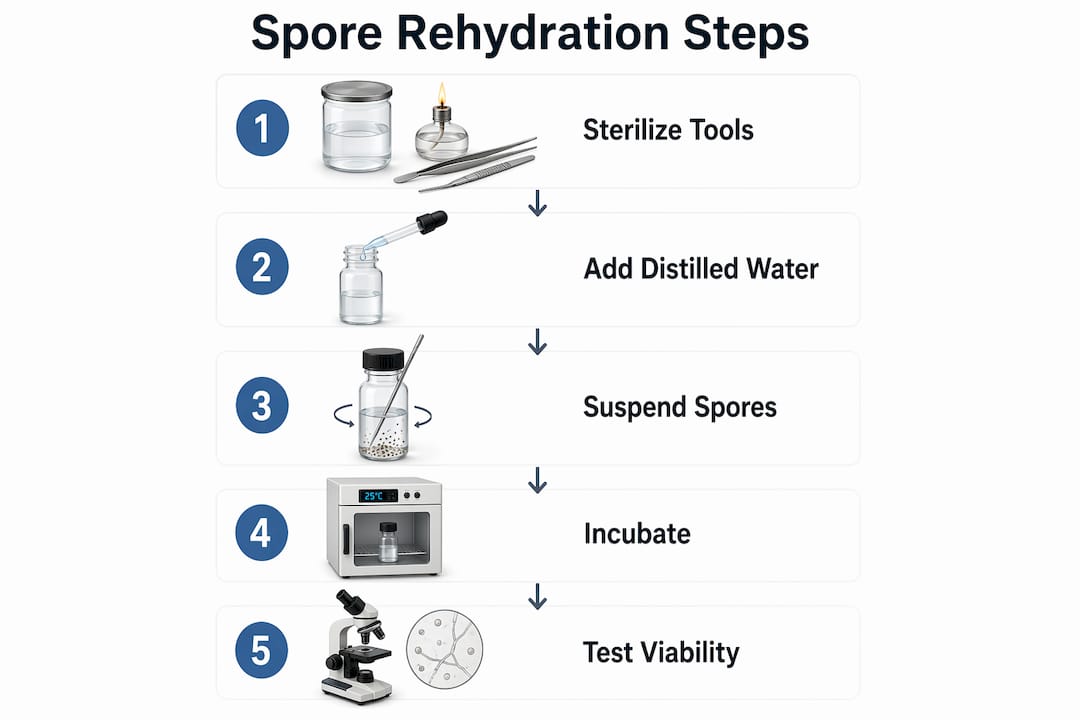
- Sterilise your workspace. Wipe all surfaces with 70% isopropyl alcohol. Put on gloves and a face mask. Place your tools inside the Still Air Box and allow the air to settle for 10–15 minutes.
- Prepare your syringe. Draw sterile distilled water into your syringe. If your water is not pre-sterilised, boil it and allow it to cool to room temperature before use.
- Position the spore print. Using sterile scissors or a scalpel, place the spore print face-up inside a sterile petri dish or onto a clean foil surface inside the SAB.
- Apply sterile water to the print. Introduce 1–5 mL of sterile water directly onto the spore print. Use the lower end of this range for small prints. This volume is enough to suspend the spores without flooding the print.
- Allow the spores to hydrate. Leave the water on the print for 5–10 minutes. You will see the water take on a faint purple, brown, or black tint as spores begin to disperse.
- Draw up the suspension. Using your flame-sterilised needle, draw the spore suspension back into the syringe. Move slowly to avoid introducing air bubbles.
- Agitate gently. Roll the syringe between your palms for 30 seconds to distribute spores evenly throughout the suspension.
- Seal and label. Cap the syringe with a sterile tip cover. Label it with the strain name and the date. Store in the refrigerator at 2–6°C if not using immediately.
| Step | Action | Key Detail |
|---|---|---|
| Water volume | Apply 1–5 mL to print | Use less for small or delicate prints |
| Hydration time | Wait 5–10 minutes | Water should visibly change colour |
| Drawing up | Use flame-sterilised needle | Slow, steady pull to avoid bubbles |
| Storage | Refrigerate at 2–6°C | Use within 30 days for best viability |
Pro Tip: Flame-sterilise your needle until it glows red, then allow it to cool for 10 seconds before it touches the print. A hot needle will kill spores on contact.
How do you test spore viability before inoculation?
Testing viability before committing to a full substrate inoculation is one of the most cost-effective habits you can build. Agar plate inoculation allows early detection of viable spores and contamination before you invest in grain spawn or bulk substrate.
The recommended approach is to inoculate one or two agar plates with a small amount of your spore suspension before proceeding to substrate. Incubate these plates at 21–24°C in a dark, humid environment. Mycelium emergence typically occurs within 7–10 days. If you see clean white mycelium spreading from the inoculation point, your suspension is viable.
For a fuller picture of what healthy germination looks like, Sporebuddies has a detailed resource on spore germination for home growers that covers what to expect at each stage.
Signs of healthy incubation vs. contamination:
| Observation | Healthy Culture | Contamination |
|---|---|---|
| Colour | White or off-white mycelium | Green, black, pink, or yellow patches |
| Texture | Fluffy or rhizomorphic growth | Slimy, powdery, or irregular |
| Smell | Faint mushroom or earthy scent | Sour, rotten, or chemical odour |
| Growth pattern | Spreading outward from inoculation point | Irregular or appearing before mycelium |
Maintaining a stable, dark, humid environment with regular monitoring is the most reliable way to catch contamination early. Check your plates every 48 hours. Remove and discard any contaminated plates immediately to prevent spores spreading to healthy cultures.
What goes wrong and how to fix it?
Even experienced growers encounter problems. Knowing what to look for saves you time and materials.
Common issues and their causes:
- No germination after 14 days. The spores may be dormant rather than dead. Dormant spores can revive under proper conditions; viability is not simply binary. Try a fresh agar plate with a slightly higher temperature (up to 26°C) and extended incubation.
- Green or black contamination on agar. This is almost always Trichoderma or Aspergillus mould. The cause is a break in sterile technique during rehydration or inoculation. Review your contamination prevention practices and start again with a fresh suspension.
- Wet, soggy substrate after inoculation. You have used too much suspension. Only 1–2 mL of spore suspension is adequate for most substrate jars. Excess moisture blocks air exchange and creates ideal conditions for bacterial contamination.
- Spores clumping in the syringe. This happens when water temperature was too high during preparation, or when the syringe was stored incorrectly. Always use room-temperature sterile water and store syringes upright in the refrigerator.
“Subtle moisture management separates successful cultures from contamination outbreaks.” This is the insight that most beginners learn the hard way. Getting the water volume right is not just about spore suspension quality. It directly determines whether your substrate breathes or drowns.
Patience is not optional in mushroom cultivation. Rushing incubation by raising temperatures beyond the recommended range stresses mycelium and weakens its resistance to contamination. Consistency in your environment is more valuable than any single piece of equipment.
Key takeaways
Successful spore rehydration depends on sterile technique, correct water volume, and consistent incubation conditions at every stage.
| Point | Details |
|---|---|
| Sterility is non-negotiable | Contamination is the leading cause of failure; use a Still Air Box and sterilised tools throughout. |
| Water volume matters | Apply 1–5 mL to the print and use only 1–2 mL per substrate jar to prevent over-saturation. |
| Test before inoculating | Agar plate testing confirms viability and catches contamination before you waste substrate. |
| Incubation conditions | Maintain 21–24°C in a dark, humid space and expect mycelium in 7–10 days. |
| Dormancy is not failure | Spores that do not germinate immediately may revive with adjusted conditions and patience. |
Get quality spores and supplies from Sporebuddies
Sporebuddies stocks a full range of sterile spore syringes covering popular strains including Golden Teacher, B+, and oyster mushroom varieties, all prepared under sterile conditions for home cultivation and research use in the UK. Alongside spores, you will find mycology equipment and supplies including agar plates, sterile substrates, and everything you need to set up a clean rehydration workflow from day one. Whether you are starting your first grow or refining an existing process, Sporebuddies has the materials to support every stage of your cultivation.
FAQ
How much water do you add to a spore print?
Apply between 1 and 5 mL of sterile distilled water directly onto the spore print. Use the lower end of this range for smaller prints to avoid over-wetting.
What temperature should rehydrated spores be incubated at?
Incubate rehydrated spores at 21–24°C in a dark, humid environment. Mycelium typically emerges within 7–10 days under these conditions.
Can dormant spores still germinate?
Yes. Dormant spores may not germinate immediately but can revive under proper conditions. Testing on agar plates and adjusting temperature slightly upward can improve germination rates.
Why use a still air box for spore rehydration?
A Still Air Box creates a low-turbulence, contaminant-reduced environment that open-air working cannot replicate. It is the most practical contamination control method for home growers without access to a laminar flow hood.
How long can a spore suspension be stored?
A properly sealed spore syringe stored in a refrigerator at 2–6°C remains viable for up to 30 days. Always label syringes with the strain name and preparation date.