
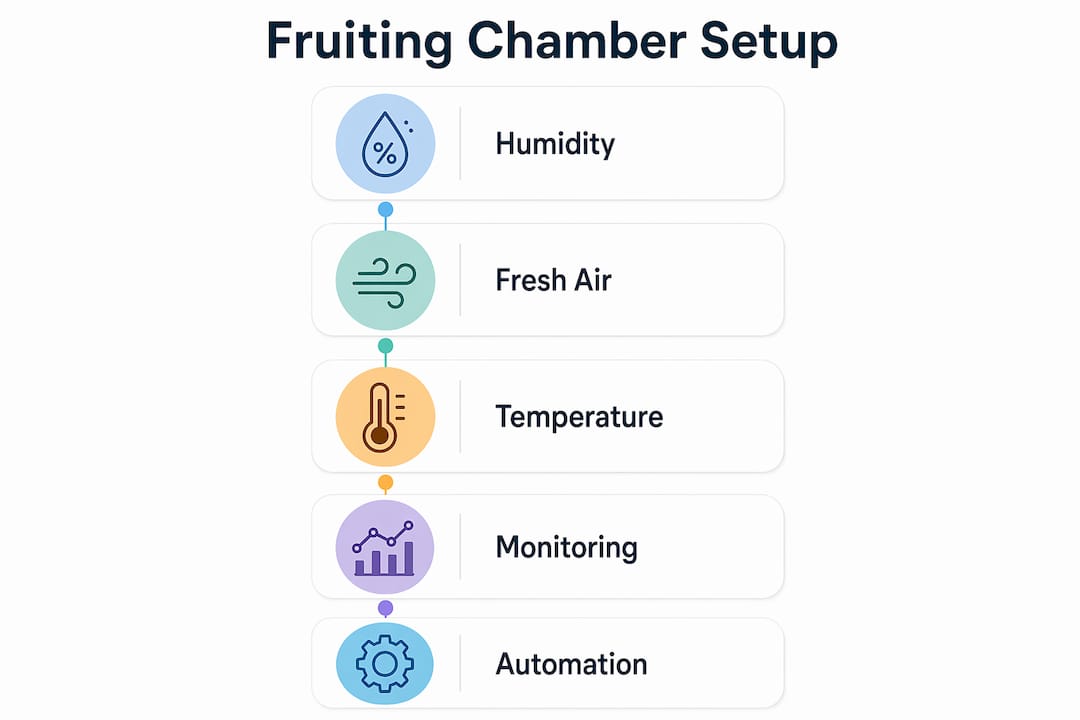
A mushroom fruiting chamber setup is the controlled environment that enables mushrooms to fruit successfully by balancing humidity, fresh air, temperature, and light. Without this control, your mycelium will colonise but never pin, or it will produce spindly, malformed mushrooms with little yield. The fruiting chamber, known in mycology as a “fruiting environment” or “fruiting enclosure,” is the single most important variable you manage after colonisation. Get it right and you will see dense, healthy flushes. Get it wrong and contamination, leggy stems, and bacterial blotch follow quickly.
What essential environmental conditions must a fruiting chamber maintain?
A fruiting chamber must maintain relative humidity between 85–95% at all times. Drop below this range and your mushrooms dry out, crack, and abort. Exceed it without fresh air exchange and you create the stagnant, wet conditions that breed disease.
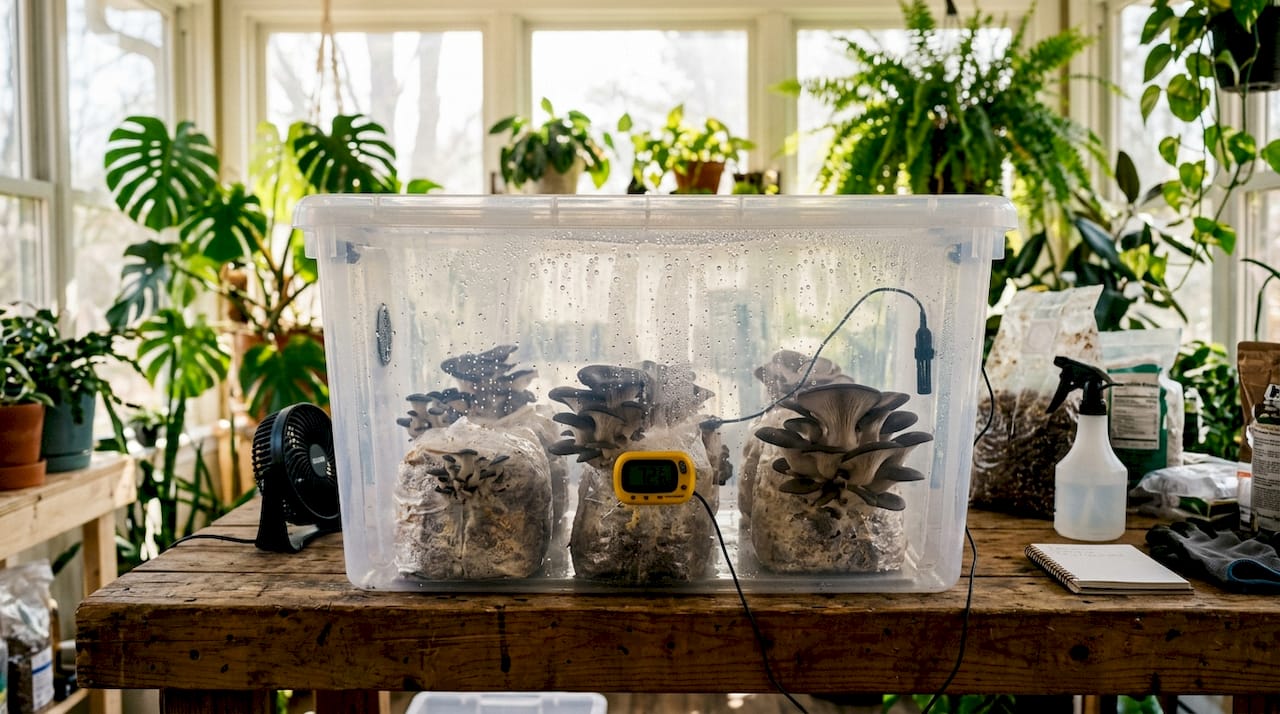
Fresh air exchange (FAE) is equally non-negotiable. CO₂ builds up as mycelium respires, and without regular air turnover, your mushrooms respond by growing elongated stems and tiny caps. This is the classic sign of a CO₂-rich environment, and no amount of extra humidity will fix it. FAE is the solution, not a secondary concern.
Temperature sits at the third pillar of your mushroom growing environment. Temperatures above 27°C increase contamination risk by encouraging moulds and bacteria. The recommended fruiting range is 16–24°C, which balances healthy growth speed with hygiene.
Light rounds out the four core parameters. Mushrooms do not photosynthesise, but light acts as a directional and timing cue. 12-hour cycles of indirect daylight signal mushrooms to begin pinning, mimicking the natural shift into autumn. A simple timer on a low-wattage LED strip handles this without any fuss.
Measuring and monitoring your chamber
- Hygrometer: Place a digital hygrometer at substrate level, not at the top of the chamber. Humidity stratifies, and readings at the top can be 5–10% higher than at the block surface.
- Thermometer: Use a min/max thermometer to catch overnight temperature dips, especially in winter.
- Timer: A mechanical or digital plug-in timer controls both your lighting cycle and your exhaust fan schedule.
- CO₂ indicator: Optional but useful for larger setups. Visible colour-change CO₂ indicators give a quick read without a digital meter.
Pro Tip: Place your hygrometer probe at the same height as your mushroom blocks, not at the top of the chamber. The reading at block level is the one that actually matters for fruiting.
How do you build the most popular fruiting chamber designs?
Home growers use four main chamber designs, each suited to a different scale and budget. The right choice depends on how many blocks you plan to fruit at once and how much automation you want to manage.

1. Shotgun fruiting chamber
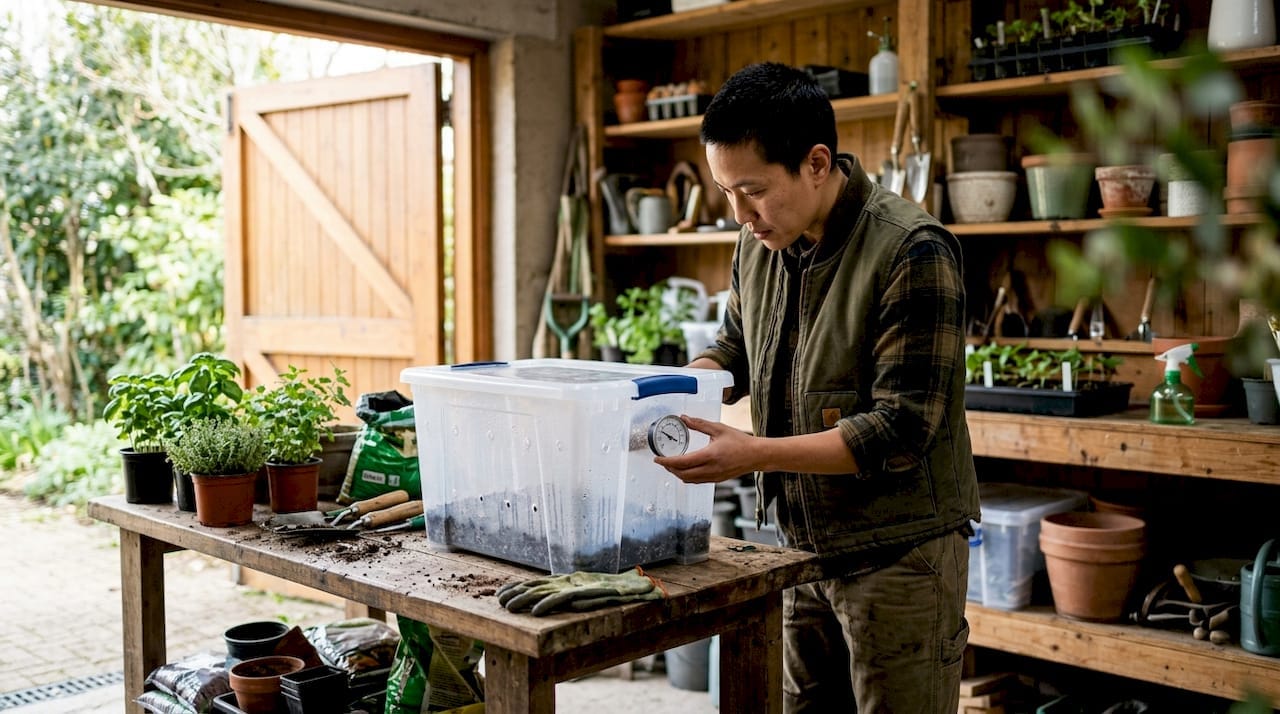
The shotgun fruiting chamber (SGFC) is the entry point for most beginners. You take a clear polypropylene storage tub, drill a grid of 6mm holes every 5cm across all six sides, and fill the base with a 5–8cm layer of damp perlite. Shotgun chambers provide passive air exchange via these drilled holes and maintain 85–92% humidity without any electronic equipment. The perlite acts as a humidity reservoir, releasing moisture slowly as it evaporates. This design works well for one or two blocks and costs under £15 to build.
2. Monotub
The monotub is a sealed or semi-sealed tub where the substrate itself provides most of the moisture. Monotubs use polyfill-stuffed holes for passive airflow control, allowing you to dial in fresh air exchange by adjusting the density of the polyfill. You only mist if the surface visibly dries out. This design suits bulk substrate grows, particularly for species like oyster and shiitake that tolerate slightly lower FAE.
3. Martha fruiting chamber
The Martha chamber is a step up in both scale and control. A Martha fruiting chamber combines greenhouse shelving with a plastic cover, a humidifier placed inside or below, and an exhaust fan at the top to pull fresh air through. Automation maintains 80–95% humidity across multiple shelves simultaneously. This design suits growers fruiting six or more blocks at a time and is the most popular choice for home growers who want consistent results without constant manual intervention.
4. Grow tent setup
A grow tent replaces the greenhouse shelving unit with a purpose-built indoor tent, typically 60x60x140cm or larger. You add an ultrasonic humidifier, a 4-inch inline fan for exhaust, and a lighting timer. Grow tents offer better light control, easier cleaning, and a more contained environment than open shelving. Sporebuddies stocks mushroom grow tent kits designed specifically for home fruiting, which removes the guesswork from sizing and component matching.
Comparing the four designs
| Design | Scale | Cost | Automation needed | Best for |
|---|---|---|---|---|
| Shotgun fruiting chamber | 1–2 blocks | Low | None | Beginners |
| Monotub | 1–3 blocks | Low | None | Bulk substrate grows |
| Martha chamber | 4–12 blocks | Medium | Humidifier, fan, timer | Intermediate growers |
| Grow tent | 4–20+ blocks | Medium to high | Full automation | Serious home growers |
How do you automate a fruiting chamber for consistent results?
Automation removes the need to manually mist and fan your chamber multiple times a day. For a Martha or grow tent setup, a digital humidity controller is the most important piece of kit you will buy. Set it to trigger your humidifier when relative humidity drops below 88% and switch off above 93%. This 88–93% RH window keeps mushrooms hydrated without creating the saturated conditions that cause bacterial blotch.
Fresh air exchange automation works on a timer rather than a humidity sensor. Run your exhaust fan for 1–2 minutes every 15–30 minutes. This cycle flushes CO₂ without dropping humidity too sharply. You can find suitable mycology electrical equipment including controllers and timers that integrate directly with humidifiers and fans.
Key automation components
- Digital humidity controller: Set trigger points at 88% (on) and 93% (off). Inkbird IHC-200 is a widely used option in the UK home growing community.
- Ultrasonic humidifier: Produces a cool mist that raises humidity quickly without heating the chamber. Position it so mist enters from below or the side, not directly onto blocks.
- 4-inch inline fan: Sized for most home chambers. Connect to a timer for scheduled FAE cycles.
- Lighting timer: Set to 12 hours on, 12 hours off. Use a low-wattage LED strip placed outside the chamber pointing inward to avoid heat buildup.
- Sensor placement: Mount your hygrometer probe at mid-shelf height, away from the humidifier outlet. A reading taken directly in the mist stream will be artificially high.
Pro Tip: Run your exhaust fan cycle during the day rather than overnight. CO₂ accumulates fastest when the chamber is sealed and warm, so daytime FAE cycles are more effective at preventing leggy growth.
Lighting automation on a 12-hour photoperiod does more than trigger pinning. It also gives you a reliable daily rhythm for checking your chamber, which makes it easier to spot problems early. Consistent observation is one of the most underrated mushroom cultivation tips for home growers at every level.
What are the most common fruiting chamber mistakes and how do you fix them?
Most fruiting chamber problems trace back to one of three errors: wrong humidity, poor airflow, or direct misting. Identifying which one you have is straightforward if you know the symptoms.
“Maintaining humidity without fresh air exchange creates stagnant wet conditions that promote bacterial blotch from Pseudomonas tolaasii. The goal is high ambient humidity combined with regular air movement. Surface water on blocks is the enemy, not the solution.”
Symptoms and fixes
- Leggy stems with small caps: CO₂ buildup. Increase FAE by adding more holes, increasing fan run time, or removing polyfill from existing holes.
- Fuzzy feet (white mycelium at stem bases): Fuzzy feet signal high humidity with insufficient fresh air exchange. Increase ventilation rather than reducing humidity.
- Bacterial blotch (brown, slimy patches on caps): Caused by stagnant wet air and surface water. Improve FAE, reduce misting frequency, and never spray directly onto blocks.
- Uneven humidity across shelves: Hot air rises and carries moisture with it. Rotate blocks between shelves every 24 hours, or add a small circulation fan inside the chamber.
- Contamination in warm weather: Temperatures above 27°C accelerate mould growth. Move your chamber to a cooler room, add a small fan to lower ambient temperature, or fruit only in the cooler months.
Mist chamber walls rather than blocks directly. The goal is to raise ambient humidity, not to wet the substrate surface. Standing water on blocks is the fastest route to bacterial blotch and wasted flushes. For a deeper look at keeping your grow clean, the Sporebuddies guide on preventing mould in mushrooms covers contamination prevention in detail.
Seasonal temperature changes catch many home growers off guard. In summer, a chamber that performed perfectly in spring may suddenly run too warm. Check your min/max thermometer daily during heatwaves and be prepared to shift your fruiting schedule or location.
Getting started with Sporebuddies’ growing supplies
Building a fruiting chamber is only part of the picture. You also need quality starting material and the right substrate to get consistent flushes. Sporebuddies supplies spore syringes for a wide range of species, from oyster and lion’s mane to Golden Teacher and B+, alongside mushroom substrate ready to use in your chamber. Every product is chosen with home growers in mind, and the Sporebuddies blog offers step-by-step cultivation guides to support you from inoculation through to harvest. Browse the full range at Sporebuddies to match your chamber design with the right supplies.
Key takeaways
A successful mushroom fruiting chamber setup requires maintaining 85–95% relative humidity, consistent fresh air exchange, a temperature of 16–24°C, and a 12-hour light cycle to trigger and sustain healthy fruiting.
| Point | Details |
|---|---|
| Humidity range | Keep relative humidity at 85–95%; drop below this and mushrooms abort or crack. |
| Fresh air exchange | Run exhaust fans for 1–2 minutes every 15–30 minutes to prevent CO₂ buildup and leggy growth. |
| Temperature control | Fruit at 16–24°C; temperatures above 27°C increase mould and bacterial contamination risk. |
| Misting technique | Mist chamber walls only, never blocks directly, to avoid bacterial blotch and surface water pooling. |
| Automation | Set a digital humidity controller to 88–93% RH and use timers for FAE and lighting cycles. |
FAQ
What humidity level does a fruiting chamber need?
A fruiting chamber needs relative humidity between 85–95%. Dropping below this range causes mushrooms to dry out and abort, while exceeding it without fresh air exchange promotes bacterial blotch.
How often should I exchange fresh air in my fruiting chamber?
Run your exhaust fan for 1–2 minutes every 15–30 minutes. This schedule flushes CO₂ without causing significant humidity loss inside the chamber.
What does “fuzzy feet” mean on my mushrooms?
Fuzzy feet are white mycelium growing at the base of stems and signal high humidity combined with insufficient fresh air exchange. Increase ventilation rather than reducing humidity to correct this.
Which fruiting chamber design is best for beginners?
A shotgun fruiting chamber is the best starting point. It requires no electronic equipment, costs under £15 to build, and maintains 85–92% humidity passively using damp perlite and drilled holes.
How do I stop bacterial blotch in my fruiting chamber?
Avoid misting blocks directly and prevent standing water on substrate surfaces. Improve fresh air exchange and keep ambient humidity high rather than wetting the blocks themselves.