
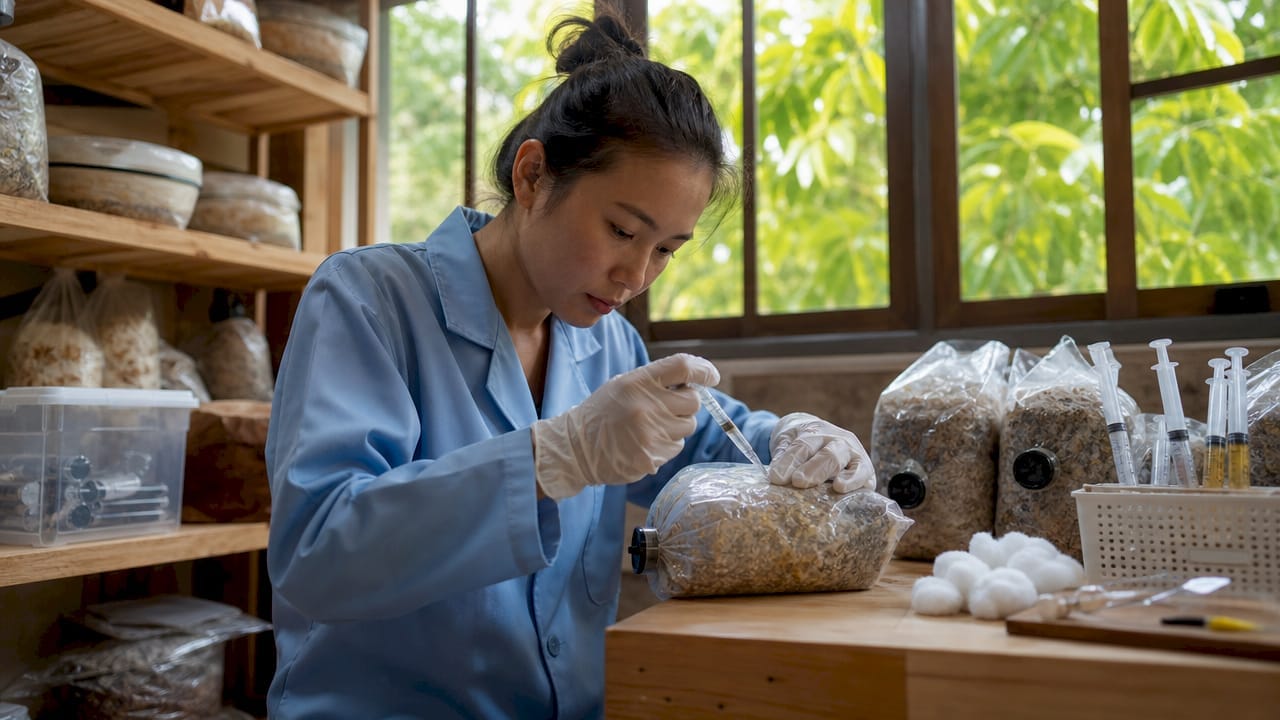
Mushroom bag inoculation is the process of introducing mushroom spawn into sterilised substrate bags to cultivate healthy mycelium and fruiting bodies. Getting the mushroom bag inoculation steps right is the single most important factor in whether your grow succeeds or fails. Contamination from mould or bacteria can destroy an entire batch within days, so sterile technique is non-negotiable. This guide walks you through every stage, from workspace setup and substrate preparation to spawn introduction, sealing, and post-inoculation care, so you can grow with confidence from your very first bag.
What tools and environment do you need before inoculating mushroom bags?
Preparation determines your outcome before you touch a single bag. Gathering the right tools and setting up a clean workspace removes most of the contamination risk before inoculation even begins.
Essential tools for bag inoculation:
- Sterile gloves (nitrile, single-use)
- Isopropyl alcohol wipes (70% concentration)
- Spore syringe or grain spawn jar
- Inoculation needle or scalpel (for liquid culture or spore syringes)
- Impulse sealer or self-sealing injection ports
- Sterilised substrate bags with filter patches
- Surgical mask (to reduce airborne contamination)
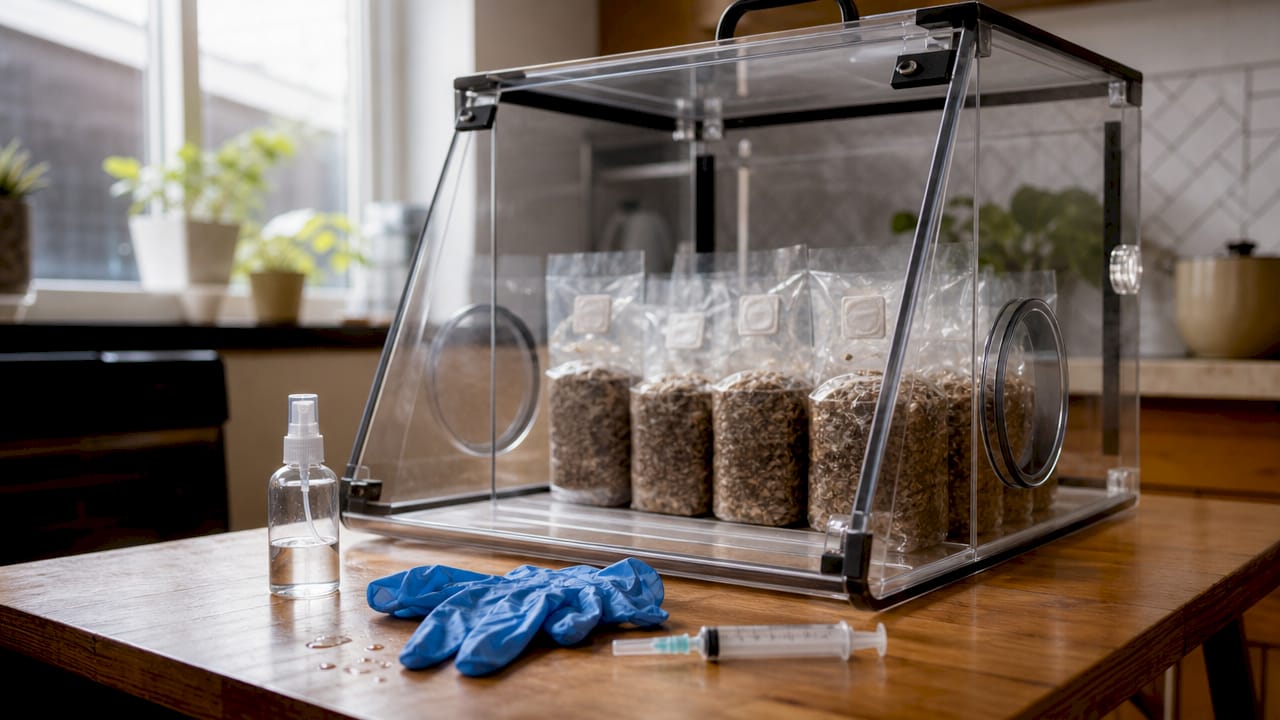
Your workspace matters as much as your tools. Working in a still air box or in front of a laminar flow hood minimises exposure to mould spores and bacteria that outcompete mycelium. A still air box (SAB) is a clear plastic tub with arm holes cut into the side. It traps air inside so contaminants settle before you begin. A laminar flow hood pushes HEPA-filtered air across your work surface in a steady, clean stream. Both are far safer than working in an open room.
Substrate preparation is the other half of this equation. Sterilised bags are typically processed at 15 PSI for 2.5 hours and must cool fully before inoculation to prevent bacterial contamination. Introducing spawn into a warm bag kills it. Allow bags to cool to room temperature, which usually takes 8–12 hours, before you begin.
Pro Tip: Never talk, cough, or sneeze over open bags or spawn jars. Even with a mask, unnecessary airflow near your work area increases contamination risk significantly.
Step-by-step mushroom bag inoculation process
The inoculation process itself follows a clear sequence. Skipping or rushing any step increases the chance of contamination or uneven colonisation.
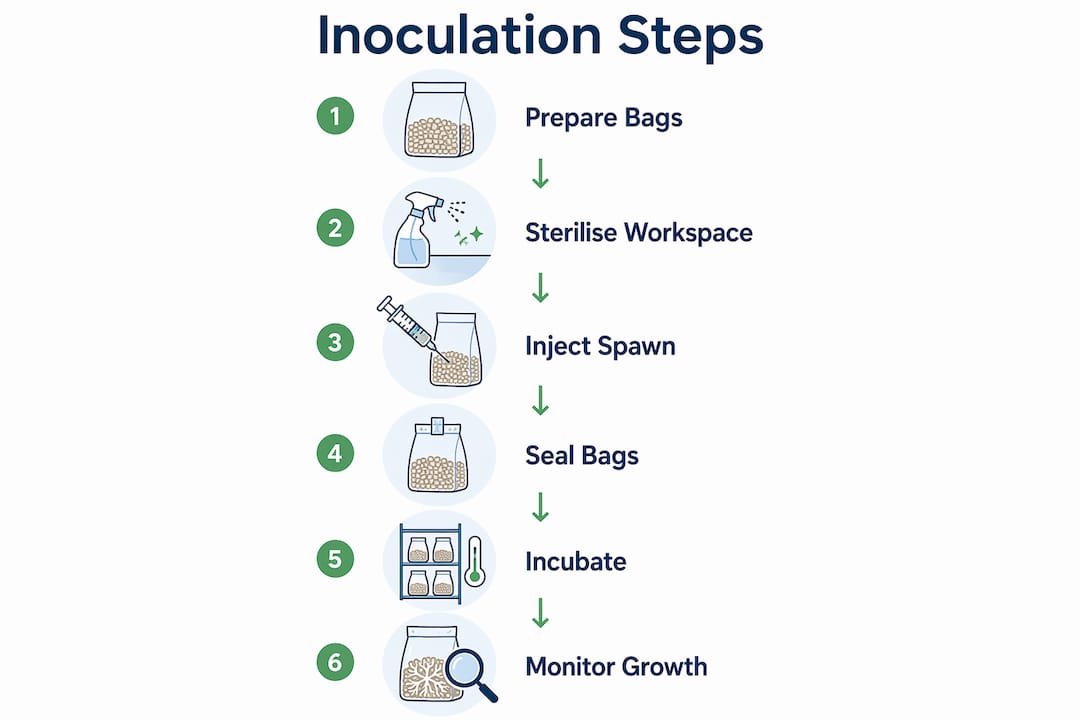
- Wipe down your workspace. Spray your still air box or flow hood surface with isopropyl alcohol and allow it to dry. Wipe your gloves with alcohol wipes before touching anything sterile.
- Flame-sterilise your needle. If you are using a spore syringe or liquid culture syringe, heat the needle tip with a lighter until it glows red. Allow it to cool for 10 seconds before use. This kills any surface bacteria.
- Locate the injection port or filter patch. Sterile gloves, alcohol wipes, and using an injection port or filter patch are the key barriers between your spawn and outside contaminants. Insert the needle through the self-healing injection port, or wipe the filter patch area with alcohol before opening.
- Inject or deposit your spawn. For liquid culture or spore syringes, inject 5–10 ml per bag through the injection port. For grain spawn, open the bag minimally, pour spawn in quickly, and reseal immediately. The recommended spawn-to-substrate ratio ranges from 15% to 20% by weight. Higher rates colonise faster and resist contamination better, though they cost more per bag.
- Seal the bag immediately. Use an impulse sealer to close the bag above the filter patch. If you are using a bag with a self-sealing port, no additional sealing is needed. A secure seal is your last line of defence against airborne contamination.
- Mix spawn through the bag. Once sealed, knead and shake the bag gently. Mixing colonised grain spawn evenly throughout the substrate promotes faster and more uniform colonisation. Spend 30–60 seconds distributing spawn so it contacts as much substrate as possible.
- Label and date the bag. Write the mushroom species, spawn type, and inoculation date directly on the bag with a permanent marker. This step takes seconds but saves hours of confusion later.
Pro Tip: Work in batches of no more than four to six bags at a time. Fatigue and rushing are two of the most common causes of contamination errors in home cultivation.
How to identify and handle contamination in grow bags
Contamination is the most common setback in the mushroom inoculation process, but it is also the most preventable. Knowing what to look for means you can act before one bad bag ruins your entire batch.
Common contamination in grow bags includes green mould and bacterial blotch, identifiable by off-colours, strong odours, and slimy textures. Green or black patches are almost always Trichoderma or Aspergillus species. Wet, slimy areas with a sour or rotten smell indicate bacterial contamination. Healthy mycelium, by contrast, is white or off-white, fluffy or rope-like, and has no unpleasant odour.
| Contamination type | Appearance | Likely cause | Action |
|---|---|---|---|
| Green mould (Trichoderma) | Green or teal patches | Poor sterilisation or open bag | Remove and dispose of bag immediately |
| Black mould (Aspergillus) | Black spots, powdery texture | Contaminated spawn or tools | Quarantine and dispose of bag |
| Bacterial blotch | Slimy, wet areas, foul smell | Insufficient sterilisation or excess moisture | Dispose of bag away from grow area |
| Pink or red discolouration | Bright pink or red patches | Bacterial contamination | Dispose of bag immediately |
Prevention strategies to keep contamination out:
- Never open bags in an uncontrolled environment
- Avoid excess moisture in substrate before sterilisation
- Check filter patches for tears or holes before use
- Keep your grow area clean and free from soil or plant debris
- Understand contamination signs early so you can act before it spreads
Quarantine any suspect bag immediately. Place it in a sealed bin bag and remove it from your grow space before disposal. Contamination spreads through spores, so a single open bag of green mould can infect nearby healthy bags within hours.
What are the best practices for post-inoculation care?
After inoculation, your bags need the right environment to colonise successfully. The mycelium is doing all the work now, and your job is to give it stable conditions and avoid interfering.
Bags should be incubated at 21–27°C with controlled humidity and limited air exchange during colonisation. Most species, including oyster, shiitake, and lion’s mane, colonise well within this temperature range. Avoid direct sunlight during this phase. Mycelium does not need light to colonise, and heat from sunlight can create hot spots that stress or kill the culture.
Signs of healthy colonisation to look for:
- White, fluffy mycelium spreading from inoculation points
- No unusual colours, patches, or odours
- Steady growth visible through the bag wall within 5–14 days
- Firm, even texture throughout the substrate
Once your bag reaches approximately 30% colonisation, apply the break and shake technique. This process takes roughly 5 minutes per bag and significantly speeds overall colonisation time. Gently break up the colonised clumps inside the sealed bag and redistribute them throughout the uncolonised substrate. This spreads active mycelium to new areas and shortens the total colonisation period. The break and shake method also promotes even mycelium spread, which can increase yield at the fruiting stage.
Once full colonisation is achieved, move your bags to fruiting conditions. Increasing fresh air exchange, humidity to 85–95%, and indirect light triggers fructification. This mimics the natural environmental cues that signal mushrooms to fruit. Cut or open the bag at the top or sides to allow pins to form and grow freely.
Pro Tip: Label each bag with the batch number, inoculation date, and species. Tracking your batches helps you spot patterns, identify which spawn sources perform best, and improve your results with every grow.
Sporebuddies: quality supplies for every stage of your grow
Sporebuddies stocks everything you need to put these steps into practice, from mushroom spore syringes ready for bag inoculation to sterilised substrates and mycology equipment built for home growers. Every product is sourced for reliability, so you spend less time troubleshooting contamination and more time watching mycelium grow. Whether you are setting up your first still air box or scaling up to a dedicated grow room, Sporebuddies carries the supplies to match your setup. Visit the Sporebuddies online store to browse spore syringes, grow bags, and cultivation guides tailored to UK hobbyists.
Key takeaways
Successful mushroom bag inoculation requires sterile technique, correct spawn ratios, and stable post-inoculation conditions to produce healthy, contamination-free mycelium.
| Point | Details |
|---|---|
| Sterile workspace is non-negotiable | Use a still air box or laminar flow hood to minimise contamination risk during inoculation. |
| Spawn-to-substrate ratio matters | Aim for 15–20% spawn by weight to balance colonisation speed and contamination resistance. |
| Seal bags immediately after inoculation | Every second a bag is open increases exposure to airborne mould spores and bacteria. |
| Break and shake at 30% colonisation | Redistributing mycelium at this stage speeds colonisation and can improve final yield. |
| Label every bag with date and species | Tracking batches helps you identify problems early and refine your technique over time. |
FAQ
What does mushroom bag inoculation mean?
Mushroom bag inoculation is the process of introducing mushroom spawn, either as grain spawn or liquid culture, into a sterilised substrate bag to initiate mycelium growth. The goal is to colonise the substrate fully before moving to the fruiting stage.
How do I keep my bags sterile during inoculation?
Work inside a still air box or in front of a laminar flow hood, wear sterile gloves, and wipe all tools with 70% isopropyl alcohol before use. Sterile gloves and injection ports are the most effective barriers against contamination during the inoculation process.
What is the correct spawn-to-substrate ratio for mushroom bags?
The recommended ratio is 15–20% spawn by weight of substrate. Higher spawn rates colonise faster and resist contamination better, though they increase the cost per bag.
How long does colonisation take after inoculation?
Colonisation typically takes 2–4 weeks depending on species, temperature, and spawn rate. Keeping bags at 21–27°C and applying the break and shake technique at 30% colonisation speeds the process noticeably.
How do I know if my bag is contaminated?
Look for green, black, or pink patches, slimy textures, or a sour smell. Healthy mycelium is white or off-white, firm, and odourless. Remove any contaminated bag from your grow space immediately and dispose of it in a sealed bag to prevent spores from spreading.