
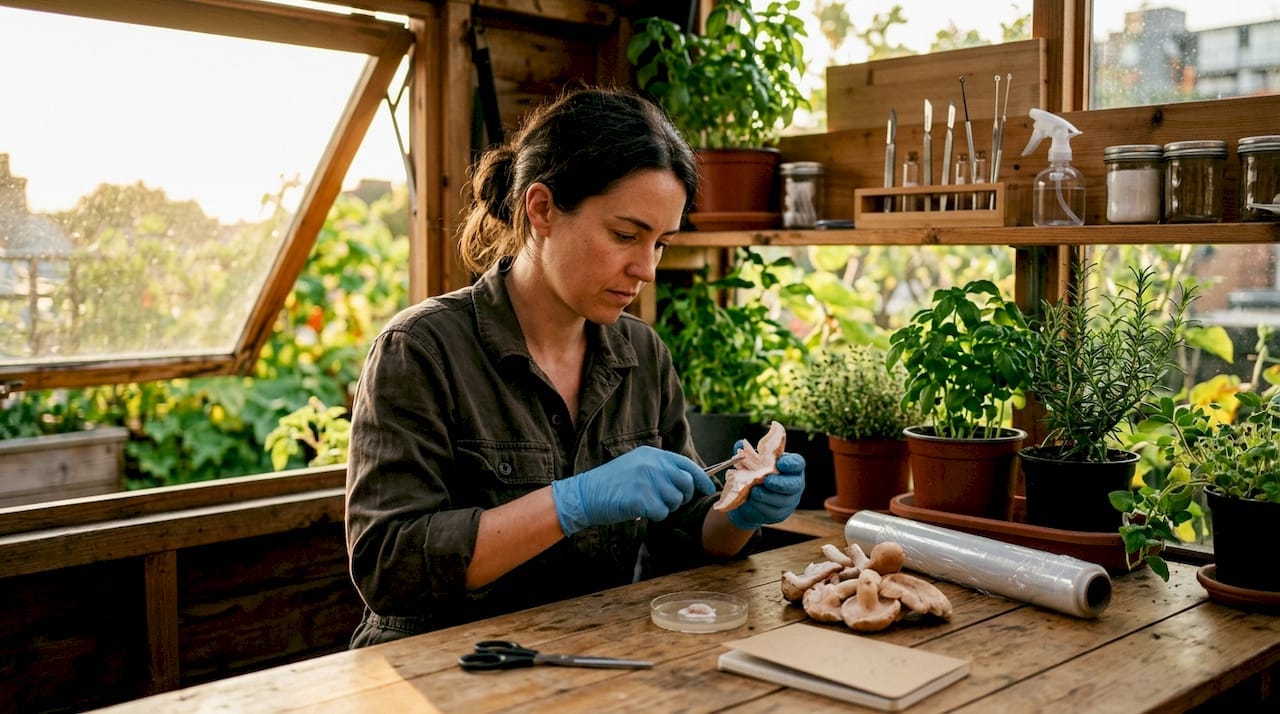
Mushroom cloning is defined as the process of transferring clean interior tissue from a chosen mushroom onto a sterile agar plate to cultivate genetically identical mycelium. The industry term for this is tissue culture, and it is the most reliable method for preserving the exact traits of a prized specimen. When you know how to clone mushrooms correctly, you lock in the yield, morphology, and vigour of your best fruiting bodies. This guide covers every stage of the workflow, from assembling your equipment to expanding and storing successful cultures, so you can replicate your favourite strains with confidence.
What do you need to clone mushrooms?
Getting the right equipment in place before you start is the single biggest factor in whether your clone survives its first week. Contamination enters through every gap in your setup, so each item on this list serves a specific protective purpose.
Core equipment
- Still Air Box (SAB) or laminar flow hood. Your sterile working environment. A SAB is a clear plastic tub with arm holes; a laminar flow hood pushes HEPA-filtered air across your work surface. Either works for home cloning.
- Sterile agar plates. Malt extract agar (MEA) and potato dextrose agar (PDA) are the two standard nutrient media. Both support mycelium growth well, though MEA is the more common choice among hobbyists.
- Scalpel with sterile blades. A reusable handle with disposable #22 blades gives you control and keeps costs down.
- 70%+ isopropyl alcohol. The minimum concentration for effective surface sterilisation. Higher concentrations actually evaporate too fast to kill spores reliably.
- Parafilm M. A self-sealing laboratory film used to wrap plate edges and block airborne contaminants during incubation.
- Permanent marker and labels. Strain name, clone number, and date on every plate. Unlabelled plates become a guessing game within a fortnight.
- Alcohol lamp or butane lighter. Used to flame-sterilise the scalpel blade between cuts.
Pro Tip: Wipe down every surface inside your SAB with 70% isopropyl alcohol at least five minutes before you begin. Letting it fully evaporate before working prevents fumes from irritating your eyes and removes the fire risk when you flame your scalpel.
The table below summarises the key materials and their function at a glance.
| Item | Purpose |
|---|---|
| Still Air Box or laminar flow hood | Creates a low-contamination working environment |
| Sterile agar plates (MEA or PDA) | Nutrient medium for mycelium colonisation |
| Scalpel and sterile blades | Precise tissue extraction without tearing |
| 70%+ isopropyl alcohol | Surface and instrument sterilisation |
| Parafilm M | Seals plate edges against airborne contaminants |
| Permanent marker | Labels plates with strain, date, and clone number |
A well-prepared mushroom lab setup removes most of the variables that cause cloning failures before you even touch the mushroom.
How to clone mushrooms step by step
The full cloning procedure runs from specimen selection through to sealed, labelled plates in the incubator. Sterile technique with a SAB and flame-sterilised scalpel is the foundation that reduces contamination risk throughout. Follow each step in order and do not skip the sterilisation stages.
Step 1: Select a fresh, healthy specimen
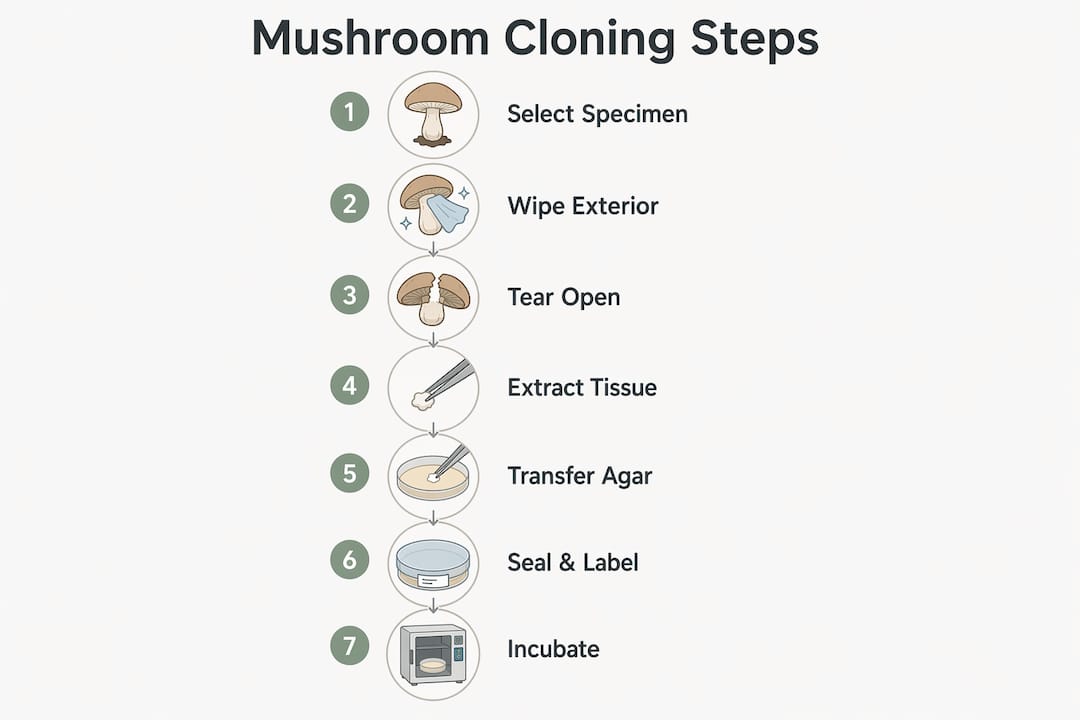
Choose a mushroom that has just opened its veil or is still in the button stage. The specimen should be firm, free from bruising, and harvested from your own grow rather than a shop. Cloning aged or store-bought mushrooms is less reliable because surface contamination penetrates deeper into the tissue as the mushroom ages. Grocery store specimens have noticeably lower success rates for this reason.
Step 2: Wipe the exterior
Before entering your SAB, wipe the outside of the mushroom with a paper towel lightly dampened with 70% isopropyl alcohol. This removes surface debris and reduces the number of contaminants you carry into your sterile environment. Do not soak the mushroom; you only need a light pass over the cap and stem.
Step 3: Tear the mushroom open
Place your hands inside the SAB and tear the mushroom in half lengthways with your fingers. Tearing rather than cutting exposes cleaner interior surfaces because it avoids dragging contaminants from the outer skin into the tissue. This is a small step that makes a meaningful difference to clone viability.
Step 4: Extract the tissue sample
Flame your scalpel blade until it glows red, then allow it to cool for five seconds. Cut a 3–5 mm tissue sample from the stem-cap junction, the point where the stem meets the underside of the cap. The stem-cap junction is the most actively growing region of the mushroom and the least exposed to environmental contaminants. This is why experienced cultivators always target this specific area rather than the cap surface or the base of the stem.
Step 5: Transfer to the agar plate
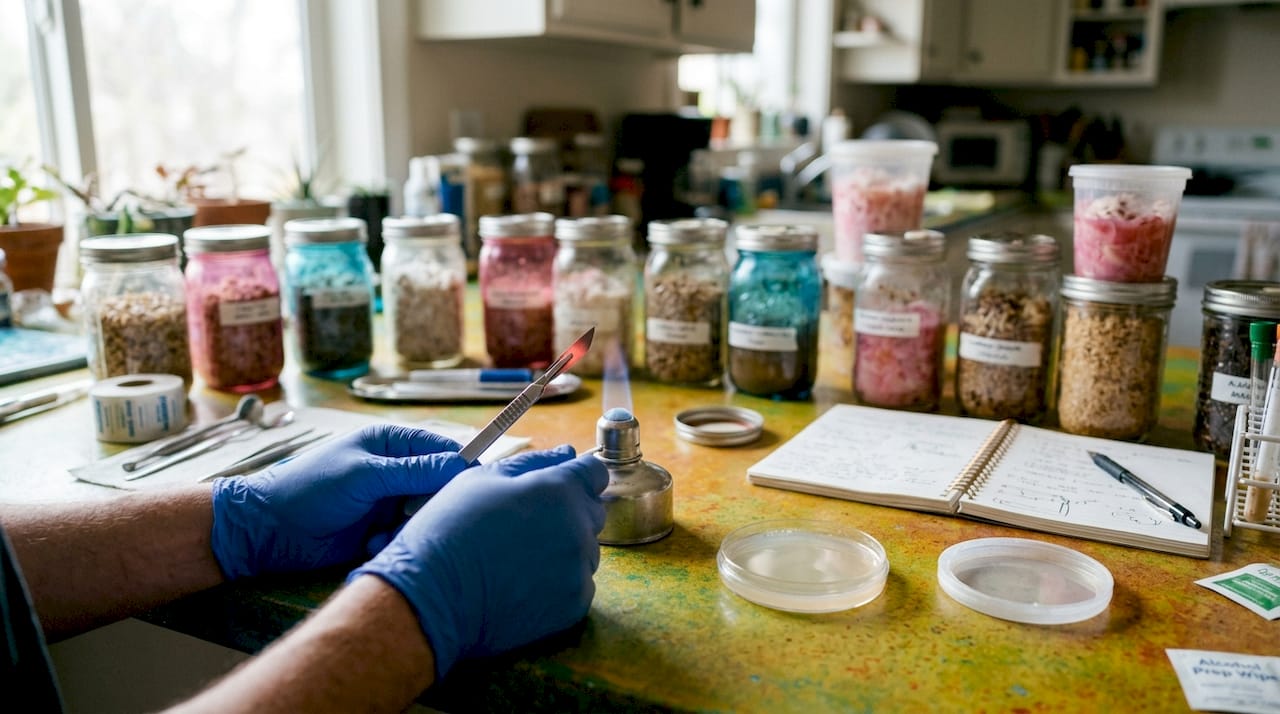
Open your agar plate inside the SAB, keeping the lid as close to the plate as possible to minimise exposure time. Place the tissue sample at the centre of the agar surface and close the lid immediately. Work quickly but calmly. The longer the plate is open, the greater the contamination risk.
Step 6: Seal and label
Wrap the edge of the plate with Parafilm M, stretching it slightly as you go so it forms a tight seal. Write the strain name, the date, and a clone number on the base of the plate with your permanent marker. Labelling the base rather than the lid prevents mix-ups if lids are accidentally swapped.
Step 7: Incubate upside down
Place your sealed plates upside down in your incubation area. Inverting the plates prevents condensation from dripping onto the agar surface and disturbing the tissue sample. The optimal incubation temperature is 20–24°C, and healthy white mycelium typically becomes visible within 5–14 days.
Pro Tip: Clone three to five plates from the same specimen rather than just one. Multiple redundant samples dramatically improve your odds of getting at least one clean, uncontaminated culture.
What are the common contamination problems in mushroom cloning?
Contamination is the most common reason cloning attempts fail, and learning to read the signs early saves you time and materials. Bacterial contamination appears as wet, slimy patches on or around the tissue sample, often within 24–48 hours of incubation. Mould contamination shows up as coloured fuzzy patches, typically green, black, or pink, and usually appears a few days later than bacterial issues.
Healthy mycelium looks white or off-white, grows outward in a roughly circular pattern, and has a slightly fluffy or rope-like texture. Any colour other than white or cream is a warning sign. Sliminess is always contamination.
“Mushroom cloning is more about cleaning tissue cultures through successive transfers than simply copying the initial sample. The first plate is rarely the final culture.”
This insight changes how you approach the process. First transfer plates often contain hidden bacteria that are not yet visible to the naked eye. Transferring a section of apparently clean mycelium to a fresh agar plate one or two times removes these hidden contaminants and establishes a genuinely pure culture.
The following signs tell you a plate needs to be discarded or transferred immediately:
- Slimy or wet patches anywhere on the agar surface
- Green, black, pink, or orange fuzzy growth
- A sour or unpleasant smell when the plate is briefly opened
- Mycelium that grows in irregular, patchy shapes rather than outward rings
Preventing contamination is always easier than dealing with it after the fact. The contamination prevention guide from Sporebuddies covers the full range of sterile technique protocols for cultivators at every level. Keeping your workspace clean, your tools flamed, and your plates sealed is the most reliable defence you have.
How do you use and preserve a successful mushroom clone?
A clean, colonised agar plate is the starting point, not the end goal. The next stage is expanding the culture into a usable form for fruiting.
Transferring to grain spawn or liquid culture
Cut a section of clean mycelium from your agar plate and transfer it to sterilised grain spawn, such as rye berries or wheat berries, or into a liquid culture solution. Grain spawn colonises quickly and gives you a large volume of inoculated material for substrate bags. Liquid culture is faster to work with and easier to inject into multiple bags without opening them.
Cloning versus using spores
Cloning requires only 1–2 transfer cycles to achieve a clean culture, compared to 3–5 cycles for spore isolation. This speed advantage is significant when you have identified a high-performing specimen and want to replicate it without delay. Spores, by contrast, introduce genetic variation, which is useful for breeding projects but counterproductive when your goal is consistency.
Pro Tip: Store spare agar plates in a refrigerator at 4°C to slow mycelium growth and extend shelf life. Wrap them in Parafilm before refrigerating and label clearly with the storage date. Most cultures remain viable for several months under these conditions.
The table below compares cloning and spore propagation across the key decision points.
| Factor | Cloning (tissue culture) | Spore propagation |
|---|---|---|
| Genetic outcome | Identical to parent | Variable; genetic diversity |
| Transfer cycles needed | 1–2 | 3–5 |
| Best use case | Preserving proven strains | Breeding and selection |
| Speed to clean culture | Faster | Slower |
| Specimen requirement | Fresh, healthy fruiting body | Spore print or syringe |
Choosing between cloning and spores depends entirely on your goal. Cloning preserves winning traits exactly; spores provide the genetic diversity needed for selective breeding. Most cultivators use both methods at different stages of their growing programme.
Sporebuddies supplies for your cloning setup
Sporebuddies stocks the mycology equipment you need to build a reliable cloning workflow, from sterile agar plates and scalpel sets to a wide selection of mushroom spores covering strains like Golden Teacher, B+, and oyster varieties. Whether you are setting up your first Still Air Box or expanding an existing lab, having quality, sterile supplies from a trusted UK source removes one of the biggest variables in the cloning process. If you want to start with a proven specimen before cloning, the mushroom spores range at Sporebuddies gives you a strong genetic foundation to work from. Pair your spores with the right cultivation equipment and you have everything in one place.
FAQ
What is mushroom tissue culture?
Mushroom tissue culture is the process of transferring a small piece of living mushroom tissue onto a sterile nutrient agar plate to grow genetically identical mycelium. It is the standard method for cloning mushrooms and preserving specific strain traits.
How long does it take to see mycelium after cloning?
Healthy white mycelium typically becomes visible within 5–14 days when plates are incubated at 20–24°C. Slower growth outside this temperature range is normal but increases contamination risk.
Why should I tear the mushroom instead of cutting it?
Tearing the mushroom open exposes cleaner interior surfaces by avoiding the dragging of surface contaminants into the tissue. Cutting with a blade can push exterior bacteria and mould spores deeper into the sample.
Can I clone mushrooms from a supermarket?
Cloning from shop-bought mushrooms is possible but unreliable. Surface contamination penetrates deeper into the tissue as mushrooms age, so freshly harvested specimens from your own grow give significantly better results.
How do I know if my clone is contaminated?
Bacterial contamination appears as wet, slimy patches within 24–48 hours. Mould shows as coloured fuzzy growth, typically green, black, or pink. Healthy mycelium is always white or off-white and grows outward in a consistent pattern.
Key takeaways
Successful mushroom cloning depends on precise tissue selection from the stem-cap junction, strict sterile technique throughout, and multiple transfers to achieve a genuinely clean culture.
| Point | Details |
|---|---|
| Tissue sample location | Always take the 3–5 mm sample from the stem-cap junction for the cleanest, most viable tissue. |
| Sterile environment | Use a Still Air Box or laminar flow hood with 70%+ isopropyl alcohol and a flame-sterilised scalpel. |
| Multiple redundant plates | Clone at least three to five plates per specimen to improve the odds of one clean culture. |
| Transfer to clean agar | Transfer mycelium to fresh agar plates one to two times to remove hidden bacterial contamination. |
| Cloning versus spores | Use cloning to preserve proven genetics; use spores when genetic diversity and selective breeding are the goal. |