Adding Spores to Agar.
Transferring spores from a spore print to agar is a common technique used in laboratory and educational mycology. This step-by-step guide explains how a spore print is applied to agar media for observation and study, focusing on clean handling and basic laboratory principles. It is intended for beginners learning how spores are examined and documented in controlled research environments.
In this guide, we’ll walk you through everything you need to know about how to use a mushroom spore print on agar, from preparing your workspace to achieving clean growth on your petri dish. We’ll also link to all the tools and products you’ll need, available directly from the SporeBuddies.com shop.
🧽 Step 1: Set Up a Clean Work Environment
Before you begin working with spores or agar, cleanliness is critical. Contamination is the number one enemy when transferring spores, so you’ll want to create a sterile workspace as your foundation.
Recommended Equipment from SporeBuddies:
Still Air Box (SAB) – Ideal for beginners on a budget
70% Isopropyl Alcohol Spray – For surface and glove sterilization
Nitrile Gloves – Always wear gloves while handling spores
Flame Steriliser or Alcohol Lamp – For sterilising tools
Clean the inside of your SAB with isopropyl alcohol, spray your gloves, and flame your tools between uses. Working in a clean space reduces the chance of bacterial or mold contamination reaching your agar.
🍮 Step 2: Choose and Prepare Your Agar
Agar plates are nutrient-rich surfaces that allow spores to germinate and begin colonizing. For beginners, pre-poured agar plates are the most convenient option, though you can also pour your own using agar powder and petri dishes.
Recommended Agar Options:
Allow your agar plates to come to room temperature before working with them to avoid condensation inside the dishes.
🧫 Step 3: Select a High-Quality Spore Print
Not all spore prints are created equal. Always choose clean, viable, and well-distributed prints from trusted sources. At SporeBuddies, we offer lab-grade, sterile prints sealed for maximum purity.
Top Recommended Prints:
Each of these strains is ideal for microscopy or comparison studies and offers visually striking spores under magnification.
✂️ Step 4: Sterile Spore Transfer to Agar
Once everything is clean and ready, it’s time to transfer spores from your print to your agar plate. You can do this using a sterile scalpel or a sterile inoculation loop, depending on your preferred technique.
Tools You’ll Need:
Parafilm or Micropore Tape – To seal the plate after inoculation
Transfer Method Using a Scalpel:
Flame your scalpel until red-hot and let it cool inside the SAB.
Open your spore print carefully without touching the print itself.
Gently scrape a small section of the print using the sterilised blade.
Slightly lift the agar plate lid (do not remove it completely), and tap or drag the scalpel to deposit spores onto the surface.
Reseal the agar plate using parafilm or micropore tape.
Optional: Transfer Using Sterile Water (Spore Suspension)
Alternatively, mix a small amount of spores in sterile water using a syringe and transfer a drop to agar using a flame-sterilized loop. This is useful if you want even spore distribution or are working with very dry prints.
✅ Bonus: You can find sterile Syringes & Sterile Water Vials on SporeBuddies.
👀 Step 5: Label, Store & Observe
Immediately label each agar plate with the strain name, date, and any other notes (such as dilution method or transfer source). Then, store your plate in a clean space at 23–27°C (73–80°F), away from direct sunlight.
Helpful Add-Ons:
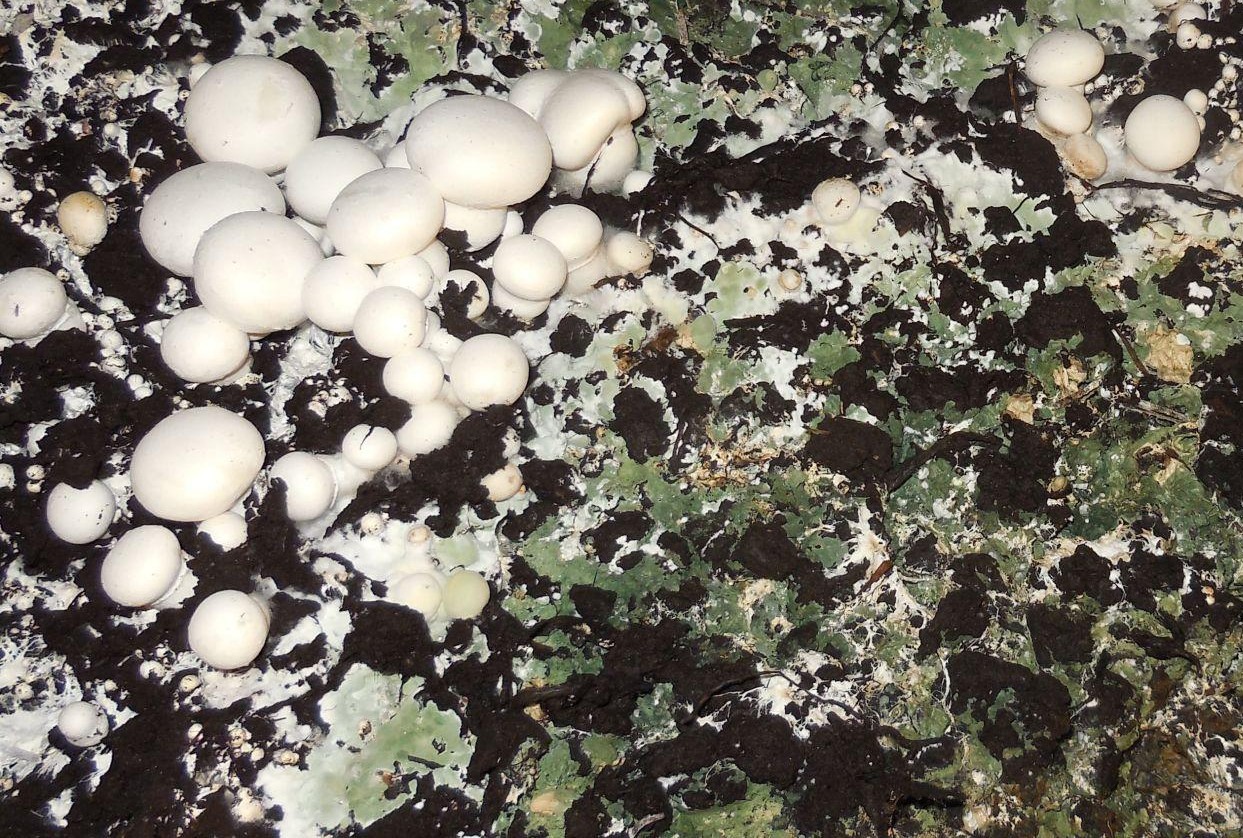
You should begin to see spore germination within 3 to 7 days, with visible white mycelium spreading across the surface of the agar.
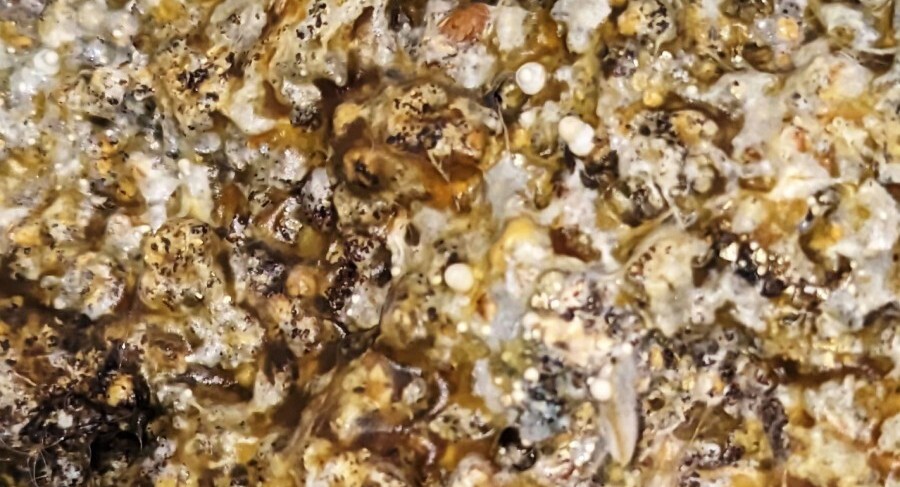
🧼 Step 6: Watch for Contamination
Even with sterile technique, contamination can happen. Look for signs such as:
Green or black mold spots

Slimy bacterial colonies (usually yellow or off-white)

Discoloured patches around the inoculation site
If any plate shows contamination, discard it safely and re-clean your workspace thoroughly before repeating the process. For a deep view on how to Prevent Contamination.
🔁 Optional: Agar to Agar Transfers
Once you spot healthy mycelium, you can use a scalpel to transfer a clean wedge of the growth to a new agar plate. This allows you to isolate healthy genetics and further purify your culture. Many researchers repeat this process 2–3 times before moving to any next steps like liquid culture or grain.
Be sure to use sterile blades and repeat the same cleanroom protocols.
🧠 Final Thoughts: Why Agar is Essential for Serious Researchers
Using agar isn’t just for professionals—it’s one of the most effective ways to observe spores, assess contamination, and preserve spore genetics. Whether you’re comparing Psilocybe cubensis strains or studying spore germination under the microscope, agar gives you a controlled platform to work from.
🛒 Get Everything You Need at SporeBuddies
Ready to explore the world of mushroom spores? Working with agar is the perfect place to start—and at SporeBuddies.com, we’ve got all the tools and knowledge you need.
More Reading:
How to Make a Spore Print | Beginner’s Guide to Spore Printing