
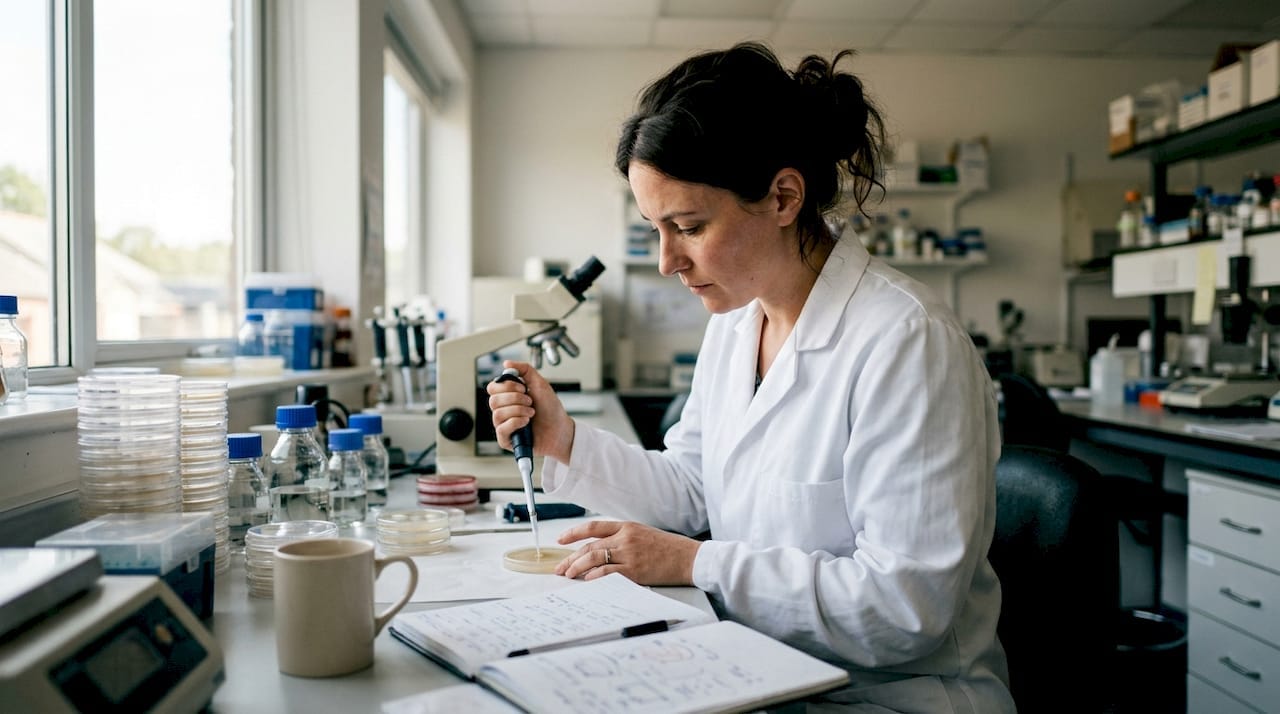
Spore viability is defined as a spore’s capacity to germinate and develop into healthy mycelium under suitable conditions. Knowing how to test spore viability before committing to a full grow is one of the most practical skills a home cultivator or mycologist can develop. Dead or weakened spores produce no mycelium, waste your substrate, and open the door to contamination. Two methods form the backbone of reliable spore viability assessment: cultivation-based germination testing on agar, and rapid fluorescent vital staining using fluorescein diacetate (FDA) and propidium iodide (PI). Used together, they give you both speed and certainty.
How to test spore viability: tools and materials you need
Getting your setup right before you begin saves time and prevents wasted effort. The two main spore viability testing methods, agar cultivation and fluorescent staining, share some equipment but differ in key areas.
For cultivation-based testing, you need:
- Species-appropriate agar media (MEA, PDA, or WA depending on your mushroom)
- Sterile Petri dishes (90mm is standard)
- A spore syringe or spore print for preparing suspensions
- Sterile distilled water or phosphate-buffered saline (PBS)
- Inoculation loops or sterile syringes
- Incubation space held at 21–24°C in darkness
For fluorescent staining, you need:
- Fluorescein diacetate (FDA) at 10–20 μg/ml
- Propidium iodide (PI) at 5–10 μg/ml
- A spore suspension at 10⁵–10⁶ spores per ml
- Glass slides and coverslips
- An epifluorescence microscope with green and red filter sets
Both methods require a sterile workspace. A Still Air Box (SAB) works well for home cultivators. A laminar flow hood offers greater protection and is the preferred choice for contamination prevention when testing multiple batches. Contamination does not just ruin a culture; it invalidates viability tests entirely by introducing competing organisms that distort results.
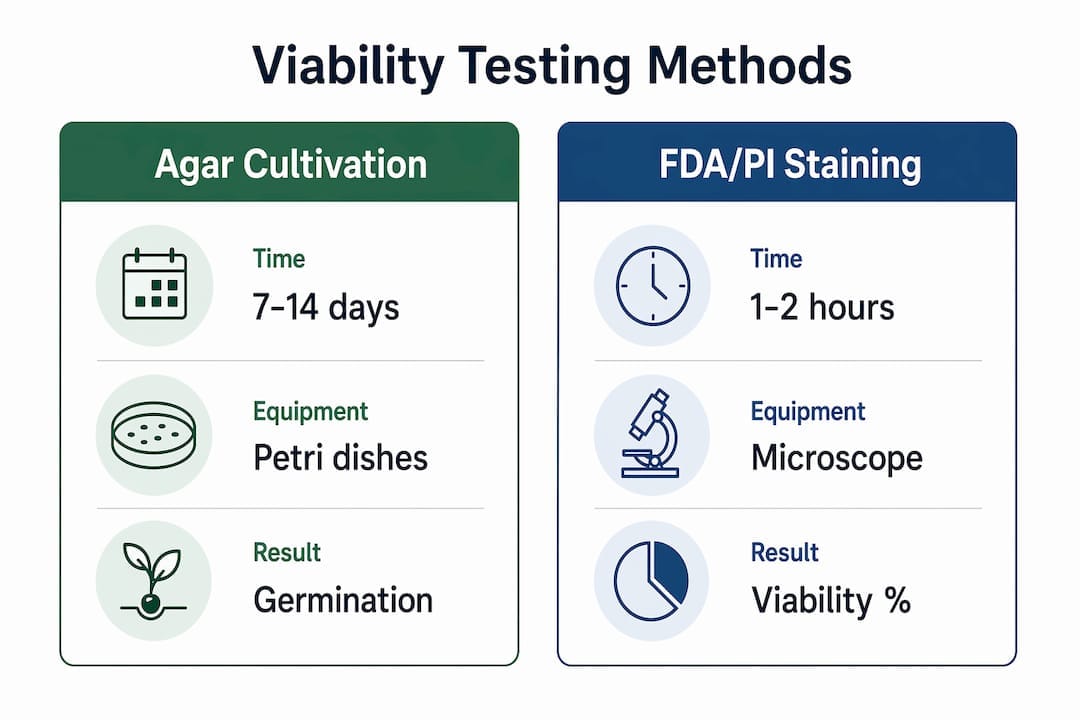
| Feature | Agar cultivation test | FDA/PI staining test |
|---|---|---|
| Time to result | 7–14 days | 1–2 hours |
| Equipment needed | Agar, Petri dishes, incubator | Microscope, stains, slides |
| Accuracy | Gold standard | 92–97% correlation with cultivation |
| Skill level | Beginner to intermediate | Intermediate to advanced |
| Best use | Confirmation of germination | Rapid initial screening |
Step-by-step: cultivation-based germination testing on agar
Agar plate testing is the gold standard for confirming spore viability. It shows you directly whether spores germinate and produce mycelium under real growing conditions. The process takes patience, but the results are definitive.
- Prepare your spore suspension. Add a small amount of spore material to sterile distilled water or PBS. Aim for a dilute suspension so individual colonies remain countable after plating. Vortex gently or agitate by hand to break up clumps.
- Pour or plate your agar. Work inside your SAB or flow hood. Pour pre-melted, cooled agar (around 50°C) into sterile Petri dishes, or use pre-poured plates. Allow them to solidify fully before inoculating.
- Inoculate with replicates. Spread a small volume of spore suspension evenly across the agar surface using a sterile loop or spreader. Prepare at least three replicate plates per sample. Replicates are not optional: triplicate testing with 200 spores counted per replicate is the standard used by professional labs for statistical confidence.
- Incubate under correct conditions. Seal plates with Parafilm or micropore tape. Place them in darkness at 21–24°C with stable humidity. Fast-growing basidiomycetes such as oyster mushrooms typically show visible mycelium within 3–7 days. Some ascomycetes may require up to 21 days for accurate germination detection.
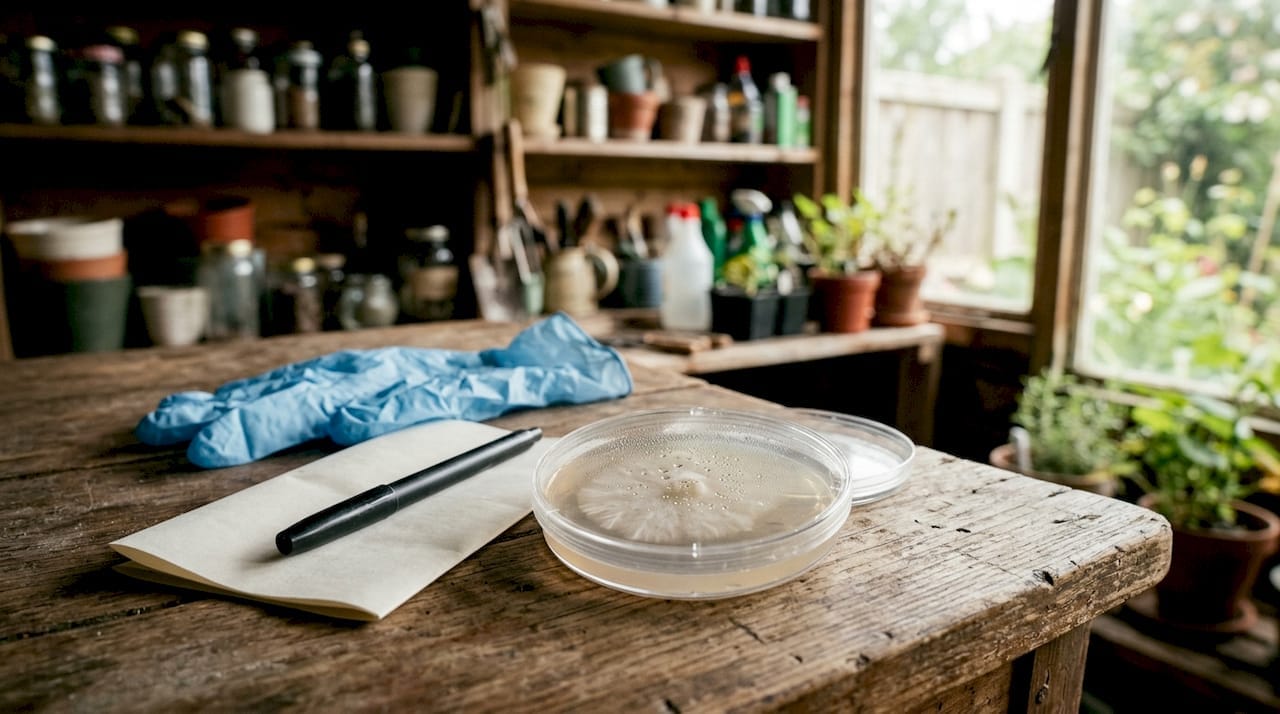
- Monitor at regular intervals. Check plates every 24–48 hours without opening them. Look for white, fluffy mycelial growth radiating outward from germinated spores. Contamination appears as coloured patches (green, black, or orange) with a different texture.
- Count colony-forming units (CFUs) and calculate viability. Count the number of distinct mycelial colonies on each plate. Divide the colony count by the total number of spores plated (estimated from your dilution factor) and multiply by 100 to get your viability percentage. Average the result across your replicates.
Pro Tip: Prepare a negative control plate with sterile water and no spores. If this plate shows growth, your agar or workspace is contaminated. Discard all plates from that session and sterilise your tools before starting again.
Viability is best understood as a spectrum, not a binary pass or fail. A batch with 80% germination rate is usable but may produce slower colonisation than one at 95%. Tracking germination speed alongside percentage gives you a fuller picture of spore health and vigour.
Rapid viability assessment using fluorescent vital staining
Fluorescent vital staining gives you a result within 1–2 hours, making it ideal for screening large batches before committing to full cultivation tests. The method uses two dyes that distinguish living spores from dead ones at the cellular level.
FDA (fluorescein diacetate) enters intact spore cells and is converted by active enzymes into a green-fluorescing compound. PI (propidium iodide) cannot cross intact membranes, so it only enters dead or damaged cells, staining them red. The result is a clear visual split: green means viable, red means non-viable.
- Prepare your spore suspension. Dilute spore material in sterile PBS to reach a concentration of 10⁵–10⁶ spores per ml. This concentration ensures enough spores per field of view without overcrowding, which would make counting unreliable.
- Add the stains. Mix FDA to a final concentration of 10–20 μg/ml and PI to 5–10 μg/ml directly into the spore suspension. Incubate the mixture at room temperature for 5–10 minutes in the dark. Light degrades both dyes quickly.
- Mount and view. Place a small drop of stained suspension onto a glass slide and apply a coverslip. View immediately under an epifluorescence microscope. Use a FITC filter set (excitation ~490nm) to detect green FDA fluorescence, and a TRITC or Texas Red filter set (excitation ~535nm) for red PI fluorescence.
- Count and calculate. Count a minimum of 200 spores across multiple fields of view. Record how many fluoresce green (viable) and how many fluoresce red (non-viable). Divide green count by total count and multiply by 100 for your viability percentage. For statistical validity, count across at least three separate fields.
Pro Tip: FDA degrades within 30 minutes of preparation. Always prepare your staining solution fresh and work quickly once the dye is mixed. Pre-made FDA solutions stored at room temperature give unreliable results.
The FDA/PI dual stain method correlates 92–97% with cultivation results. That correlation is strong, but not perfect. Spores can appear metabolically active under staining yet fail to germinate due to dormancy or genetic factors. This is why staining works best as a screening tool, with agar cultivation used to confirm any batch you plan to grow.
For microscopy and staining supplies, having the right equipment makes a measurable difference to the clarity of your results.
Common mistakes that compromise your test results
Even experienced cultivators make errors that skew viability readings. Knowing the pitfalls in advance saves you from drawing false conclusions about your spores.
- Spore clumping. Clumped spores produce inaccurate counts in both methods. Always vortex or agitate your suspension before use, and check under a basic microscope that spores are well dispersed before plating or staining.
- Relying on a single method. Blind reliance on one method risks inaccurate viability estimation. Staining can overestimate viability; cultivation alone takes too long for rapid decisions. Use both in sequence.
- Skipping replicates. A single plate or a single slide count is not statistically meaningful. Three replicates with 200 spores counted per replicate is the minimum for reliable data.
- Incorrect incubation temperature. Temperatures outside 21–24°C slow or prevent germination, producing false negatives. Use a thermometer inside your incubation space, not just a room thermostat.
- Contaminated agar or tools. Even a trace of contamination invalidates your results. Autoclave or pressure-cook all media, and flame-sterilise inoculation tools between each plate.
“Treating purification, viability testing, and contamination prevention as an integrated workflow, rather than separate steps, is what separates reliable results from guesswork. A contaminated test tells you nothing about your spores.”
Inconsistent results across replicates usually point to contamination or poor spore dispersion rather than genuinely variable viability. If your replicate plates show wildly different colony counts, repeat the test with fresh media and stricter aseptic technique. Reviewing your contamination prevention protocols before retesting is always worth the time.
Key takeaways
Reliable spore viability assessment requires combining rapid FDA/PI fluorescent staining for initial screening with agar cultivation testing for confirmation, supported by strict aseptic technique and triplicate replicates throughout.
| Point | Details |
|---|---|
| Use both methods | FDA/PI staining screens quickly; agar cultivation confirms germination with certainty. |
| Replicate every test | Count at least 200 spores across three replicates for statistically valid results. |
| Control your environment | Incubate agar plates at 21–24°C in darkness to avoid false negatives from temperature drift. |
| Treat contamination as a test failure | Any contamination in your workspace or media invalidates the entire test session. |
| Read viability as a spectrum | Germination rate and colonisation speed together give a fuller picture than a single percentage. |
Sporebuddies: supplies that support reliable cultivation
Accurate viability testing only gets you so far if your growing materials let you down at the next stage. Sporebuddies stocks a full range of mushroom substrates and growing equipment suited to home cultivators and researchers across the UK. Whether you are growing oyster, shiitake, or lion’s mane, the right substrate gives germinated spores the best possible start. Sporebuddies also carries mycology equipment and supplies including agar preparation tools, inoculation equipment, and contamination prevention products, so you can build a complete, reliable workflow from spore to fruiting body.
FAQ
What is spore viability and why does it matter?
Spore viability is a spore’s ability to germinate and grow into mycelium. Low viability means poor colonisation rates, wasted substrate, and higher contamination risk.
How long does agar cultivation testing take?
Agar plate incubation typically takes 7–10 days for visible mycelium, with some species requiring up to 21 days for accurate results.
Can I test spore viability without a microscope?
Yes. Agar cultivation testing requires no microscope and gives definitive germination results. A microscope is only needed for fluorescent staining methods.
How many spores should I count for a valid result?
Professional protocols require counting at least 200 spores per replicate across a minimum of three replicates for statistically reliable viability data.
What does a viability percentage of 80% mean in practice?
It means 80 out of every 100 spores are capable of germinating. Batches above 70% are generally considered usable, though higher percentages produce faster, more consistent colonisation.