
Quick Answer
Mushroom substrate is the nutrient-rich material mycelium grows through and eventually fruits from, and the right choice depends on the species you’re growing. Straw suits oyster mushrooms, hardwood sawdust or supplemented blocks suit shiitake and lion’s mane, and grain-based mixes are common for spawn production. Preparation, whether pasteurisation or full sterilisation, matters just as much as the substrate itself, since it determines how well your chosen mycelium can outcompete contaminants.
What Is Mushroom Substrate?
Substrate is simply the material that feeds mycelium as it grows, eventually supporting the fruiting bodies you harvest. Different fungal species have evolved to break down different materials in nature, which is why substrate choice isn’t one-size-fits-all.
Some species are primary decomposers that thrive directly on raw plant material, such as straw or wood. Others prefer material that’s already partially broken down, such as composted or supplemented substrates. Matching your substrate to your chosen species is one of the most fundamental decisions in home cultivation, and getting it right makes every later stage considerably easier.
Our beginner’s guide to growing mushrooms at home covers how substrate choice fits into the wider growing process if you’re just starting out.
Types of Mushroom Substrate
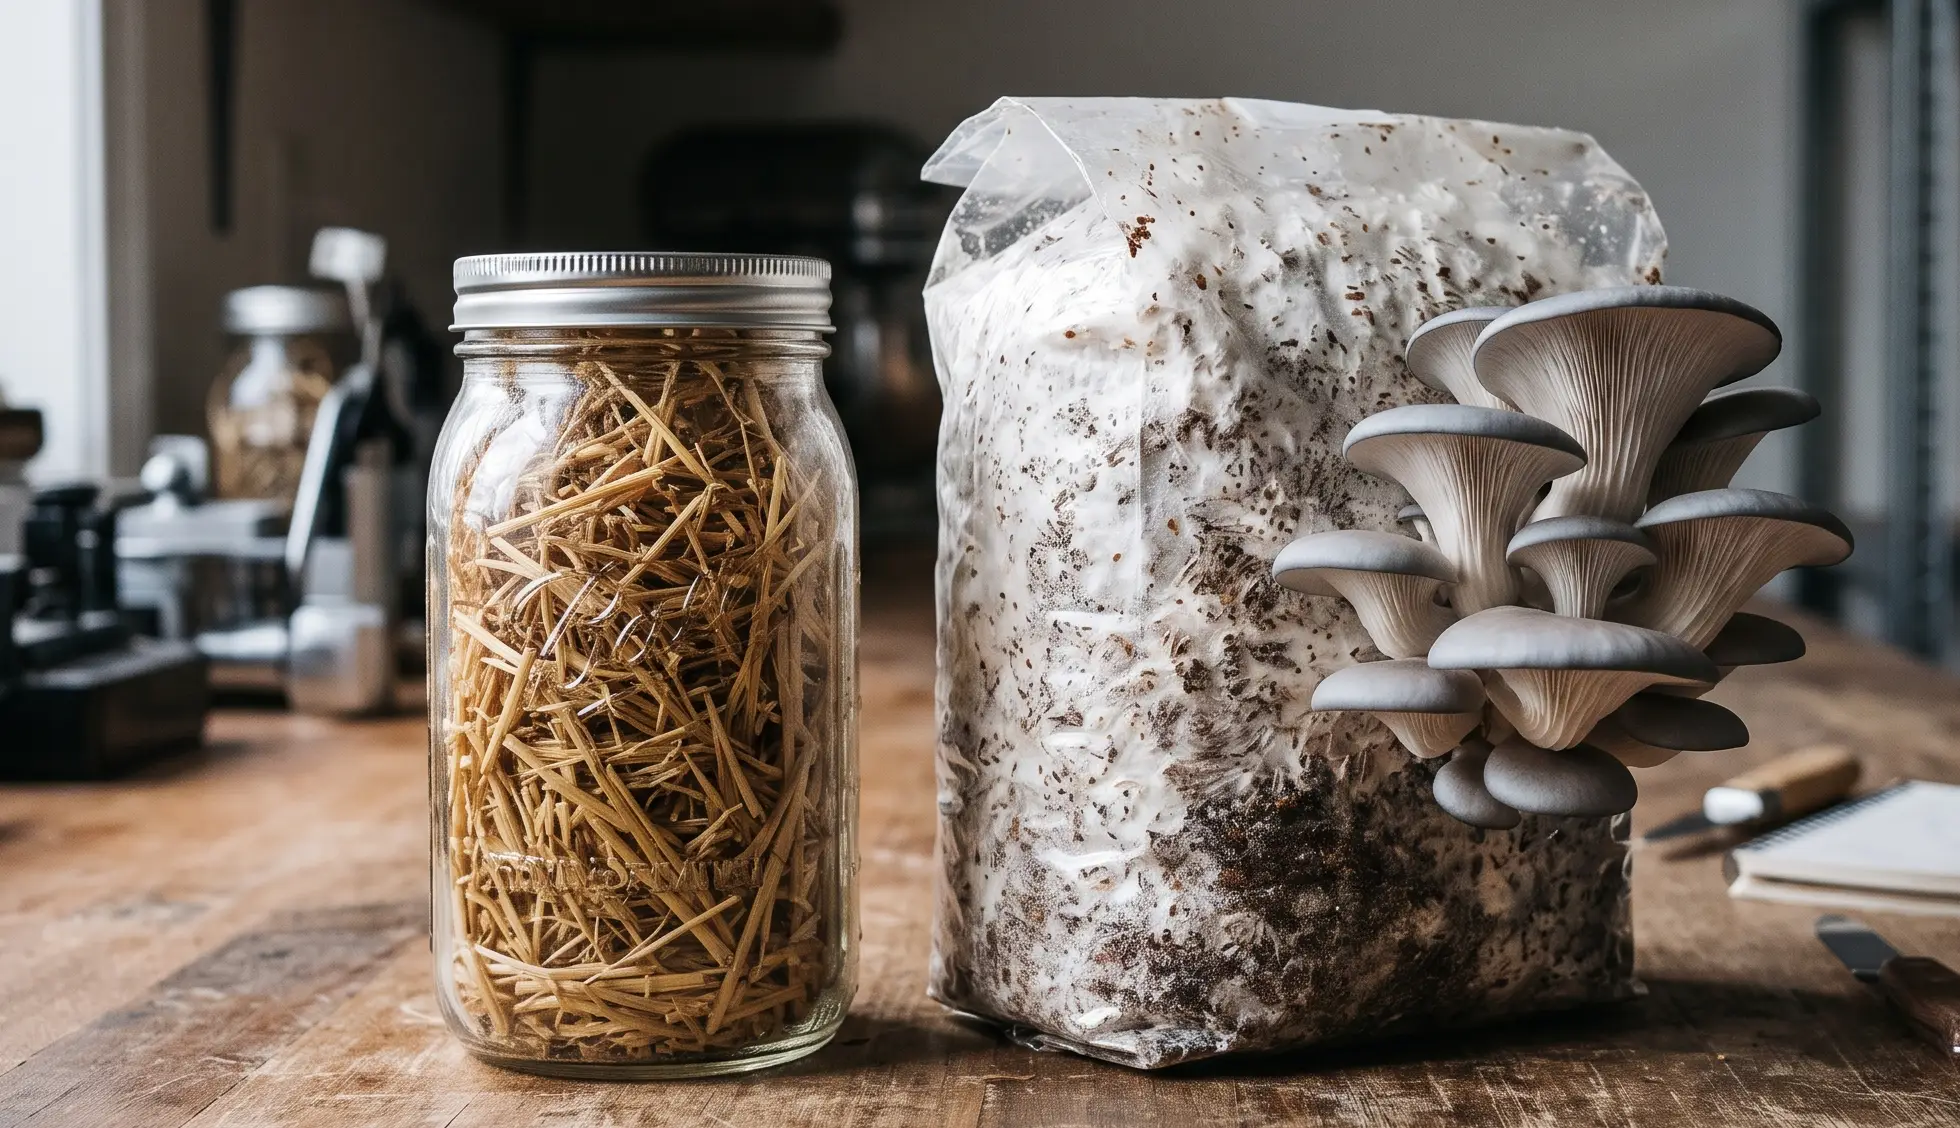
Straw. A classic, widely available substrate for oyster mushrooms. It’s inexpensive, easy to source, and responds well to pasteurisation rather than needing full sterilisation, making it a popular starting point for new growers.
Hardwood sawdust and supplemented blocks. Species like shiitake and lion’s mane generally do better on hardwood-based substrates, often supplemented with bran or other nutrient additions to boost yield. These substrates typically need more thorough sterilisation than straw due to their density and nutrient content.
Coco coir and vermiculite mixes. A popular bulk substrate for use alongside grain spawn in monotub setups. Coco coir holds moisture well and is relatively easy to pasteurise at home, which is part of why it’s such a common choice for hobbyist growers.
Grain-based substrate. Used primarily for spawn production rather than final fruiting substrate. Grains such as rye or wheat berries offer a nutrient-dense environment that colonises quickly, which is then mixed through a bulk substrate to spread mycelium efficiently. Our sterilised grain spawn bags are prepared specifically for this stage.
Manure-based substrate. Common for species that naturally grow on composted or manure-enriched material, though less typical for home setups compared to straw or coco coir mixes.
Why This Matters
Choosing the right substrate isn’t just about nutrition. It directly affects contamination risk, colonisation speed, and how many flushes you can expect from a single batch.
Substrates prepared through full sterilisation consistently show lower contamination rates than those prepared through pasteurisation alone, since sterilisation eliminates competing organisms far more thoroughly (PMC review of cultivation substrate and microbial communities). That’s precisely why denser, more nutrient-rich substrates like supplemented hardwood typically call for sterilisation, while simpler substrates like straw can perform well with pasteurisation, which is considerably more accessible for home setups without an autoclave or pressure cooker.
Why This Matters: understanding this distinction before you buy or prepare substrate saves a wasted batch. Using pasteurisation alone on a nutrient-dense substrate that really needs sterilisation is one of the most common reasons a first grow ends in contamination rather than a harvest.
Pasteurisation vs Sterilisation
Pasteurisation heats substrate to a temperature that kills off many harmful organisms without eliminating everything, typically in the range of 60 to 71°C, held for one to two hours depending on the substrate. It’s less demanding on equipment, making it accessible for home growers working with straw or coco coir.
Sterilisation goes further, typically using pressurised steam in an autoclave or pressure cooker to eliminate nearly all competing organisms. It’s a more thorough process, generally reserved for denser or more nutrient-rich substrates where competing organisms are more likely to establish themselves if given the chance.
Choosing between the two comes down to your substrate type and the equipment you have available, rather than one method being universally better than the other.
Basic Substrate Preparation: Step by Step
- Choose your substrate based on species. Match straw to oyster mushrooms, hardwood to shiitake or lion’s mane, and coco coir to whatever species you’re pairing it with in a monotub setup.
- Chop or break down bulky material. Smaller pieces pasteurise and colonise more evenly than large, uneven chunks.
- Soak or hydrate the substrate. Most substrates need to reach a specific moisture level, similar to a well-wrung sponge, before heat treatment.
- Apply pasteurisation or sterilisation. Follow the appropriate method and timing for your chosen substrate and available equipment.
- Cool completely before handling. Introducing spawn to warm substrate can kill your mycelium before it has a chance to establish.
- Mix in spawn at the recommended ratio. Distribute grain spawn evenly through the substrate to encourage consistent colonisation.
- Transfer to your growing container. Whether that’s a grow bag or a monotub, fill without compacting the substrate too tightly.
Our bulk substrate recipe guide and substrate recipes for maximising yields both go into specific ratios and recipes if you want detailed measurements rather than general principles.
Pro Tip: test substrate moisture with a simple squeeze test. A few drops of water should release when you squeeze a handful firmly. If it pours out freely, it’s too wet; if nothing comes out at all, it’s too dry.
Pro Tip: prepare slightly more substrate than you think you’ll need. It’s far easier to have a small surplus than to run short partway through filling a monotub or a batch of grow bags.
Substrate moisture content sits close to the top of factors affecting successful colonisation, alongside sterilisation method and spawn ratio, according to published cultivation research comparing different preparation techniques.
How Much Substrate Do You Need?
Substrate volume depends entirely on your growing container and how many batches you’re planning to run at once.
For a single grow bag, manufacturers typically specify a fill volume, so it’s worth checking that figure rather than guessing. For a monotub, a substrate depth of around 10 to 15cm across the base of the tub is a reasonable starting point, which for a standard 30 to 40 litre tub usually works out to several kilograms of prepared substrate once hydrated.
It’s generally sensible to prepare slightly more than the bare minimum. Substrate shrinks somewhat during preparation, and having a small surplus avoids the frustration of running short partway through filling a container.
Substrate Considerations for Functional Mushrooms
Functional species such as lion’s mane and shiitake tend to favour denser, more nutrient-rich substrates than something like oyster mushrooms, which is part of why hardwood-based substrates dominate for this category. Supplementing hardwood substrate with bran or similar additions can meaningfully boost yield for these species, though it also raises contamination risk if sterilisation isn’t thorough enough to match the extra nutrient load.
If you’re growing functional mushrooms specifically for their wellness properties, substrate quality and cleanliness matter just as much as for any other species. A contaminated batch isn’t just a wasted grow, it also means the mushrooms it did produce aren’t ones you’d want to rely on for consistent quality.
Common Mistakes
Skipping proper hydration. Substrate that’s too dry struggles to support healthy mycelial growth, while over-saturated substrate risks suffocating it and inviting bacterial contamination instead.
Using pasteurisation on substrates that need sterilisation. Nutrient-dense substrates like supplemented hardwood generally need the more thorough treatment. Pasteurisation alone often isn’t enough to prevent competing organisms from establishing themselves.
Introducing spawn before substrate has cooled. Even substrate that feels only slightly warm can be enough to damage or kill mycelium at the point of inoculation.
Compacting substrate too tightly when filling containers. Overly dense substrate can restrict airflow and uneven colonisation, particularly in the centre of a monotub or grow bag.
Ignoring substrate-to-spawn ratio. Too little spawn relative to substrate volume slows colonisation considerably, giving contaminants more time to establish before mycelium claims the space.
FAQ
What’s the easiest substrate for a beginner to prepare at home? Straw is generally considered the most forgiving substrate for beginners, since it responds well to pasteurisation rather than requiring full sterilisation equipment.
Can I mix different substrate types together? Yes, many home growers use blended substrates, such as coco coir with vermiculite, to balance moisture retention and structure. Matching the blend to your chosen species still matters most.
How do I know if my substrate is properly hydrated? A simple squeeze test works well. The substrate should feel like a well-wrung sponge, releasing a few drops of water under firm pressure without pouring out freely.
Do I need an autoclave to sterilise substrate at home? A pressure cooker can achieve similar results to an autoclave for smaller home batches, reaching the temperatures needed for effective sterilisation of denser substrates.
How long does prepared substrate last before use? Freshly sterilised or pasteurised substrate is best used promptly, generally within a day or two, to reduce the window for contamination before spawn is introduced.
Can I reuse spent substrate for anything after harvesting? Spent substrate can sometimes support an additional lower-yield flush, or be composted afterwards, though its usefulness for further mushroom production diminishes considerably after the first couple of flushes.
Related Guides
- Bulk Substrate Recipe for Mushrooms: Ultimate Guide
- Substrate Recipes for Maximising Mushroom Yields
- Sterilised Grain Spawn Bags
- Monotub Grow Kits UK: Buyer’s Guide
- Growing Mushrooms at Home: A Beginner’s Guide
About This Guide
SporeBuddies has supplied UK home cultivators with substrate, spawn, and growing equipment for years, drawing on hands-on experience with pasteurisation, sterilisation, and substrate preparation across a range of species. This guide reflects that practical background, helping growers choose and prepare the right substrate with confidence.
In Summary
Mushroom substrate choice and preparation sit right at the foundation of a successful grow, well before spawn, humidity, or fruiting chambers come into play. Matching substrate to species, hydrating it correctly, and choosing the right preparation method between pasteurisation and sterilisation all shape how smoothly the rest of your grow unfolds.
Browse our full range of substrate and spawn supplies, or check our bulk substrate recipe guide for specific measurements to get your next batch started.