
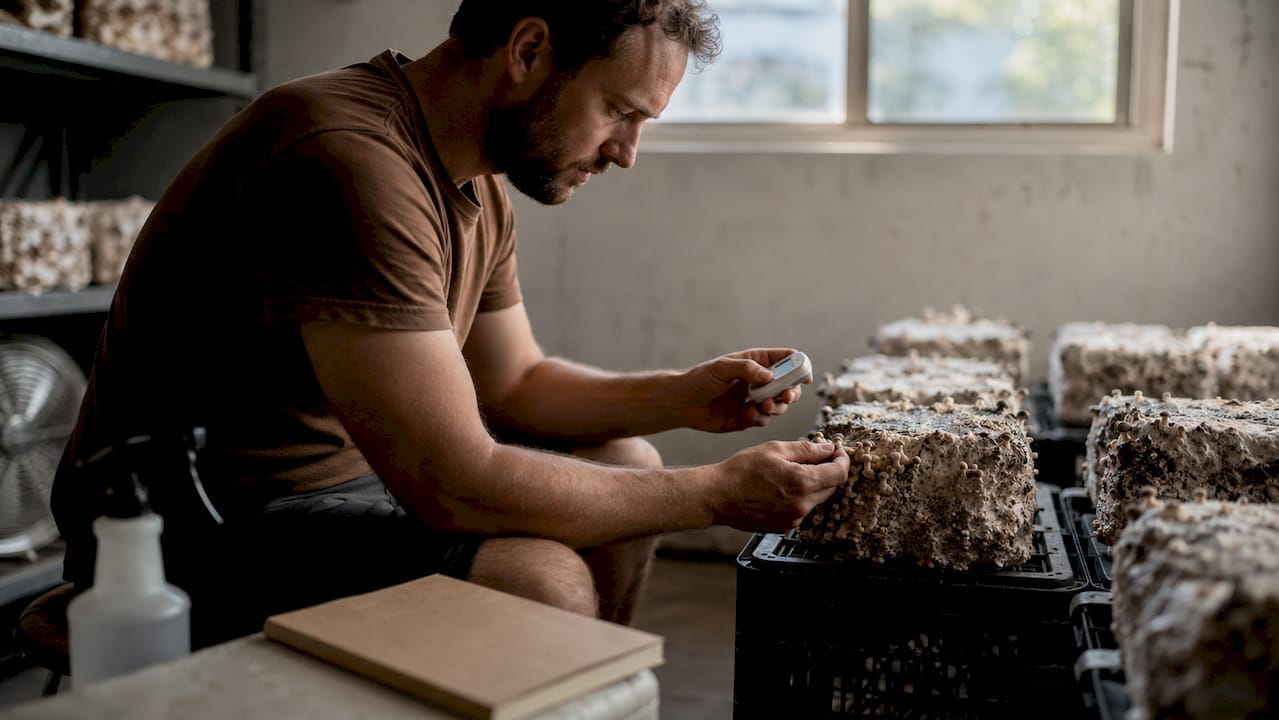
Mushroom pinning is defined as the biological transition where fully colonised mycelium forms its first visible fruiting structures, known as primordia or pins. This is the most critical stage in the entire mushroom growth cycle. Without successful pinning, there is no harvest. The pinning process typically spans 5–10 days, moving through three visible stages: hyphal knots (days 0–2), primordia formation (days 2–4), and pin development (days 4–7). Understanding each stage, and knowing which environmental levers to pull, is what separates growers who get reliable flushes from those who get frustrating blanks.
What environmental conditions trigger mushroom pinning?
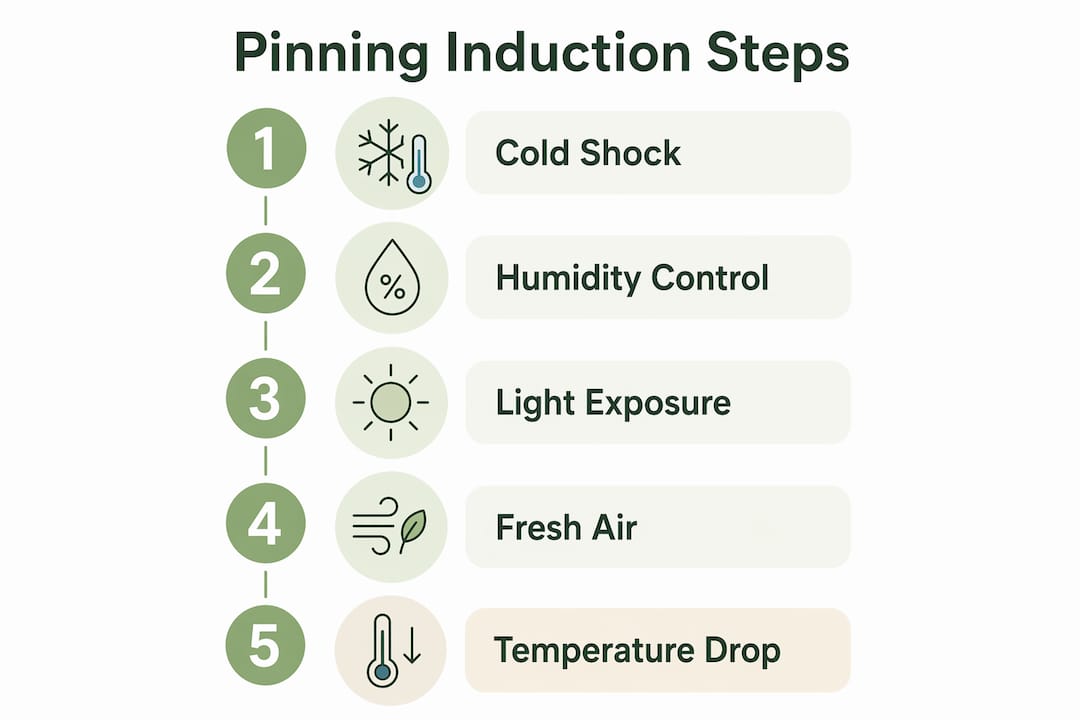
Pinning is a biological stress response. Your mycelium has been growing vegetatively in warm, dark, CO2-rich conditions. To trigger fruiting, you need to shift those conditions to mimic the arrival of autumn outdoors. The mycelium reads these changes as a signal to reproduce before conditions worsen.
Four core environmental factors drive pin formation:
- Relative humidity (RH): The target range is 80–95% RH throughout the pinning stage. Pins abort when RH drops below 70% for extended periods. Humidity at this level keeps the substrate surface moist enough for primordia to emerge without drying out.
- Fresh air exchange (FAE): Aim for 4–8 air exchanges per hour. CO2 buildup is one of the most common causes of leggy, weak pins. Without adequate airflow, pins grow tall and spindly as they reach for oxygen.
- Light cycle: A 12-hour cycle of indirect light signals to the mycelium which direction to grow. Mushrooms do not photosynthesise, but light acts as a directional cue. Natural window light or a basic LED on a timer works well.
- Temperature drop: A drop of 3–8°C from your colonisation baseline is one of the strongest pinning triggers available. For oyster mushrooms, this typically means moving from around 24°C down to 18–20°C.
The key insight here is that combined triggers matter more than fixed numbers. A grower obsessing over hitting exactly 90% RH while ignoring CO2 levels will get worse results than one who balances all four factors together. Think of it as a mosaic: each piece contributes to the whole picture.
Pro Tip: Use a digital hygrometer and thermometer combo unit inside your fruiting chamber. Checking conditions twice daily catches problems before they abort your pins.
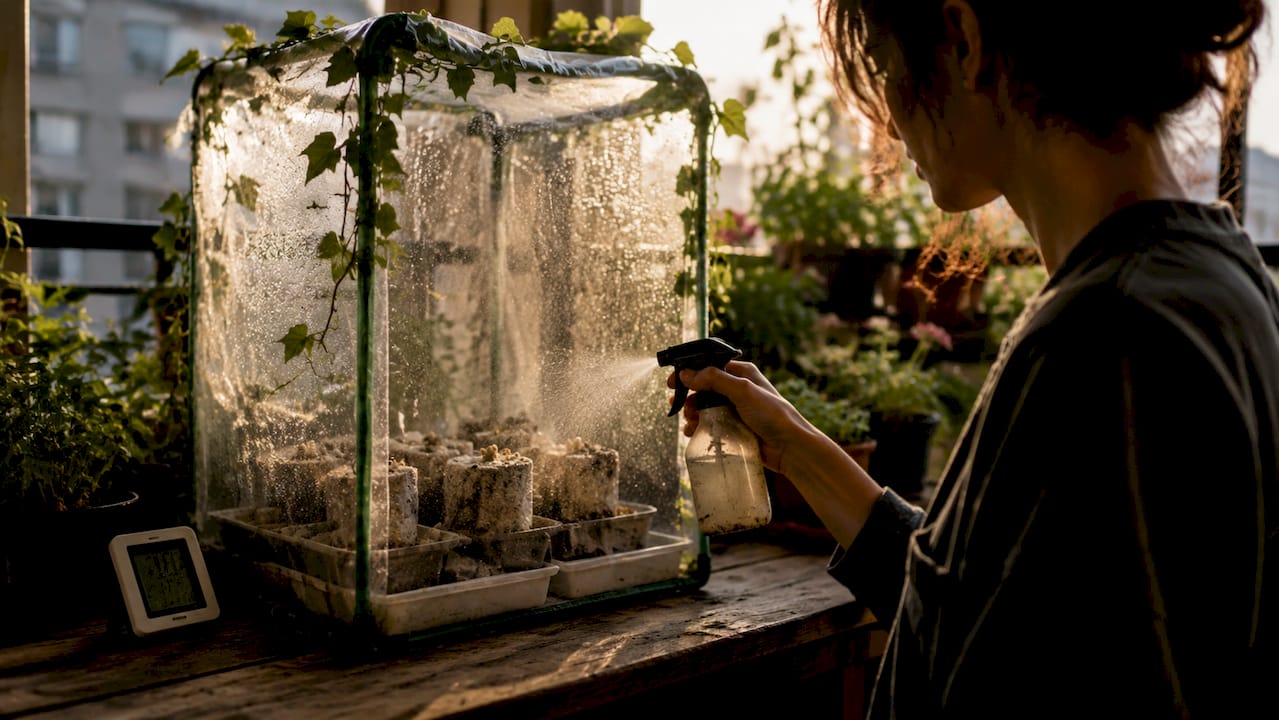
How to induce and manage the pinning stage at home
The following steps take you from a fully colonised block through to healthy pin development. Follow them in order and resist the urge to rush.
- Confirm full colonisation. Your substrate should be entirely white with no visible uncolonised patches. Attempting to pin too early leads to weak, scattered results.
- Apply a cold shock. Move your colonised block to a refrigerator or cool space at around 4°C for 12–24 hours. This temperature shock triggers primordia development without stressing the mycelium. Timing matters: do this only after full colonisation is confirmed.
- Transfer to your fruiting chamber. After cold shock, move the block to a space with your target fruiting temperature. Introduce your 12-hour light cycle immediately.
- Set humidity and airflow. Mist the chamber walls (not the block directly) to raise RH to 90–95%. Open lids or run a small fan to achieve 4–8 air exchanges per hour.
- Use bubble wrap if needed. Placing bubble wrap bubble-side down directly on the substrate with a small gap for airflow creates a humid microclimate at substrate level. This is particularly useful if your chamber humidity fluctuates.
- Monitor and wait. Hyphal knots appear within the first 2 days. Primordia follow by days 2–4. Pins are visible by days 4–7. Under ideal conditions, pins can double in size every 12–24 hours.
- Minimise disturbances. Once pins appear, avoid moving the block, changing temperatures suddenly, or opening the chamber more than necessary. Stability is everything at this stage.
| Method | Effort level | Cost | Effectiveness |
|---|---|---|---|
| Cold shock (fridge) | Low | Free | High |
| Humidity tent | Low | Very low | Medium to high |
| Automated humidifier | Medium | Moderate | High |
| Manual fanning | Low | Free | Medium |
| LED timer light cycle | Low | Low | High |
Pro Tip: If you do not have a dedicated fruiting chamber, moving a colonised block from a warm cupboard to a cooler, brighter room achieves the same environmental shift. Specialised equipment is not always necessary; environmental mimicry is the principle.
Why do mushroom pins abort, and how do you fix it?
Aborted pins are small, darkening pins that stop developing and die off before reaching maturity. They are one of the most common frustrations in home cultivation, but they are usually fixable.
Aborts are most often caused by localised environmental faults, not contamination. The four main culprits are:
- Humidity drops: RH falling below 70% causes pins to dry out and collapse. Check your chamber seal and misting frequency.
- CO2 spikes: Poor airflow traps carbon dioxide, starving pins of the oxygen they need. Increase your FAE rate immediately.
- Temperature swings: Fluctuations beyond a 2°C band stress developing pins. For oyster mushrooms, staying within 18–22°C is the target.
- Contamination: Green, black, or pink patches near pins indicate mould or bacterial infection. This is the most serious cause and may require discarding the block. Check the Sporebuddies guide on contamination in cultivation for identification and next steps.
When you spot aborted pins, remove them promptly with clean scissors or tweezers. Decaying tissue feeds bacteria, which can spread and ruin subsequent flushes. Sterilise your tools before and after.
After removing aborts, follow this recovery protocol:
- Rest the block in darkness for 5–10 days. This allows the mycelium to reabsorb nutrients from the removed tissue.
- After the rest period, reintroduce your light cycle and fruiting conditions.
- New pins typically appear within 3–5 days of reintroducing light.
- If contamination covers more than 30% of the block surface, discard it. Continuing risks spreading infection to your other grows.
Pro Tip: Keep a grow journal. Note temperature, RH, and FAE readings alongside pin development. Patterns become obvious after two or three grows, and you will spot problems earlier each time.
Preventing aborts is simpler than recovering from them. Maintain constant humidity of 90–95%, consistent airflow, and clean hygiene practices throughout the fruiting stage. Good sterilisation habits before you even begin fruiting reduce contamination risk significantly. The Sporebuddies article on preventing mould in mushrooms covers this in detail.
Pinning techniques and equipment compared
Home growers have several practical options for inducing and managing pins. The right choice depends on your space, budget, and how hands-on you want to be.
Cold shock vs gradual temperature drop
Cold shock at 4°C for 12–24 hours is the faster and more reliable method for most species. A gradual drop of 3–8°C over several days mimics nature more closely and suits sensitive species, but takes longer to produce results. For beginners growing oyster or shiitake mushrooms, cold shock is the recommended starting point.
Humidity tent vs automated humidifier
A humidity tent made from a clear plastic bag or storage box costs almost nothing and works well for single blocks. An automated humidifier with a hygrostat controller maintains RH more consistently and suits growers running multiple blocks simultaneously. The tent requires more manual misting; the humidifier requires an upfront investment but reduces daily effort considerably.
Natural light vs LED lighting
A north-facing windowsill provides adequate indirect light for most home grows. A basic LED grow light on a 12-hour timer gives you full control regardless of season or room position. LEDs are particularly useful during winter months in the UK when natural light is limited and inconsistent.
Fresh air exchange methods
- Manual fanning with a clean piece of card twice daily works for small setups.
- Leaving a small gap in the lid of your fruiting chamber allows passive exchange.
- A small computer fan on a timer provides consistent FAE with minimal effort.
- Exhaust fans with filtered intakes suit larger or more serious setups.
The bubble wrap microclimate technique deserves a special mention. Placing bubble wrap bubble-side down directly on the substrate surface traps humidity at the level where pins form. This is a low-cost solution that genuinely improves pin density in chambers where humidity fluctuates.
Key takeaways
Successful mushroom pinning depends on triggering a mosaic of environmental stresses simultaneously, not perfecting any single condition in isolation.
| Point | Details |
|---|---|
| Pinning is a stress response | Shift conditions from warm and dark to cooler, brighter, and airier to signal fruiting. |
| Four triggers work together | Maintain 80–95% RH, 4–8 FAE per hour, a 12-hour light cycle, and a 3–8°C temperature drop. |
| Cold shock speeds up pinning | Refrigerate colonised blocks at 4°C for 12–24 hours after full colonisation to trigger primordia. |
| Aborts are usually fixable | Remove them promptly, rest the block for 5–10 days in darkness, then reintroduce fruiting conditions. |
| Stability beats perfection | Consistent conditions prevent aborts more reliably than chasing exact numbers. |
Start your grow with quality genetics from Sporebuddies
Getting the pinning process right starts before you even inoculate your substrate. The genetics in your spores determine how readily your mycelium pins, how dense your flushes are, and how forgiving the strain is to environmental variation. Sporebuddies stocks a wide range of premium mushroom spores including popular strains suited to UK home cultivation conditions. If you are ready to move from theory to practice, browse the full range of mushroom growing kits to get everything you need in one place. Starting with reliable supplies removes one major variable from the equation and gives your pinning attempts the best possible foundation.
FAQ
What is the mushroom pinning process?
Mushroom pinning is the stage where fully colonised mycelium forms its first fruiting structures, called primordia or pins. It marks the transition from vegetative growth to active fruiting and is triggered by specific environmental changes.
How long does the pinning stage take?
The pinning process typically takes 5–10 days, progressing from hyphal knots on days 0–2, to primordia on days 2–4, and visible pins by days 4–7. Under ideal conditions, pins can double in size every 12–24 hours.
What causes mushroom pins to abort?
Aborted pins are most commonly caused by humidity drops below 70%, CO2 spikes from poor airflow, temperature fluctuations beyond a 2°C band, or contamination. Removing aborts promptly with clean tools prevents bacteria from spreading to healthy tissue.
Do I need special equipment to trigger pinning?
No. Moving a colonised block from a warm, dark environment to a cooler, brighter space with good airflow is often sufficient. A basic humidity tent, a thermometer, and a hygrometer cover most of what you need for successful home pinning.
How do I recover after aborted pins?
Remove all aborted pins with sterilised tools, then rest the block in darkness for 5–10 days. Reintroduce your light cycle and fruiting conditions after the rest period. New pins typically appear within 3–5 days of reintroducing light.