
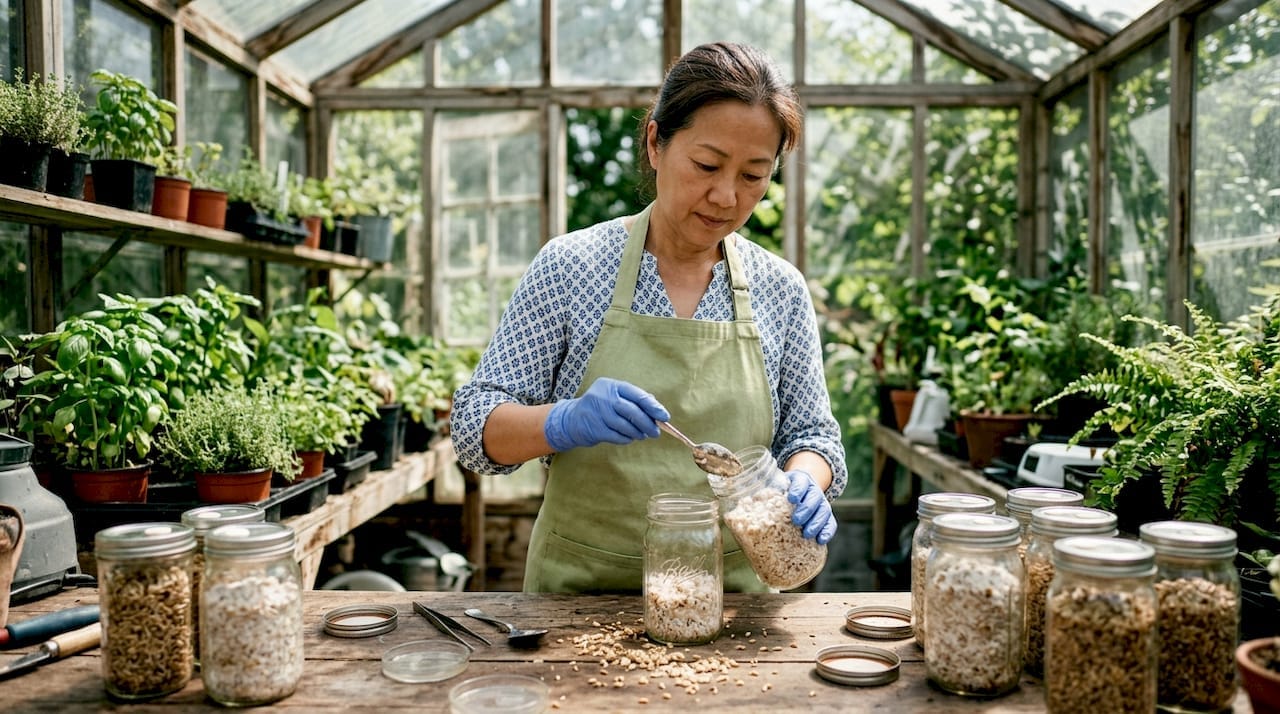
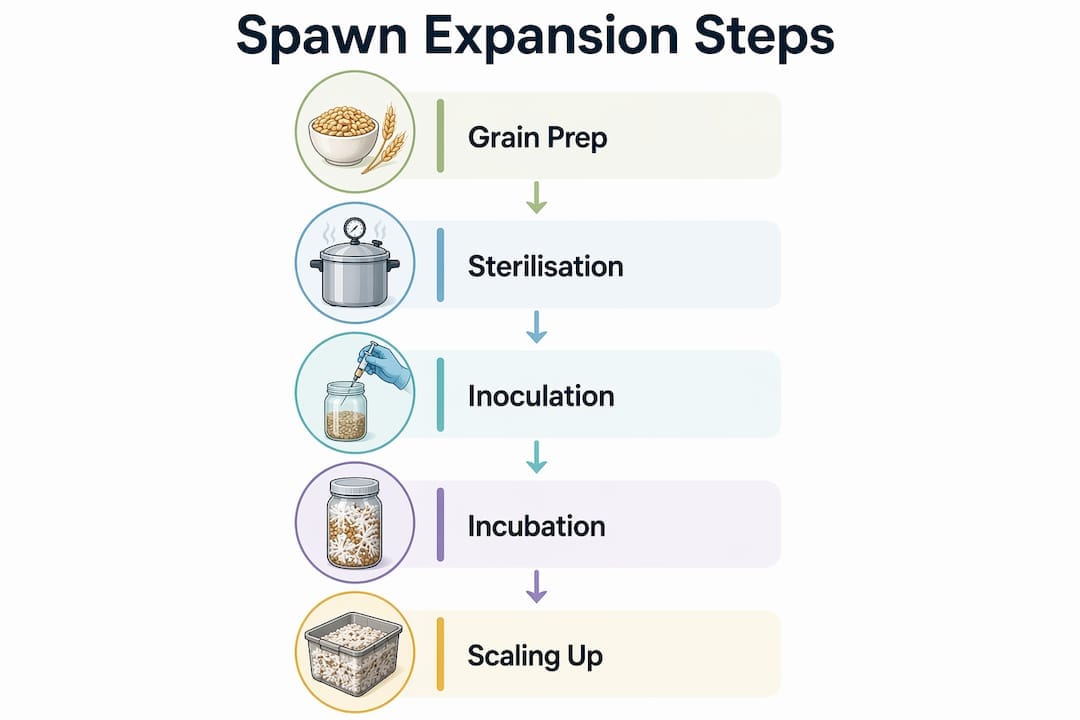
Mushroom spawn expansion is defined as the process of multiplying colonised grain or substrate to produce sufficient inoculum for bulk cultivation or research. The workflow covers five core stages: sterilisation, grain hydration, inoculation, colonisation, and scaling. Each stage builds directly on the last, so a failure at any point compounds into wasted time and contaminated batches. Getting the mushroom spawn expansion workflow right from the start separates growers who harvest consistently from those who troubleshoot endlessly. Sporebuddies supports cultivators at every stage with quality supplies and practical guidance tailored to the UK growing community.
What tools and materials do you need for spawn expansion?
The right equipment makes the difference between a clean run and a contaminated batch. Before you touch a single grain, you need a pressure cooker rated to hold 15 PSI, quart mason jars or polypropylene spawn bags with filter patches, and a sterile inoculation environment. A still air box works well for beginners; a laminar flow hood is the preferred upgrade for anyone running regular batches.
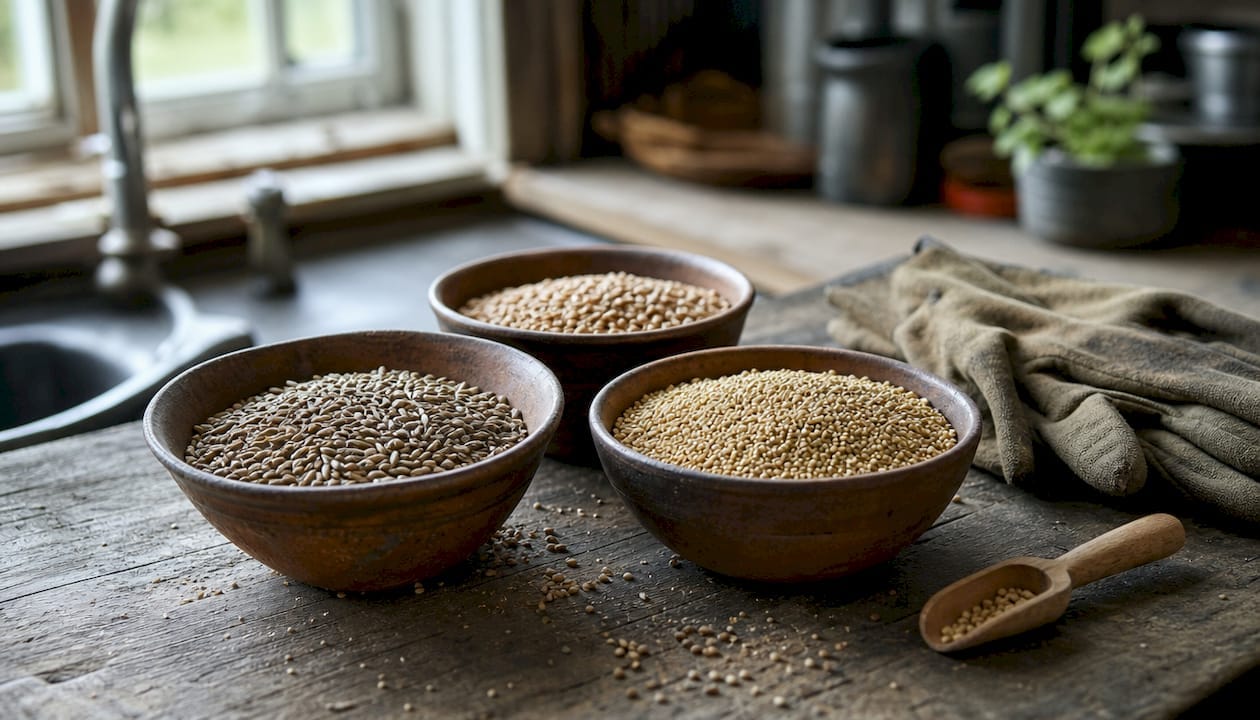
Grain type also matters. Rye berries, wheat, and millet are the three most common choices for home cultivators. Rye berries hold moisture well and colonise quickly, making them the standard for most species. Millet is smaller, which increases surface area and speeds colonisation, but it requires more careful hydration. Wheat sits between the two in terms of density and handling ease.
| Tool or material | Purpose | Notes |
|---|---|---|
| Pressure cooker (15 PSI) | Sterilises grain substrate | Minimum 90 minutes for quart jars |
| Quart mason jars | Holds grain during sterilisation and colonisation | Fill no more than 2/3 full |
| Polypropylene spawn bags | Scales up grain volume | Requires extended sterilisation |
| Filter patch bags | Allows gas exchange during colonisation | Prevents contamination ingress |
| Liquid culture syringe | Inoculates grain jars | Fastest and most scalable method |
| Still air box or flow hood | Provides sterile inoculation environment | Flow hood preferred for larger runs |
| Scalpel and agar plates | Transfers and maintains master cultures | Needed for multi-generation management |
How do you prepare and sterilise grain spawn properly?
Grain hydration is the most overlooked step in the mushroom grain spawn workflow, and incorrect moisture is the leading cause of bacterial contamination. The goal is grain that is fully hydrated inside but completely dry on the surface. Free water on the grain surface creates anaerobic conditions during sterilisation, which leads directly to wet spot rot after inoculation.

Soaking times vary by grain type. Rye berries need 12–24 hours of soaking, oats require 12–18 hours, and millet needs 8–12 hours. After soaking, simmer the grain for 15–20 minutes to hydrate the interior without bursting the hull. Burst hulls expose starchy interiors, which bacteria colonise faster than mycelium can.
After simmering, spread the grain on a clean baking tray and allow it to surface dry for 30–60 minutes. The grain should clump slightly when pressed but leave no moisture on your palm. This is the palm squeeze test, and it is the most reliable field check for correct hydration.
Surface dryness of grain substrate is critical. Excess moisture pools at the bottom of jars during sterilisation, creating anaerobic conditions that promote bacterial contamination. This is the single most common mistake novice growers make, and it is entirely preventable with a proper drying step.
Fill jars no more than 2/3 full. Overfilling limits gas exchange and makes shaking difficult, both of which slow colonisation and raise contamination risk. Load jars into your pressure cooker and sterilise at 15 PSI for 90 minutes for quart jars. Allow pressure to drop naturally over 30–60 minutes before opening the cooker. Never force cool the jars. Let grain cool below 27°C before inoculating, as higher temperatures kill your culture on contact.
Pro Tip: Investing in a pressure cooker that locks reliably at 15 PSI is the single best upgrade for home spawn makers. Steam sterilisation at atmospheric pressure is inconsistent, particularly with dense grains like rye, and leads to unpredictable failure rates.
How does inoculation and colonisation management work?
Inoculation is the step where your culture meets the sterilised grain. Three methods are available: liquid culture syringe, grain-to-grain transfer, and agar wedge. Liquid culture to grain transfer is the fastest and most scalable option for home labs. A single liquid culture jar can inoculate 20–40 grain jars, making it the preferred method for anyone running batches of more than a few jars at a time.
The inoculation process follows a fixed sequence:
- Wipe the injection port or jar lid with isopropyl alcohol.
- Flame sterilise the needle until it glows red, then allow it to cool for 5 seconds.
- Enter the still air box or position yourself under the flow hood.
- Inject 1–2 ml of liquid culture per quart jar through the injection port.
- Seal the jar and label it with the strain name and date.
- Move jars to your incubation space immediately.
Optimal incubation runs at 21–26°C in complete darkness. Temperatures above 28°C significantly increase contamination risk and stress the mycelium. A dedicated incubator with a digital thermostat, such as the GrowBuddie40 incubator, removes the guesswork from temperature management.
Shake your jars when white mycelium covers roughly the top quarter of the grain, typically days 5–7. Shaking at 25–30% colonisation breaks up mycelial clumps and redistributes spawn points throughout the jar, reducing total colonisation time by 30–40%. Shake only once. Shaking too early damages fragile early growth; shaking too late provides little benefit.
Grain-to-grain transfers are useful for multiplying spawn quickly, but limit them to 2–3 generations. Beyond 3 generations, mycelium shows senescence: slower colonisation, weaker growth, and unreliable fruiting. Maintain a master culture on agar or in liquid culture to refresh your stock after each expansion cycle.
Pro Tip: Keep 2–3 active liquid culture jars on a magnetic stir plate as your master stock. This gives you a clean, vigorous starting point for every new batch and removes the risk of senescence creeping into your workflow.
How do you scale up from jars to spawn bags?
Scaling from quart jars to spawn bags is the natural next step in the mushroom spawn bag workflow once you have your jar technique dialled in. Spawn bags hold significantly more grain, which means longer sterilisation times and slightly different handling throughout colonisation.
The table below compares the key parameters for jars versus spawn bags:
| Parameter | Quart jar | 5 lb spawn bag |
|---|---|---|
| Sterilisation time at 15 PSI | 90 minutes | 120–150 minutes |
| Fill level | 2/3 full | Leave 4–6 inches of headspace |
| Inoculant quantity | 1–2 ml liquid culture | 15–20% spawn rate by weight |
| Shaking method | Shake by hand | Knead bag gently from outside |
| Contamination check | Visual through glass | Check filter patch and bag surface |
Larger bags require 120–150 minutes at 15 PSI because the greater thermal mass takes longer to reach sterilisation temperature throughout. Cutting sterilisation time short is the most common reason bags fail. Leave 4–6 inches of headspace above the grain to allow the bag to expand and to give you room to knead the grain during colonisation.
Inoculate bags at a spawn rate of 15–20% by weight. Higher rates speed colonisation and reduce the window for contamination. Store bags upright during early colonisation, then lay them on their side once colonisation reaches 50% to encourage even spread. Using laminar flow hoods during bag inoculation reduces contamination rates from 5–15% down to under 1%, which makes a significant difference when you are running ten or more bags per batch.
For growers ready to buy sterilised grain bags rather than prepare their own, pre-sterilised options remove the pressure cooker step entirely and are a practical choice for beginners or anyone scaling quickly.
What are the most common problems in spawn expansion?
Contamination and hydration errors account for the vast majority of failed batches. Recognising the symptoms early lets you isolate and discard problem jars before they spread to healthy ones.
Common issues and their causes:
- Wet spot rot (bacterial contamination): Slimy, foul-smelling grain with a yellow or brown tinge. Caused by excess surface moisture before sterilisation or insufficient sterilisation time.
- Green or black mould (Trichoderma or Aspergillus): Appears as coloured patches on grain. Caused by contaminated inoculum, poor sterile technique, or a compromised filter patch.
- Slow or patchy colonisation: Often caused by under-hydrated grain, inoculating while grain is still warm, or senescent culture.
- No growth after 14 days: Likely caused by dead culture from inoculating above 27°C, or a failed liquid culture.
- Contamination appearing after shaking: Usually caused by shaking too early, which damages mycelium and creates entry points for competitors.
When you spot contamination, seal the jar or bag in a plastic bag before removing it from your incubation space. This prevents spores from spreading. Do not open contaminated containers indoors.
Pro Tip: Track your contamination rate per batch. If you record strain, inoculant source, sterilisation time, and contamination outcome for each run, patterns emerge quickly. A sudden rise in contamination usually points to one variable: a worn pressure cooker gasket, a degraded liquid culture, or a change in grain source.
Mycelial senescence is a subtler problem. If your colonisation times are getting longer batch by batch, your culture is ageing. Refresh from your master culture on agar or liquid culture before the next expansion cycle.
Key takeaways
A successful mushroom spawn expansion workflow depends on correct grain hydration, sterilisation at 15 PSI, clean inoculation technique, and disciplined culture management across generations.
| Point | Details |
|---|---|
| Grain hydration is critical | Surface-dry grain prevents bacterial contamination; use the palm squeeze test before sterilising. |
| Sterilise at 15 PSI | Quart jars need 90 minutes; 5 lb spawn bags need 120–150 minutes at the same pressure. |
| Shake at 25–30% colonisation | Shaking at the right stage reduces total colonisation time by 30–40%. |
| Limit grain-to-grain transfers | Stop at 2–3 generations and refresh from master cultures to avoid senescence. |
| Scale with laminar flow | Using a flow hood during bag inoculation drops contamination rates to under 1%. |
Sporebuddies supplies for every stage of your grow
Sporebuddies stocks everything you need to run a clean, consistent spawn expansion from start to finish. Browse spore syringes and liquid cultures for your inoculation stage, or pick up pre-sterilised grain bags if you want to skip the pressure cooker entirely. The GrowBuddie60 incubation chamber holds temperature precisely within the 21–26°C range that mycelium needs. For growers moving into larger production, Sporebuddies also offers wholesale mycology supplies for bulk orders. Every product is chosen with UK cultivators in mind, whether you are running your first jar or your fiftieth bag.
FAQ
What is mushroom spawn expansion?
Mushroom spawn expansion is the process of multiplying colonised grain or substrate to create enough inoculum for bulk cultivation. It involves sterilising grain, inoculating with a culture, and managing colonisation until the spawn is ready to transfer.
What PSI and time should I use to sterilise grain spawn?
Sterilise quart jars at 15 PSI for 90 minutes. Larger 5 lb spawn bags require 120–150 minutes at the same pressure due to their greater thermal mass.
How do I know when to shake my grain jars?
Shake jars when white mycelium covers roughly the top quarter of the grain, typically on days 5–7. Shaking at this 25–30% colonisation stage redistributes spawn points and reduces total colonisation time by 30–40%.
How many grain-to-grain transfers can I do before quality drops?
Limit grain-to-grain transfers to 2–3 generations. Beyond that, mycelium shows senescence, with slower colonisation and weaker fruiting. Refresh your stock from a master culture on agar or in liquid culture.
What causes wet spot rot in grain jars?
Wet spot rot is caused by excess surface moisture on grain before sterilisation. Free water creates anaerobic conditions during sterilisation, which allows bacteria to thrive. Surface-dry your grain thoroughly and use the palm squeeze test before loading jars into the pressure cooker.