Pasteurise Mushroom Substrate at Home
Pasteurising mushroom substrate at home is one of the most important — and most misunderstood — steps in successful mushroom cultivation. Whether you’re growing gourmet mushrooms or working with bulk substrates for more advanced grows, proper pasteurisation determines colonisation speed, contamination risk, and shelf life.
In this guide, we’ll explain:
What substrate pasteurisation actually does
Three common home pasteurisation methods used by growers
The hidden contamination risk most growers don’t realise
Why a sealed, all-in-one boil-in-the-bag method solves these problems
This article is written for home growers, not labs — practical, realistic, and contamination-aware.
What Is Substrate Pasteurisation?
Pasteurisation is the process of reducing harmful competitor organisms (moulds, bacteria, yeasts) while preserving beneficial thermophilic microbes that help protect your substrate after cooling.
Unlike sterilisation (which kills everything), pasteurisation:
Targets temperatures of 60–80°C
Reduces pathogen load without creating a sterile vacuum
Produces a substrate that mycelium can outcompete naturally
This balance is why pasteurisation is preferred for bulk substrates recipes like coco coir, CVG, straw, and supplemented mixes.
The Real Problem Most Home Growers Face (But Rarely Identify)
Most guides focus on how to heat substrate — but the real risk happens after heating.
Once substrate cools, any exposure to open air allows fresh contaminants to settle onto a now nutrient-rich, moist surface. Even clean kitchens contain:
Trichoderma spores
Bacillus bacteria
Airborne moulds
Skin and dust contaminants
If substrate is mixed, transferred, or handled in open air after cooling, contamination risk increases and shelf life drops dramatically.
This is where traditional methods fall short. Contamination in Mycology
3 Common Home Pasteurisation Methods (And Their Limitations)
1. Hot Water Bucket Pasteurisation (The Most Common Method)
How it works
Dry substrate is placed in a bucket or tub
Boiling water is poured over it
Lid is closed and allowed to cool
Substrate is later mixed and drained by hand
Pros
Cheap and accessible
Works reasonably well for coco coir and CVG
No special equipment required
Cons
Substrate must be opened and mixed after cooling
Hands, air, and tools reintroduce contaminants
Field capacity adjustment is inconsistent
Shorter shelf life
 This method pasteurises the substrate — then immediately exposes it again.
2. Oven Pasteurisation (Tray or Foil Method)
How it works
Hydrated substrate is placed in trays or foil pans
Heated in an oven at ~70–80°C for 1–2 hours
Removed and allowed to cool before use
Pros
Temperature can be controlled
More uniform heating
Suitable for small batches
Cons
Risk of drying substrate unevenly
Still requires open-air handling after cooling
Energy inefficient
Not scalable
Clean heat, but dirty handling afterward.
3. Stove-Top Pot or Pillowcase Method (Straw & Fibrous Substrates)
How it works
Substrate placed in a fabric bag or pot
Submerged in hot water for a fixed time
Removed, drained, cooled, and mixed
Pros
Effective for straw and wood-based substrates
Traditional and proven
Cons
Draining exposes substrate to airborne spores
Fabric bags can harbour contaminants
Messy and inconsistent hydration
Again, the problem isn’t heating — it’s what happens next.
The Hidden Weak Point: Post-Pasteurisation Exposure
All traditional home methods share one flaw:
The substrate is pasteurised… then opened, mixed, adjusted, and handled in unfiltered air.
This leads to:
Reduced shelf life
Higher contamination rates
Inconsistent results
“It worked last time but not this time” grows
Even experienced growers unknowingly reintroduce contaminants during mixing.
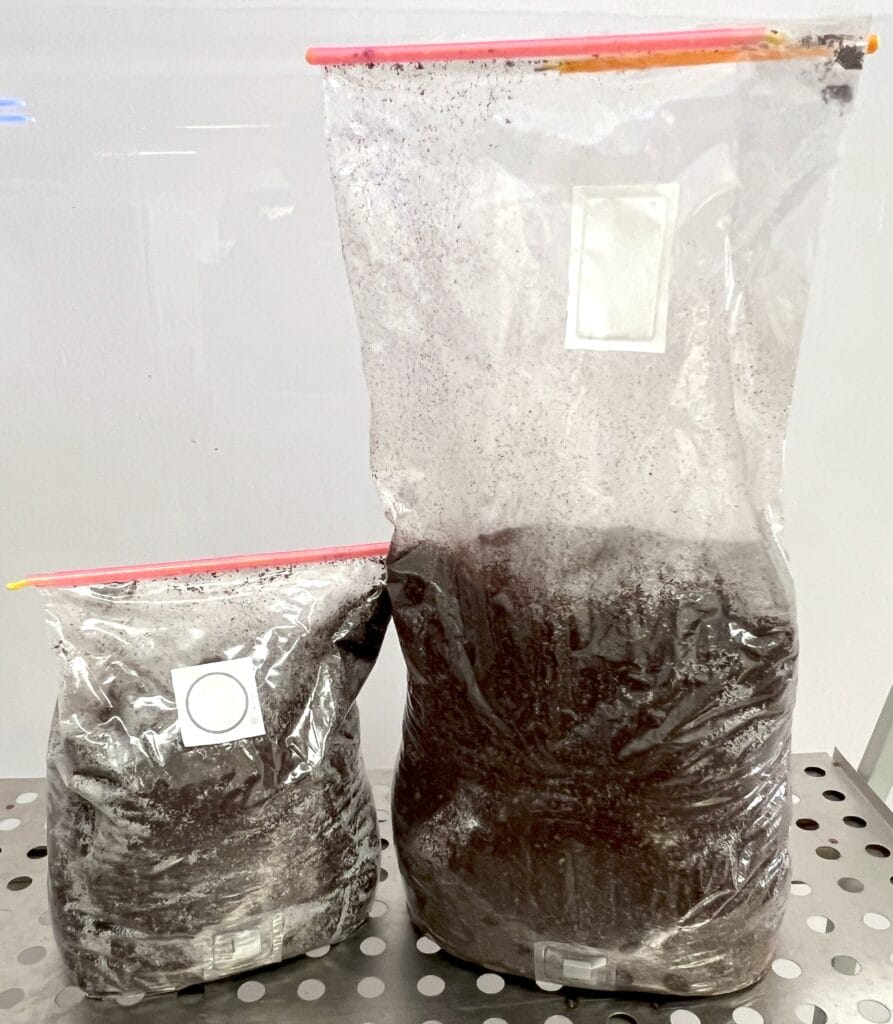
The All-in-One Boil-in-the-Bag Home Pasteurisation Method (Sealed From Start to Finish) 2025.
How the Method Works
All dry ingredients are added to a single mushroom grow bag
Coco coir
Vermiculite
Supplements (e.g. soya hull pellets)
The exact volume of boiling water is added directly to the bag
The bag is sealed immediately
Using a heat sealer or sealer stick
The sealed bag is insulated
Wrapped or placed in a thermal environment
Heat is retained for effective pasteurisation
Substrate cools completely while sealed
Substrate is mixed inside the closed bag
No open air
No handling
No recontamination
Why This Method Is Fundamentally Better
 Closed-System Pasteurisation
 Closed-System Pasteurisation
The substrate is never exposed to unpasteurised air after heating.
Mixing Happens Inside the Pasteurised Environment
 Mixing Happens Inside the Pasteurised Environment
Traditional methods pasteurise → cool → contaminate during mixing.
This method pasteurises → cools → remains clean throughout.
Longer Shelf Life
 Longer Shelf Life
With no post-cooling exposure:
Substrate stays viable for longer
Less microbial rebound
Better storage flexibility
More Consistent Field Capacity
 More Consistent Field Capacity
Water is measured precisely and absorbed evenly during insulation.
Lower Skill Barrier for Beginners
 Lower Skill Barrier for Beginners
Removes:
Guesswork
Draining errors
Hygiene mistakes